How to Draw Sweater Doodle (Tutorial Step-by-Step)
Are you ready to get cozy? Today, we are going to learn how to draw something that keeps us warm, looks colorful, and is super fun to design. We are learning How to Draw Sweater.
Drawing is like magic. With just a pencil and a piece of paper, you can create anything you want. You can be a fashion designer, an artist, or just someone having fun on a rainy afternoon. Sweaters are one of the best things to draw because there are no rules. Your sweater can be blue, red, striped, spotted, or even have a picture of a dinosaur eating pizza on it.
This guide is enormous because I want to show you absolutely everything you need to know. We will talk about the tools you need, the shapes we use, how to draw different types of sweaters, and even how to color them to look fuzzy and soft.
Grab your hot cocoa, put on your favorite real sweater, and let’s start this art adventure.
Tutorial A – Draw Sweater Classic Folded (Step-by-Step)
This is our first big project. We are going to draw a sweater that is folded neatly, like you see on a shelf in a store. This is the easiest way to start because we don’t have to worry about arms flopping around.
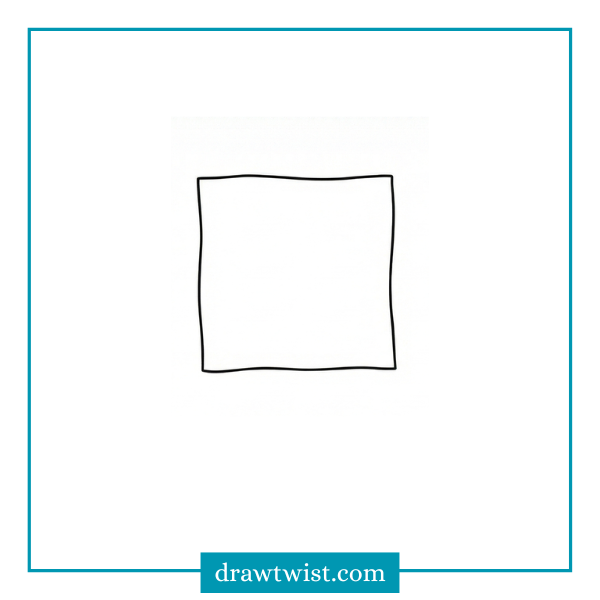
Step 1: The Main Block
Draw a square in the middle of your paper. It doesn’t have to be perfect. If the lines are a little wobbly, that makes it look softer.
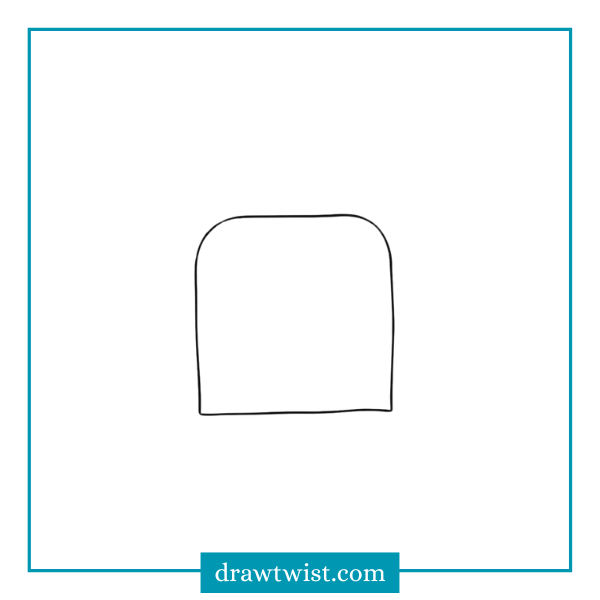
Step 2: The Shoulders
Go to the top corners of your square. Round them off a little bit. Sweaters are made of fabric, so they don’t have sharp, pointy corners like a box. Curve the top corners down just a tiny bit.
Step 3: The Neckline
In the middle of the top line of your square, draw a curved line dipping down. It looks like a happy face mouth.
- Pro Tip: Draw a second curved line right under the first one. Connect them at the ends. This creates the “collar” or the thick rim of the neck.
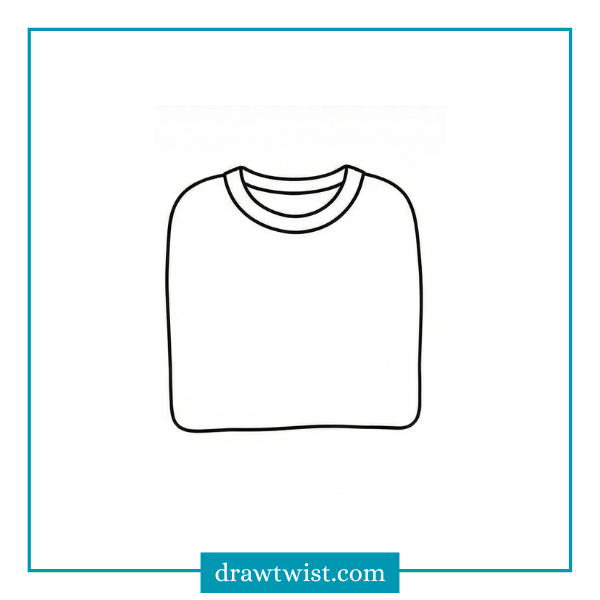
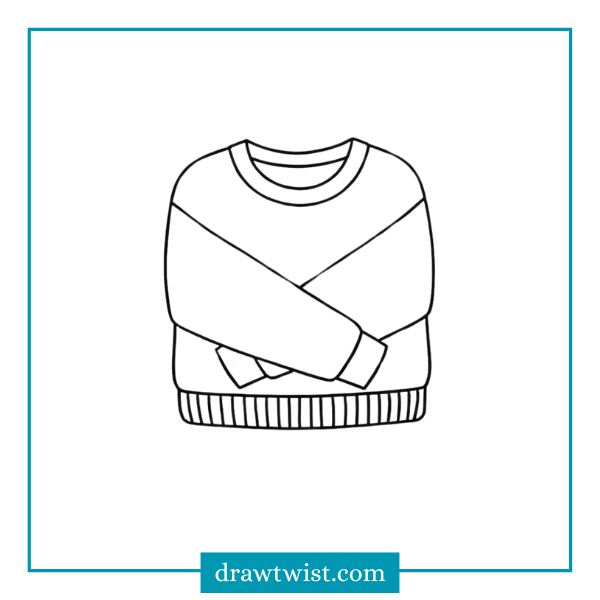
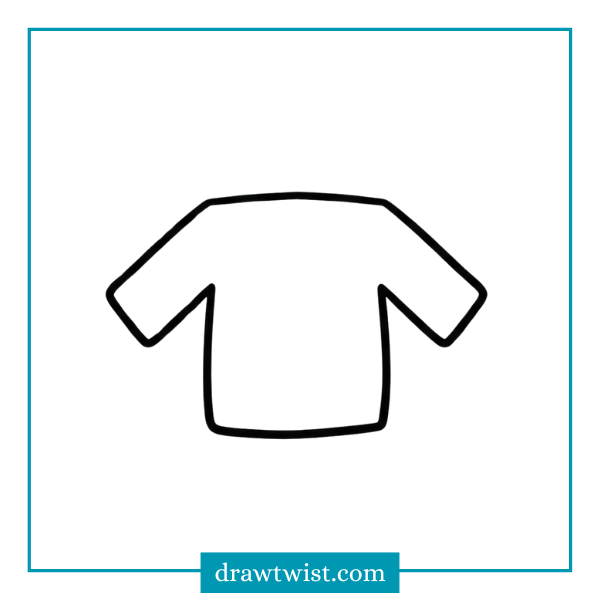
Step 4: The Folded Sleeves
Since this sweater is folded, the arms are tucked in. Draw a diagonal line starting from the shoulder, going across the front of the body square. Do this on both sides. It should look like the sweater is giving itself a hug.

Step 5: The Bottom Ribbing
At the very bottom of your square, draw a horizontal line across. Then, draw little vertical lines (up and down) inside that strip. This makes it look like that stretchy elastic part at the bottom of sweaters.
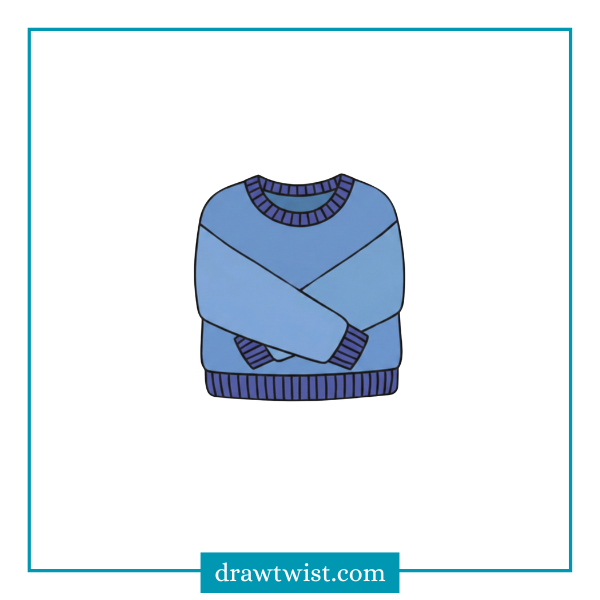
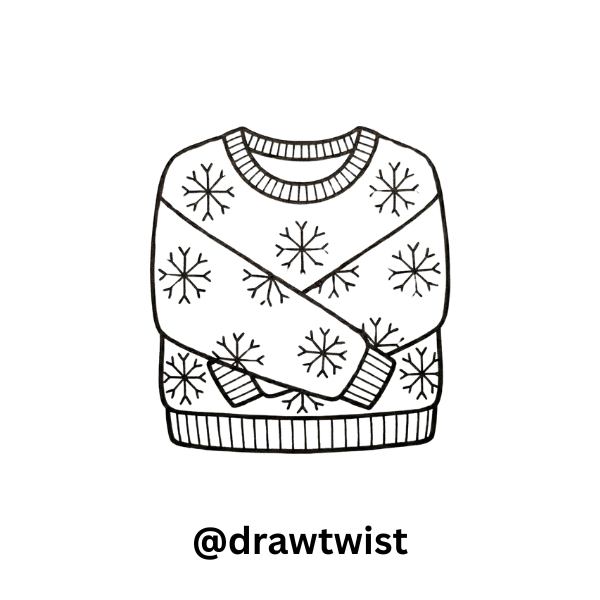
Step 6: Color
To make the drawing more interesting and define the different parts of the sweater, a darker, deeper indigo blue was used for the ribbed details. This includes the thick collar around the neck, the cuffs at the end of the sleeves, and the hem at the very bottom.
Tutorial B – The “Ugly” Sweater
Now we are going to level up. We are going to draw a sweater that is open and flat, like it’s laying on a bed. This is the classic “Holiday Sweater” shape.
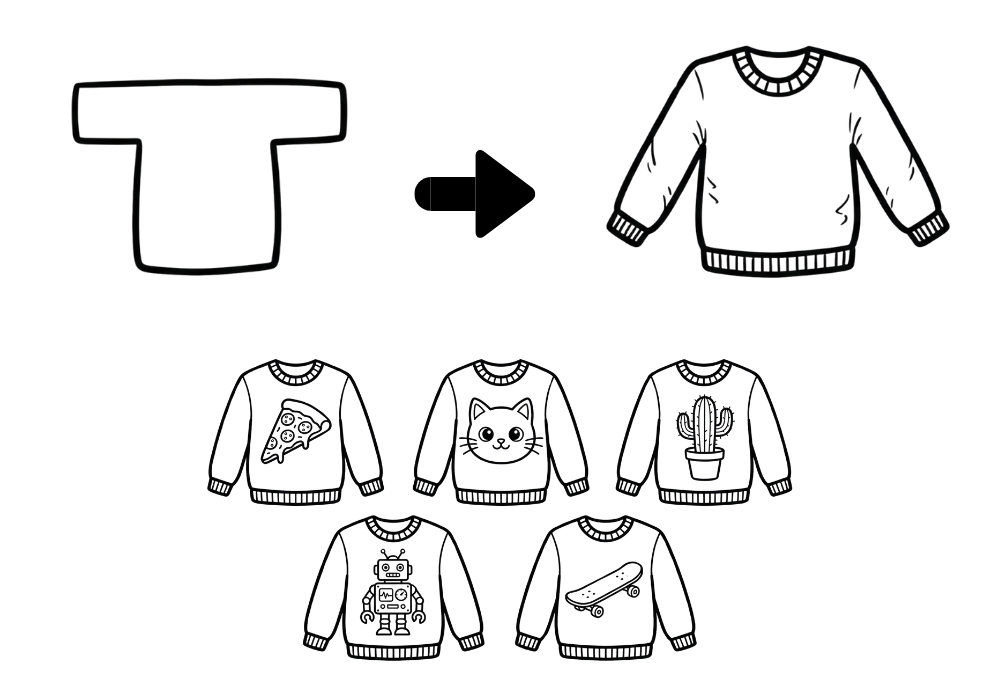
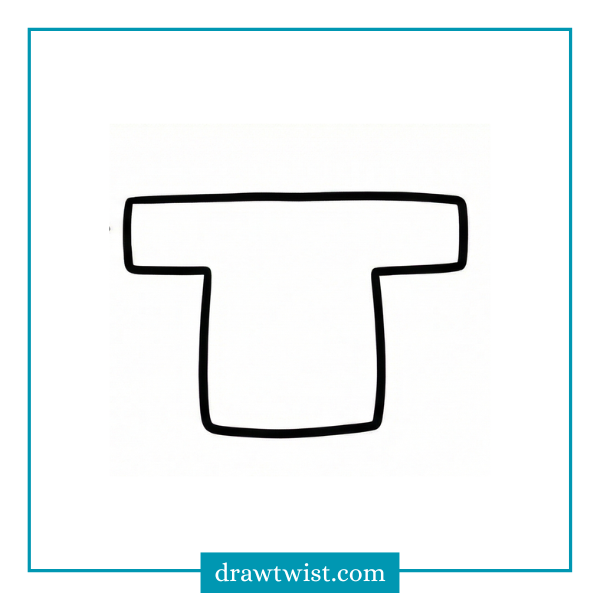
Step 1: The T-Shape
Imagine a capital letter T. Draw a very thick, bubbly letter T. Basically, draw a rectangle for the body, and two rectangles sticking out the sides for arms.
Step 2: Sloping the Shoulders
Human shoulders aren’t perfectly straight; they slope down a little. Go to the top of your “T” shape and make the line slope down slightly towards the arms.
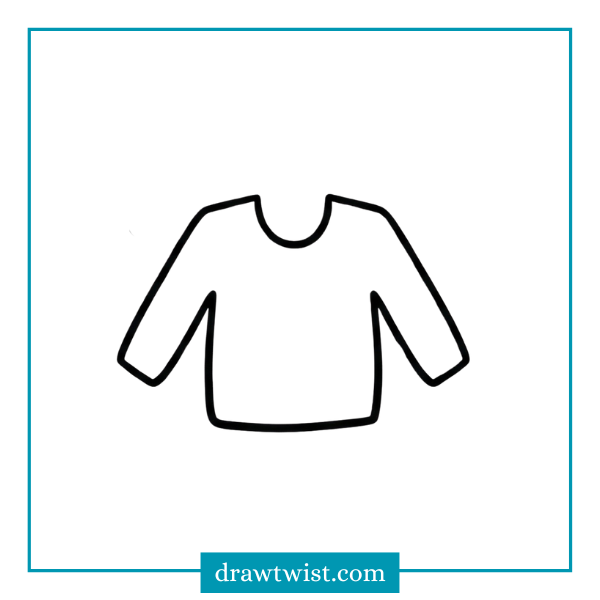
Step 3: The Neck Hole
Draw a scooped “U” shape at the top center.
- Variation: Want a V-neck? Draw a “V” shape instead.
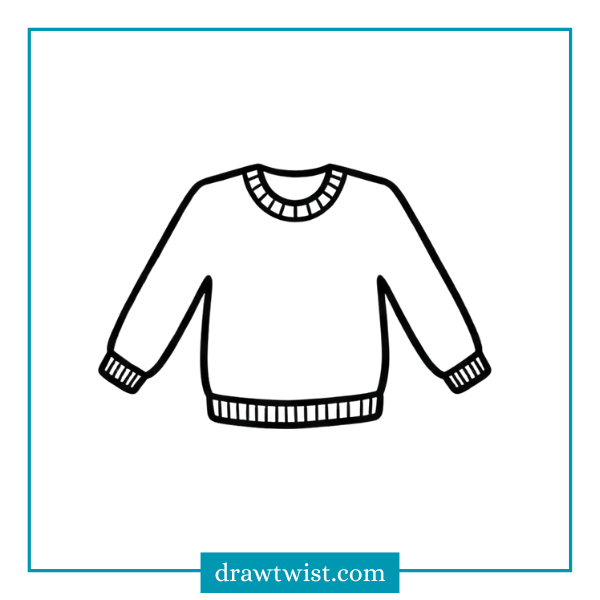
Step 4: Adding the Cuffs
Go to the end of the sleeves (the wrists). Draw a small rectangle at the end of each arm. Add little stripes inside them. Do the same thing at the very bottom of the sweater body. This is the “hem.” Do the same thing around the neck hole.
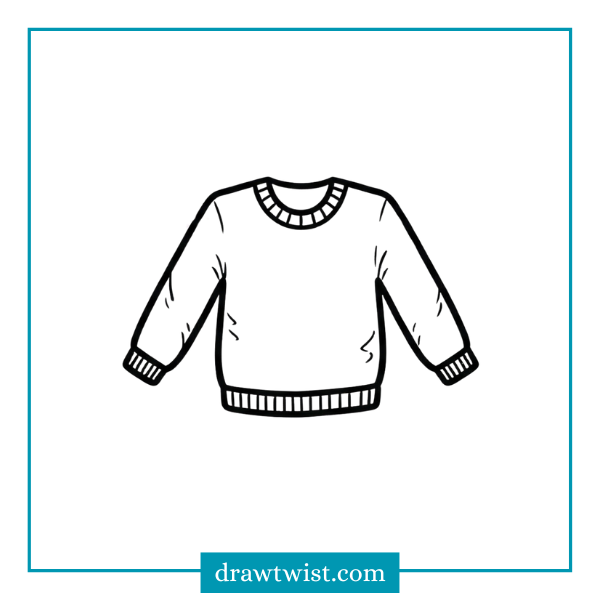
Step 5: The Texture Lines
Sweaters are knitted. To show this, we can draw tiny little lines on the elbows or near the armpits to show wrinkles. Just two or three little lines will do the trick. It makes the drawing look 3D!
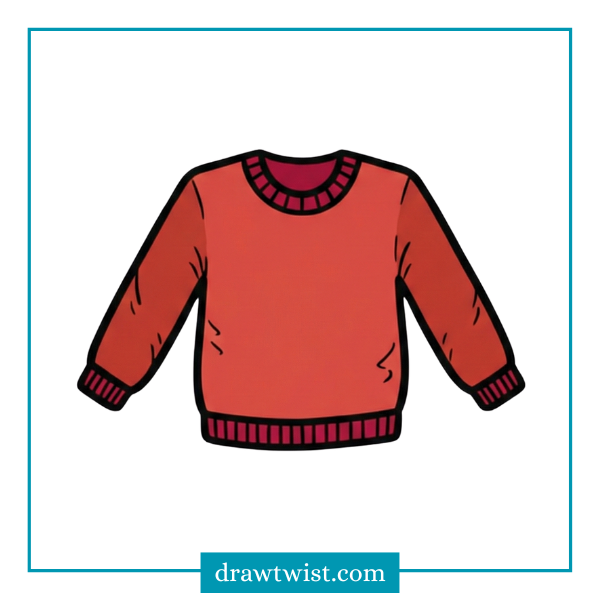
Step 6: Color
Here is the sweater opened up flat, showing its full shape with the arms spread wide. It is colored in a bright, cozy red, with darker red details on the ribbed collar, cuffs, and bottom hem to make them stand out.
The Pattern Library (Decorating Your Art)
This is the most fun part of the entire blog. A blank sweater is like a blank canvas. You are the fashion designer. You get to decide what this sweater looks like.
Here is a list of patterns you can draw inside your sweater outline. You can mix and match them!
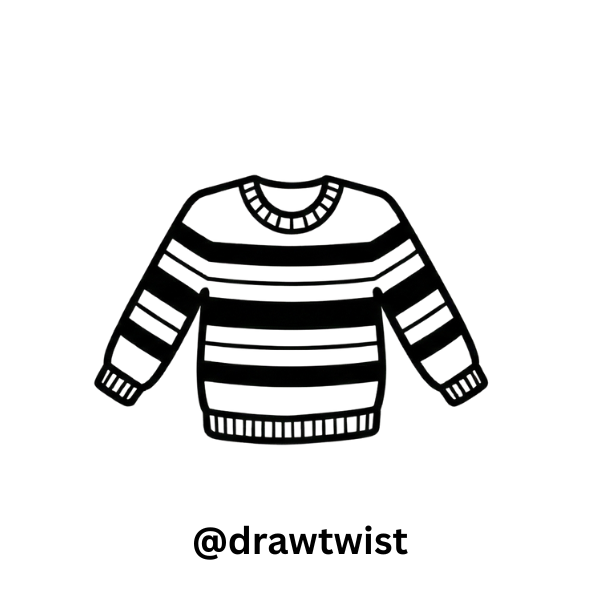
1. The Classic Stripes
This is the easiest one.
- Draw straight lines going across the body and sleeves.
- You can make them thick stripes or thin stripes.
- Design Tip: Try a pattern. Thick, thin, thick, thin. Or Red, Blue, Red, Blue.
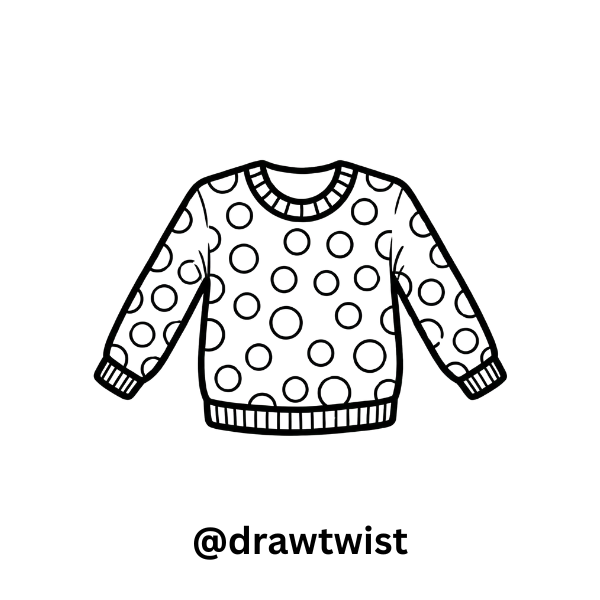
2. The Polka Dot
- Draw circles all over the sweater.
- Try to keep them the same size.
- If a circle is near the edge of the sweater, draw only half of it. This makes it look like the pattern wraps around the fabric.
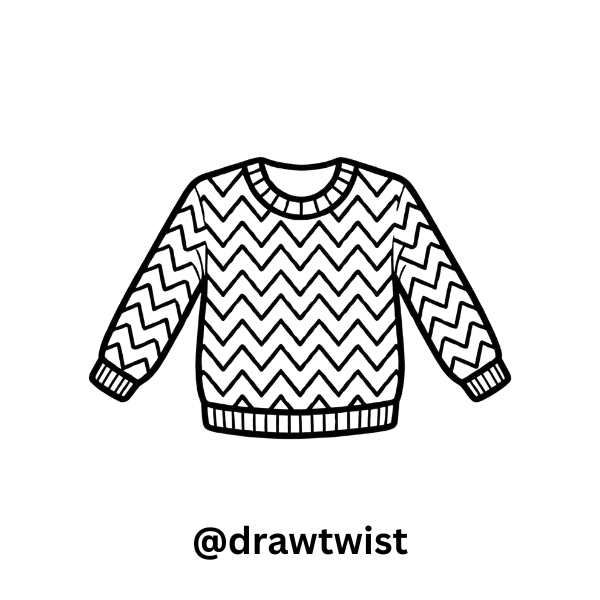
3. The Zig-Zag (Chevron)
- Remember our warm-up? Draw sharp mountain peaks across the sweater.
- This looks very energetic and fun.
4. The Snowflake (Winter Special)
Snowflakes can be tricky, but here is a simple way:
- Draw a plus sign (+).
- Draw an X right on top of it.
- Now you have a star shape.
- Put little dots or “V” shapes at the end of every line.
- Boom! Instant winter magic.
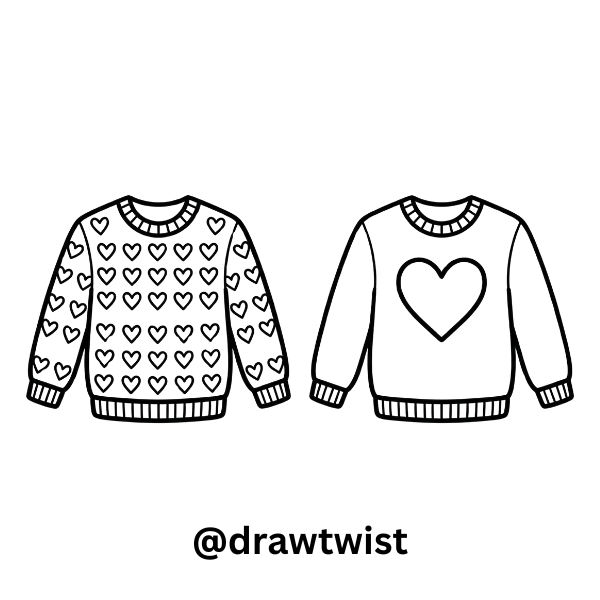
5. The Heart
- Draw hearts in rows.
- Or, draw one GIANT heart right in the middle of the chest.
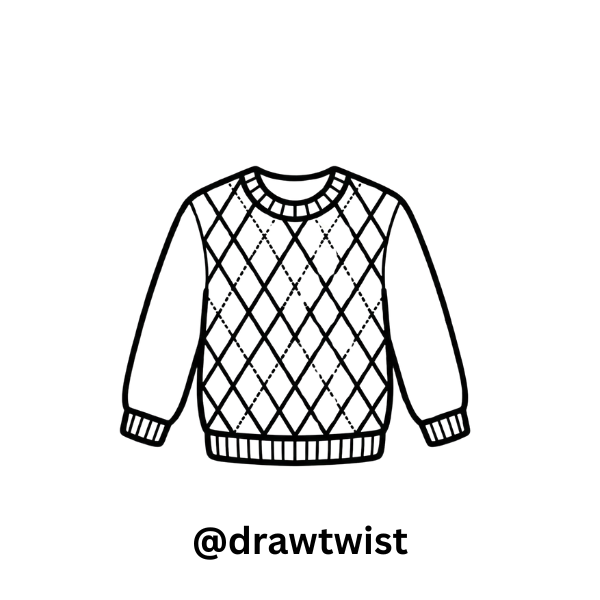
6. The “Argyle” (Fancy Diamonds)
This is for a fancy, smart-looking sweater.
- Draw a grid of diamonds.
- Draw dotted lines crossing through the diamonds.
- This one takes patience, but it looks amazing when you color it.
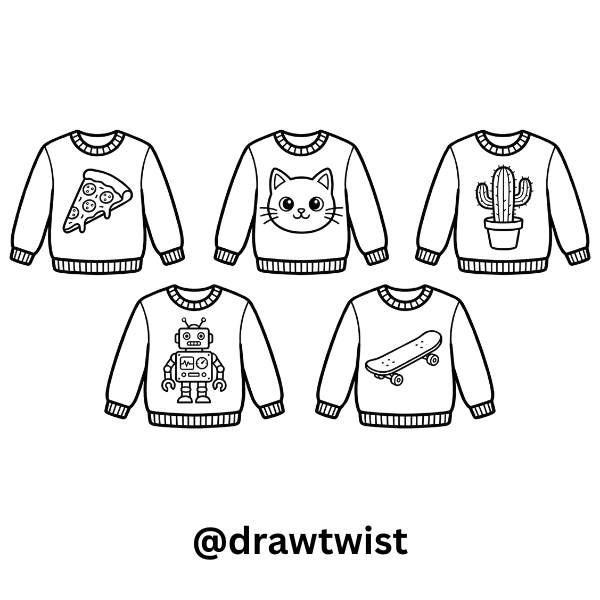
7. The Picture Sweater
Draw a specific object in the middle. Here are some silly ideas:
- A slice of pepperoni pizza.
- A cute cat face with whiskers.
- A cactus.
- A robot.
- A skateboard.
Coloring and Textures (Making it Fuzzy)
You have your outline. You have your patterns. Now, let’s bring it to life with color. But wait! Before you just scribble, let’s learn some Pro Coloring Tips.
Technique 1: The “Knitted” Look
Sweaters are made of yarn, which is lots of little strings. When you color with your colored pencil, don’t just color side-to-side. Instead, try making tiny little loops or swirls.
- Try this: Scribble tiny circles tightly together. It creates a rough, fuzzy texture that looks exactly like wool!
Technique 2: The Shadow
To make your sweater look real, we need shadow. Imagine the light is coming from the ceiling. The top of the sweater will be bright. The bottom will be darker.
- Pick a darker version of your color (if your sweater is light blue, find a dark blue).
- Color gently under the armpits, under the neck rim, and at the very bottom edges.
- This makes the sweater look “puffy.”
Technique 3: Mixing Media
This is a fancy art term for using two different tools.
- Color the whole sweater with Crayon (press hard!).
- Take some watercolor paint (blue or black) and paint over it.
- The wax in the crayon pushes the water away. It creates a very cool, bubbly effect!
Technique 4: The Rainbow Blend
Do you want a tie-dye sweater?
- Start with yellow on one side.
- Color softly.
- Start with blue on the other side.
- Color softly towards the yellow.
- Where they meet in the middle, they will turn green! blending is magic.
Fun Activities with Your Drawings
You learned how to draw a sweater. Now, what do you do with it? Don’t just leave it in your notebook!
1. The Paper Doll Fashion Show
- Draw a character (a stick figure or a person).
- Draw different sweaters on a separate piece of paper. Make sure they are the right size to fit your character.
- Add little rectangular tabs to the shoulders of your sweaters.
- Cut out the sweaters.
- Fold the tabs over the character’s shoulders.
- Now you can change their outfit! You can make a summer sweater, a winter sweater, and a party sweater.
2. The Greeting Card
A drawing of a cozy sweater is perfect for a card.
- Fold a piece of thick paper in half.
- Draw your best sweater on the front.
- Write “Sending you warm hugs!” or “Have a cozy birthday!”
- Give it to your grandma, your teacher, or your best friend. They will love it because you made it by hand.
3. The Sweater Garland
- Draw 10 small sweaters.
- Decorate them all differently.
- Cut them out.
- Tape them onto a long piece of string or yarn.
- Hang it across your window or your bedroom door. It’s a very cute decoration!
4. Design Your Own Brand
Pretend you are a famous fashion designer. Give your clothing line a name (like “Cool Kid knits” or “Super Soft Wear”). Draw a catalog. Draw 5 different sweaters and give them names and prices.
What Tools You Need
Before we draw, we need to gather our supplies. You don’t need expensive art stuff to make a masterpiece. Here is your checklist:
1. The Mighty Pencil
This is your magic wand. A standard HB pencil (the yellow one you use at school) is perfect. Make sure it is sharpened! A sharp pencil helps you draw clean lines. If you have different pencils, that is cool too, but a regular one works best for starting.
2. The Eraser (The “Oops” Fixer)
Mistakes are actually good things! They tell us we are learning. But sometimes, we want to change a line. Have a nice, soft eraser ready. If your pencil has an eraser on the end, check if it’s still soft. Hard, old erasers can smudge your paper.
3. Paper
You can use anything.
- Printer Paper: Great for practicing.
- Sketchbook: Good if you want to keep your drawings forever.
- Construction Paper: If you want to draw on colored backgrounds.
4. The Black Marker (The Outliner)
Once your pencil drawing is finished, going over the lines with a black marker makes the drawing “pop!” It looks like a cartoon or a professional illustration.
5. Colors, Colors, Colors!
Sweaters are boring if they are just gray! You need:
- Crayons: Great for a waxy, thick texture.
- Colored Pencils: Perfect for details and light coloring.
- Markers: For bright, bold, and loud colors.
Warming Up Your Imagination
Stop! Don’t draw the sweater yet.
Athletes stretch before they run, and artists need to stretch their hands before they draw. Let’s do some “Doodle Warm-ups.”
1: The Loopy Line On a scrap piece of paper, draw a line that loops around and around like a roller coaster. Don’t lift your pencil! Go fast, then go slow. This helps your wrist get loose.
2: The Soft Cloud Draw a cloud shape. Try to make the curves very soft and fluffy. Sweaters are soft, so we need to practice drawing “soft” lines, not hard, jagged lines (unless you are drawing a rock sweater!).
3: The Zig-Zag Draw sharp teeth! Up-down-up-down. We will use this later for patterns.
4: The Imagination Check Close your eyes. Imagine your favorite sweater. What color is it? Does it have buttons? Is it huge and baggy, or does it fit tight? Keep that picture in your head.
The Secret Shapes of a Sweater
Drawing big things is easy if we break them into small shapes. If you look at a sweater, it isn’t one big blob. It is made of rectangles and squares!
Let’s use our “X-Ray Artist Eyes” to see the shapes hidden inside a sweater.
1. The Body (The Big Box)
The main part of a sweater where your tummy and chest go is basically just a square or a rectangle. Sometimes the corners are rounded, but the base is a box.
2. The Sleeves (The Long Tubes)
The arms of the sweater are just long rectangles or tubes. They come out from the top corners of the body. Imagine two long sausages attached to a slice of bread!
3. The Neck (The Scoop)
At the very top, we need a hole for the head. This is usually a semi-circle (like a rainbow shape) or a V-shape (like a slice of pizza).
4. The Cuffs (The Little Bands)
At the end of the sleeves and at the bottom of the sweater, there is usually a stretchy part called the “ribbing.” We draw this as a thin rectangle with little lines inside it.
If you can draw a square, a tube, and a rainbow, you can draw a sweater.
Final Tips for Super Artists
As we finish our giant guide, I want to give you some advice that all artists need to hear.
1. Practice Makes Progress Your first sweater might look like a potato. That is okay! My first sweater drawing looked like a lumpy rock. The more you draw, the better you get. Keep your old drawings so you can look back and see how much you have improved.
2. There are No Mistakes in Art If you draw a line in the wrong place, turn it into something else. Maybe that stray line becomes a loose thread, or a stripe, or a pocket. Be creative with your accidents.
3. Look at Real Sweaters Go to your closet. Look at your clothes. Look at how the sleeves attach. Look at the patterns. Artists are great observers. Looking at real life helps you draw better cartoons.
4. Share Your Art Art is meant to be shared. Show your drawings to your family. Ask them which sweater design is their favorite. It feels good when people smile at what you created.
You did it. You are now a certified Sweater Expert. Drawing is a wonderful hobby. It relaxes your brain and lets you express yourself. Whether you draw a simple red jumper or a crazy, multi-colored, sparkly sweater with wings, it is YOUR creation. So, keep those pencils sharp, keep your imagination wild, and stay cozy. Happy Drawing.
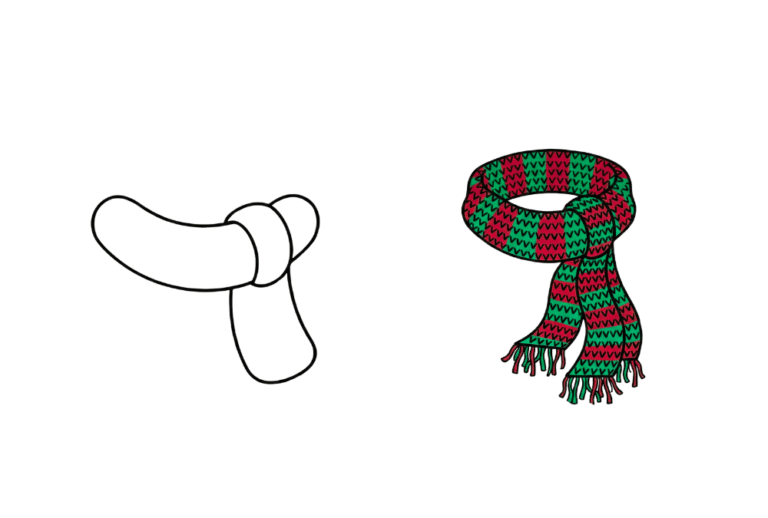
Read More: Winter Sweater Doodles, How to Draw Winter Scarf, Easy Balloon Doodle