21 Easy Dessert Drawing Ideas to Try
Dessert drawing ideas are a fun way for kids and beginners to enjoy drawing sweet treats. You can draw cute cupcakes, ice cream, donuts, cookies, cakes, and other yummy desserts. These drawings are great for sketchbooks, school projects, or just having fun with art.
In this article, we share 21 Easy Dessert Drawing Ideas to Try that are simple and fun to draw. Each idea is perfect for beginners who want to practice drawing cute and yummy treats.
Keep your eraser nearby and leave room around each sketch. You’ll have an easier time adjusting a scoop or widening a cake slice while your first lines are still light. For a small doodle, give yourself enough space to draw the topping clearly.
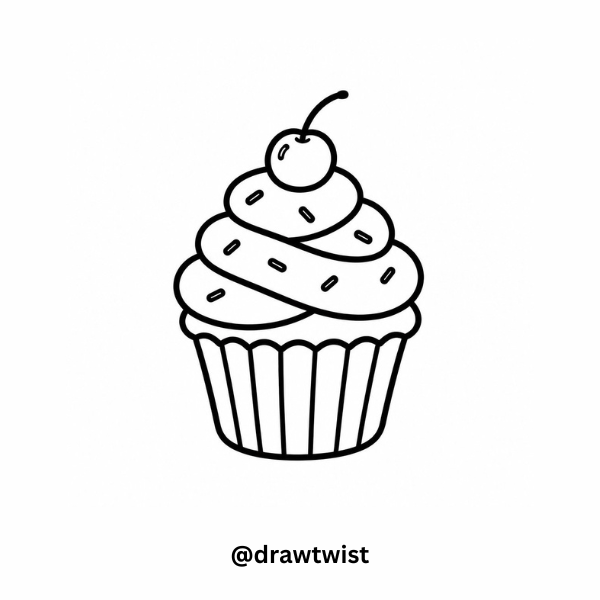
1) Frosted Cupcake
Build your cupcake from a tapered wrapper and a rounded frosting mound.
- Draw a wide, shallow oval for the wrapper’s top. Bring two slanted sides down to a short, curved bottom.
- Above the wrapper, draw a frosting outline with broad bumps that narrow toward a small peak.
- Add vertical wrapper folds and a few short sprinkle marks.
Keep your folds inside the wrapper. Use a slightly uneven frosting edge to give your doodle a soft, piped look.
2) Sprinkle Donut
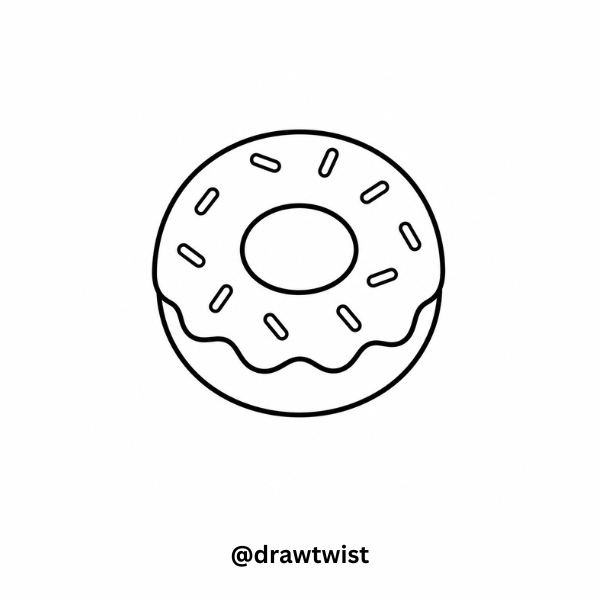
Start your donut with a large ring, then give its icing a gently wavy edge.
- Sketch a loose circle and place a smaller oval near its center.
- Draw a wavy icing boundary just inside the outside edge. Follow part of the hole with another short curve.
- Scatter short dashes across the icing for sprinkles.
Turn your sprinkle marks in different directions. Leave some open space so you can still read the ring shape at a glance.
3) Ice Cream Cone
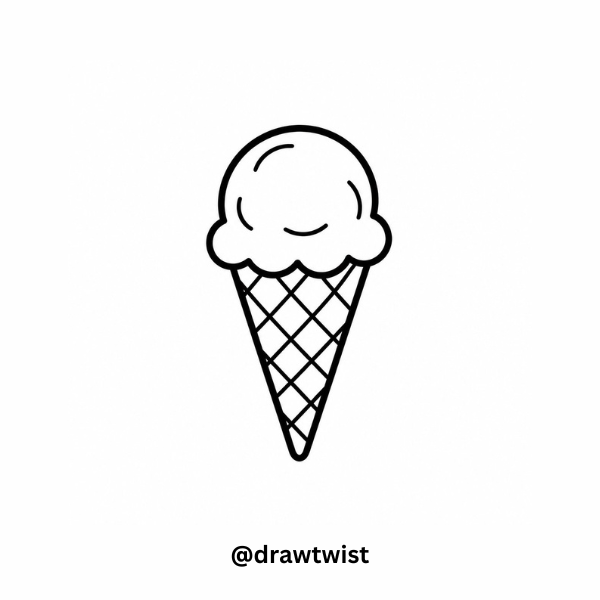
Give your ice cream cone a pointed triangle beneath a softly rounded scoop.
- Draw a triangle with its point facing down.
- Across its wide top, sketch a rounded scoop with a few small bumps along the bottom.
- Add widely spaced diagonal lines across the cone, then cross them in the opposite direction.
Erase the triangle’s top edge where your scoop covers it. Keep the waffle pattern inside the cone outline.
4) Chocolate Chip Cookie
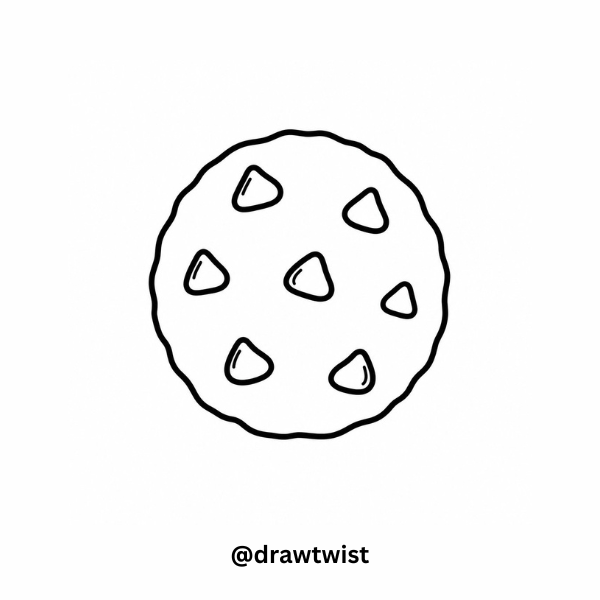
Use an uneven circle to give your cookie a baked edge.
- Draw a round outline with shallow bumps around its edge.
- Place small, irregular chip shapes across the middle and near the rim.
- Fill the chips with your pencil, then add a few tiny crumb marks.
Vary your chip sizes and spacing. For a bitten cookie, replace a short section of the outer edge with connected inward curves.
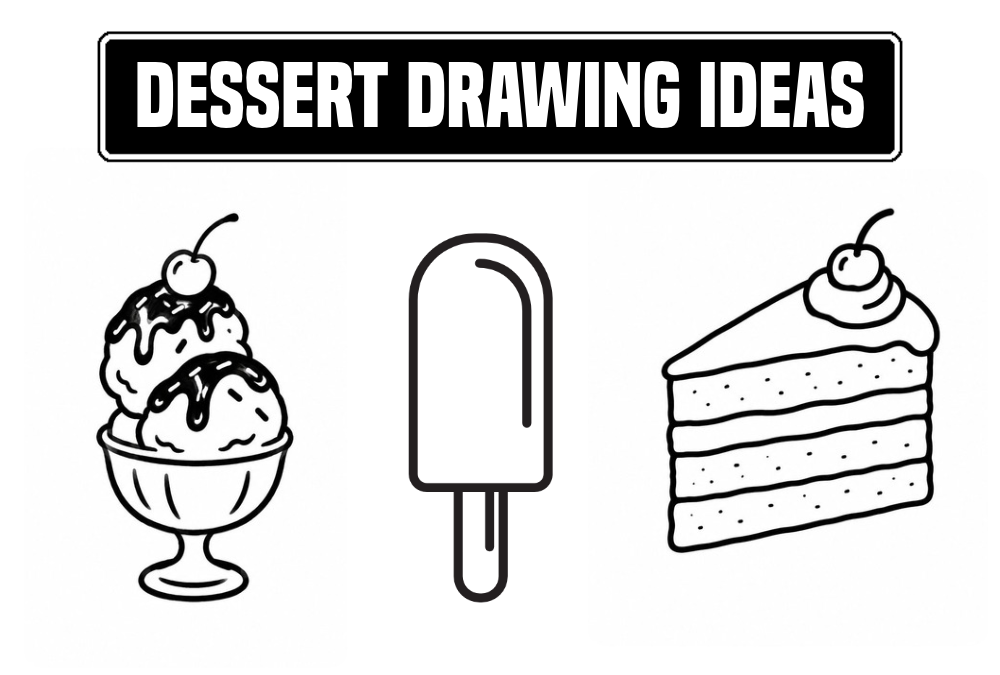
5) Ice Cream Sundae
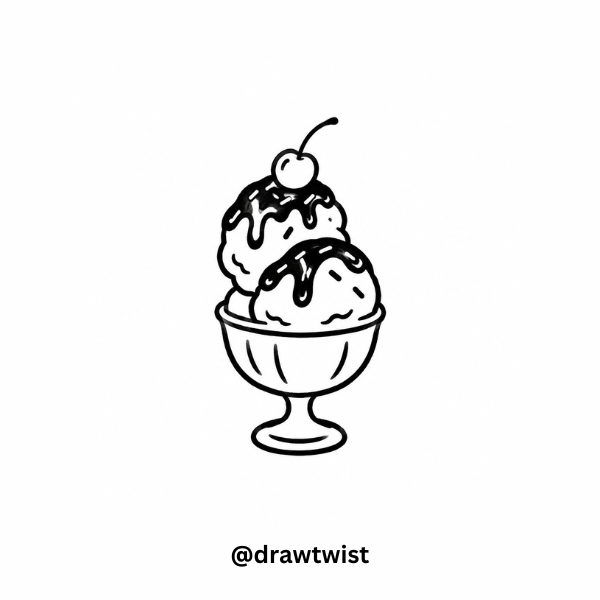
Anchor your sundae with a wide dessert glass before stacking the scoops.
- Sketch an oval rim, curved bowl sides, and a short stem with a flat oval base.
- Add overlapping scoops above the rim. Erase any glass lines hidden behind them.
- Top your scoops with a cream curl and a small cherry with a bent stem.
Keep your glass stem centered beneath the bowl. Use short sauce drips over the upper scoop if you want another detail.
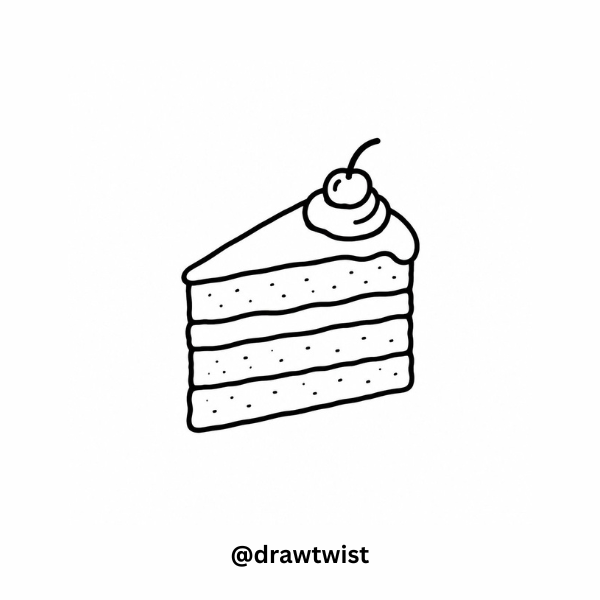
6) Layer Cake Slice
Draw your cake slice as a triangular top with straight sides extending downward.
- Sketch a wide triangle pointing sideways.
- Drop short vertical lines from its corners, then connect their lower ends to form the cake’s depth.
- Follow the lower edges with matching lines for filling layers. Finish with a small cream curl on top.
Keep the filling bands roughly even. Add a few tiny dots to the cake layers for a crumb texture.
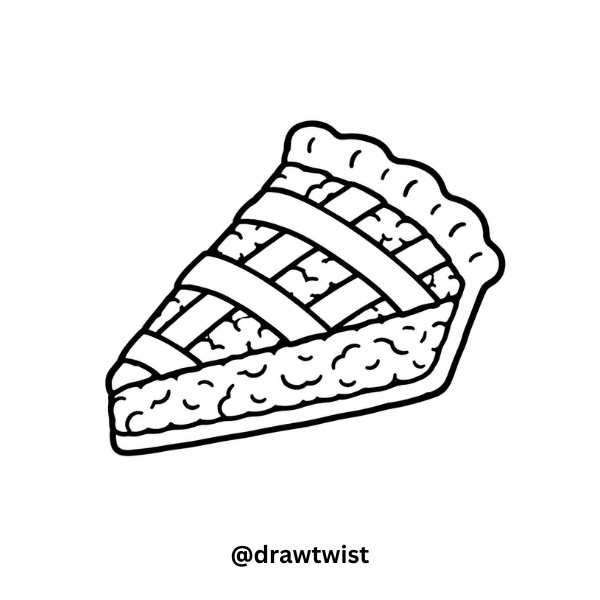
7) Lattice Pie Slice
Make your pie slice readable with a wedge outline and a thick, scalloped back crust.
- Draw a triangular top and add a shallow side beneath it.
- Round the wide back edge with a row of connected crust bumps.
- Place a few wide diagonal strips across the top, then add crossing strips.
For your first attempt, let the strips overlap without drawing a woven pattern. Add small fruit curves in the open spaces.
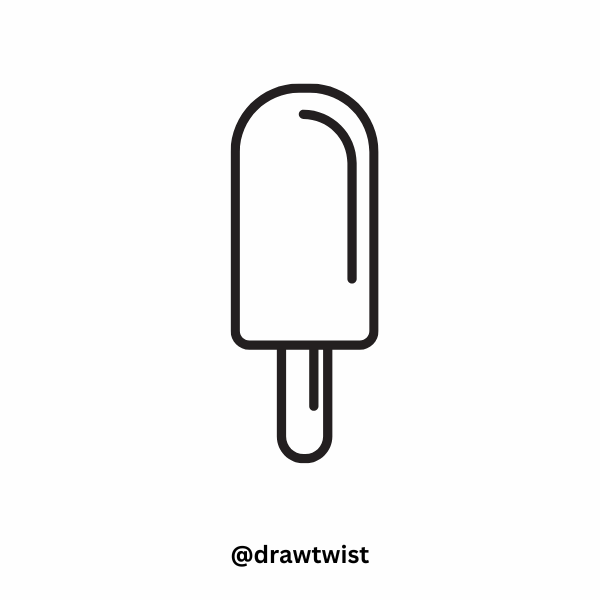
8) Popsicle on a Stick
Begin your popsicle with a tall rectangle softened at the top corners.
- Draw a rounded top, two nearly straight sides, and a short bottom edge.
- Extend a narrow stick from the center of the bottom. Round its lower end.
- Add a long, shallow groove inside the popsicle.
Keep your stick narrower than the frozen portion. If you add a bite, use small inward curves at one upper corner.
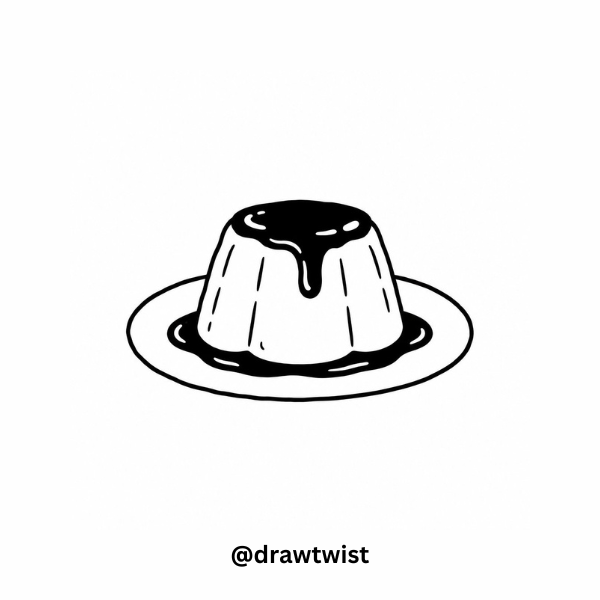
9) Caramel Pudding
Shape your caramel pudding with an oval top and sides that widen toward the plate.
- Sketch a small, flat oval.
- Extend slanted sides downward and join them with a curved base.
- Add a wavy sauce edge below the top, then draw a few curved vertical grooves.
Place a larger, shallow oval beneath your pudding for the plate. Keep the sauce edge uneven, with one or two rounded drips.
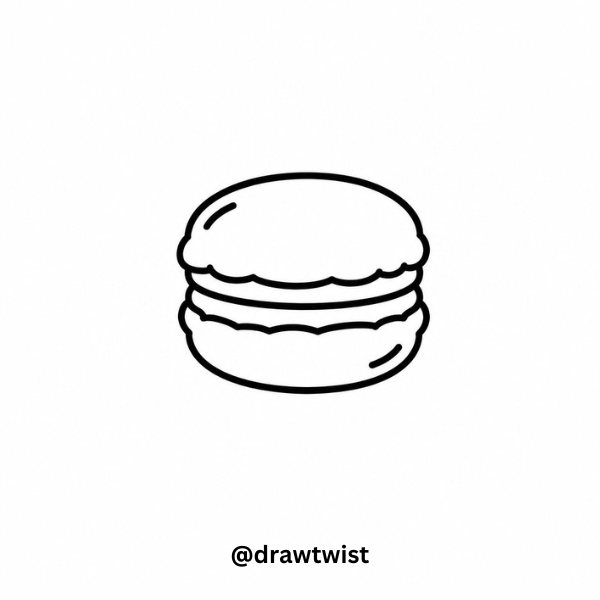
10) Filled Macaron
Use two flattened domes around a narrow filling band to draw your macaron.
- Draw a low arch for the upper shell and close it with a slightly rough bottom edge.
- Add a narrow cream band underneath, using small, soft waves along its edge.
- Draw the lower shell with a curved bottom and a lightly bumpy upper rim.
Keep both shells about the same width. Add tiny marks near their rough rims to suggest the macaron’s crumbly edges.
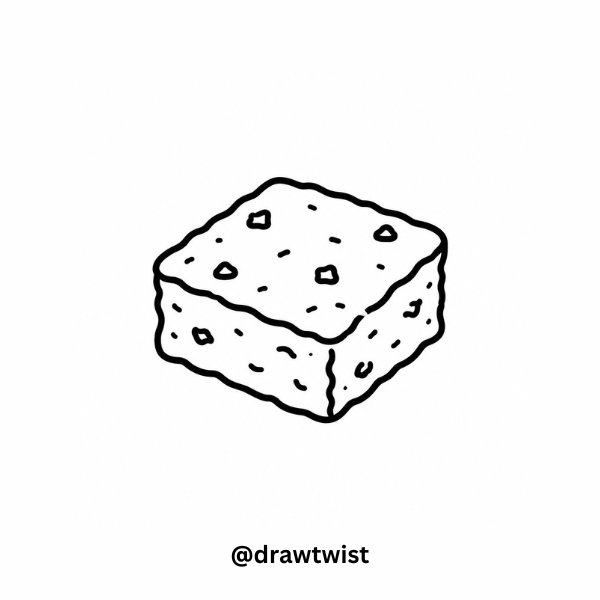
11) Square Brownie
Give your brownie thickness by drawing a tilted square with visible front and side edges.
- Sketch a slanted square for the top.
- Extend short lines down from the visible corners and connect them.
- Add a few branching cracks across the top and small crumb dots along the front.
Keep your crack lines thin and uneven. Leave plenty of white space between them so your brownie stays clear at doodle size.
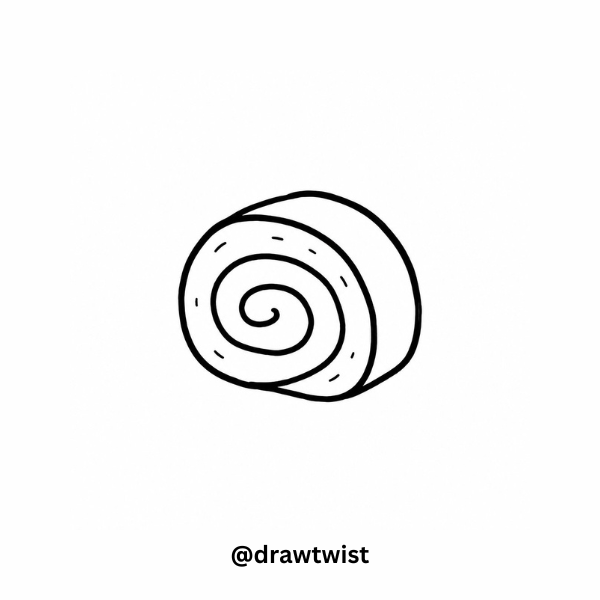
12) Swiss Roll Slice
Make your Swiss roll recognizable with a broad spiral inside a rounded slice.
- Draw a circle or slightly flattened oval for the cut face.
- Sketch a loose spiral inside it, leaving a wide path between turns.
- Add a second curved edge behind one side to show the slice’s thickness.
Guide your spiral slowly from the center outward. Stop before it touches the outside edge so you keep a clear cake border.
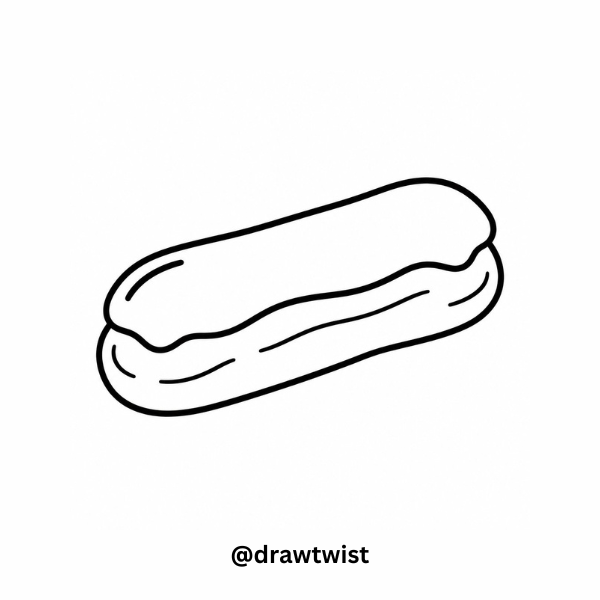
13) Chocolate Éclair
Stretch a rounded capsule shape sideways to form your éclair.
- Draw a long oval with slightly flatter sides.
- Add a narrow, wavy cream seam along its middle.
- Outline a chocolate glaze patch across the top, allowing a short drip to fall over one side.
Shade your glaze with light pencil strokes or fill it dark around a small white highlight. Keep the cream seam visible.
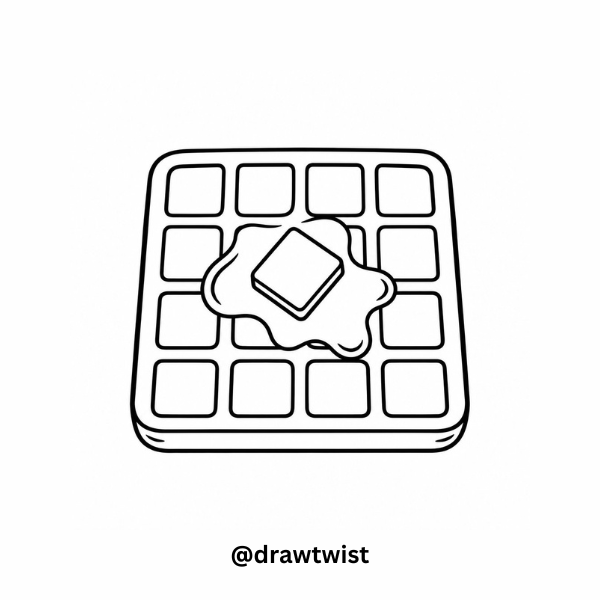
14) Square Waffle
Start your waffle with a soft-cornered square and a roomy grid.
- Draw a square with gently rounded corners. Add a short lower edge for thickness.
- Divide the top into large grid cells.
- Place a small tilted square of butter near the center and surround it with a curved syrup outline.
Erase grid lines beneath your toppings. Keep the cells large enough that you can draw each opening clearly.
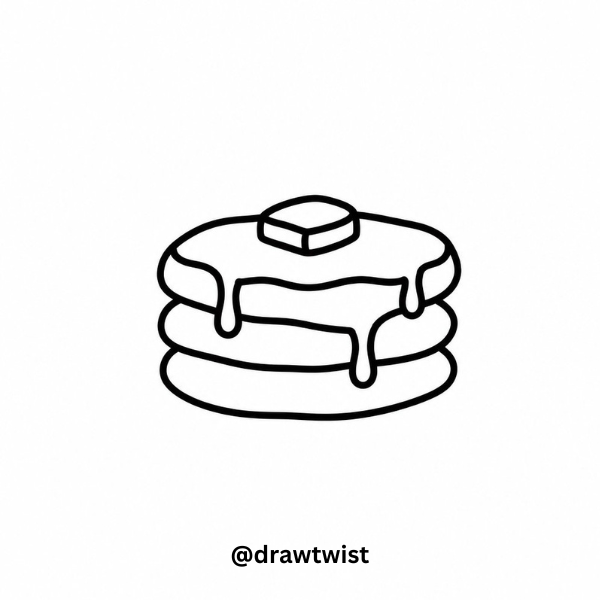
15) Pancake Stack
Build your pancake stack from a wide top oval and shallow curved bands underneath.
- Draw a flattened oval for the top pancake.
- Add curved layers below it, joining each layer at the sides.
- Sketch a small butter pat on top and let a syrup outline drip over the front.
Vary the layer edges slightly to keep your stack relaxed. Leave a narrow gap between syrup drips so the pancakes remain visible.
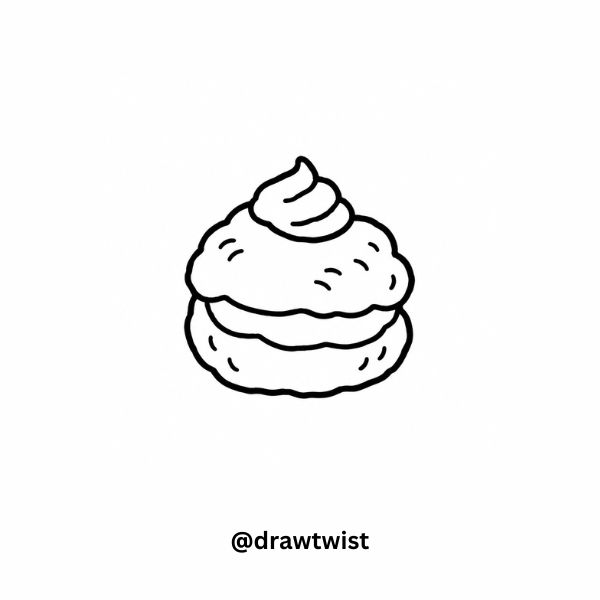
16) Cream Puff
Use a lumpy dome above a wavy filling band for your cream puff.
- Sketch a broad mound with a few uneven bumps.
- Beneath it, add a cream band made from small, rounded waves.
- Close the shape with a shallow pastry base and add short curved creases to the top.
Keep your creases separated. A few small dots around the pastry suggest loose crumbs without crowding the outline.
17) Strawberry Mochi Cutaway
Draw your cut mochi as a rounded dome with a strawberry shape nested inside.
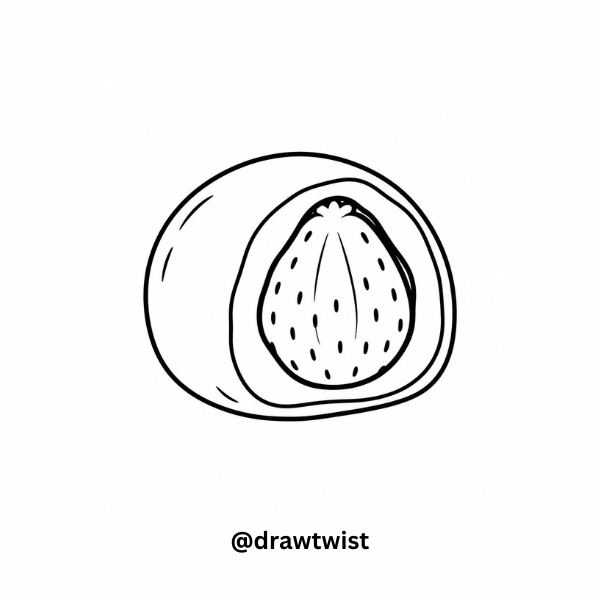
- Sketch a low dome with a nearly flat base.
- Follow its inside edge with a second line to show the outer dough layer.
- Place a pointed strawberry shape in the middle, leaving a white filling border. Add short seed marks.
Point your strawberry tip upward. Keep the seeds within the fruit so your filling stays visually separate.
18) Jelly Mold
Give your jelly mold a ring-shaped top and curved grooves down its sides.
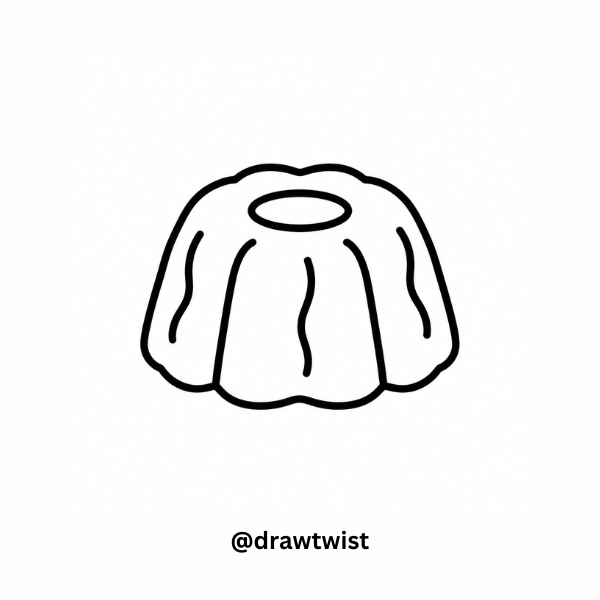
- Draw a wide oval with a smaller oval opening near the center.
- Extend short sides downward and connect them with a softly scalloped base.
- Draw spaced curves from the top rim toward the lower scallops.
Add a short inner curve beneath the hole’s upper edge to show depth. Keep your groove lines light.
19) Chocolate-Dipped Strawberry
Outline your strawberry as a rounded heart shape with a leafy cap.
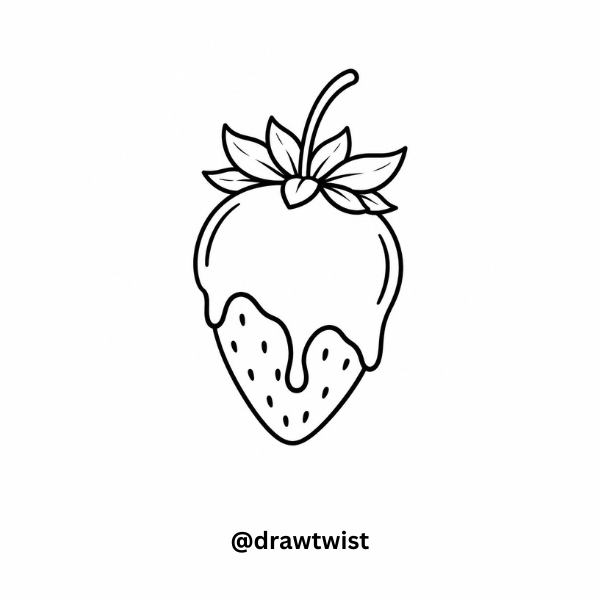
- Draw broad shoulders that taper to a soft point.
- Add pointed leaves across the top and a short stem.
- Mark a wavy chocolate boundary across the lower half. Darken that area and add seeds to the exposed fruit.
Leave a small white highlight within your chocolate coating. Follow the berry’s curve when placing the seed marks.
20) Meringue Kiss
Form your meringue kiss with a broad base that narrows into a curled point.
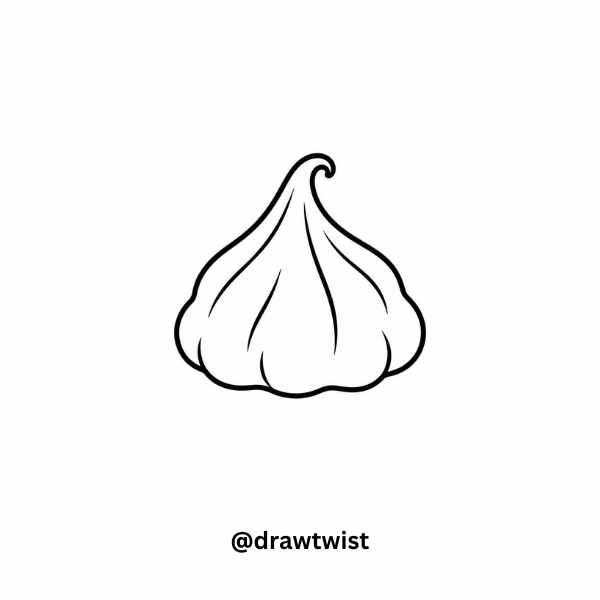
- Lightly sketch a squat triangle as a starting shape.
- Replace its straight sides with outward curves, then curl the tip to one side.
- Draw a few curved ridges from the base toward the peak.
Erase your starting triangle. Let the ridge lines stop just short of the tip to keep that small area clear.
21) Segmented Chocolate Bar
Draw your chocolate bar as a long rectangle divided into chunky sections.
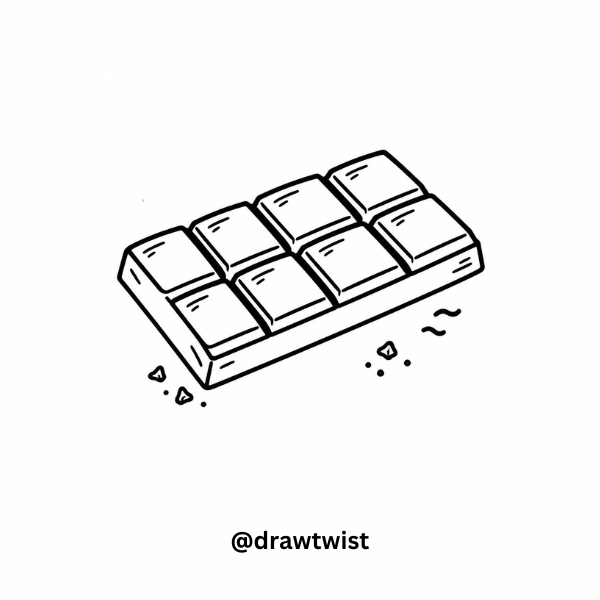
- Sketch a rectangle, then add a narrow strip along its bottom and one side for thickness.
- Divide the top into large rectangular segments.
- Draw a smaller inset rectangle inside each segment to suggest raised chocolate pieces.
Keep your dividing lines parallel to the outer edges. For a simpler version, use one row of large segments and leave out the inset borders.
Simple Techniques for Black and White Dessert Doodles
You’ll make your dessert doodles easier to read by keeping the outer shape clear and choosing details carefully. Work lightly until you’re happy with the proportions, then strengthen the lines you want to keep.
How Do You Build Dessert Outlines From Basic Shapes?
Start your sketch with the largest shape and fit the smaller parts around it. Use a circle for a cookie, a triangle for a cone, or a rectangle for a chocolate bar.
Check where the parts meet before adding details. When your frosting overlaps a wrapper, erase the hidden wrapper edge so the frosting sits clearly in front.
How Can You Suggest Texture Without Heavy Shading?
Choose a small set of marks that matches your dessert’s surface. Use dots for cake crumbs, broken lines for brownie cracks, and short curves for pastry folds.
Place most texture marks in a few open areas. Keep them lighter than your outer contour so your doodle holds its shape when you view it from farther away.
How Can You Simplify Lattice, Waffle Grids, and Fruit Toppings?
Reduce repeated details until each one has enough space around it. For pie lattice, use a few broad crossing strips; for waffles, draw large cells with clear gaps.
Reduce fruit toppings to their outer shape and one identifying feature. Give your cherry a curved stem or your strawberry a leafy cap before adding smaller marks.
Frequently Asked Questions
Use these answers to choose a starting point and keep your pencil drawings manageable.
Which dessert drawings are easiest for young kids?
Start with your popsicle, chocolate chip cookie, or segmented chocolate bar. Each gives you a clear outer shape and room to practice a few simple details, so you can leave out extra texture during an early attempt.
What supplies do I need for black and white dessert drawings?
You need plain paper, a pencil, and an eraser. If you want stronger finished outlines, add a black pen after your pencil sketch feels settled, then erase the remaining construction lines.
How can I make dessert doodles cute without adding faces?
Give your doodles rounded corners, generous toppings, and slightly oversized details. Try a broad frosting swirl or a plump scoop, and keep tiny decorations spaced apart.
How do I draw frosting and ice cream scoops with simple lines?
Join broad curves smoothly, making the bumps different sizes as you move around the outline. If your frosting looks spiky, round the joins; if your scoop looks stiff, soften its lower edge with shallow dips.
Can I draw these desserts without realistic shading?
You can finish every dessert here using outlines and a few interior marks. Keep filling layers white, use a clear boundary for sauces, and reserve dark pencil areas for details such as chocolate chips or dipped coatings.
Related Reading:
How to Draw a Butterfly, 61 Fun Simple Doodles, 25 Easy Car Doodle Ideas