How to Draw Chimney (Easy Step-by-Step Guide)
Are you ready to draw something cozy and cool today? Maybe you are drawing a house and it needs something on the roof. Maybe it’s wintertime, and you want to draw a warm fire inside. Or maybe… just maybe… you want to draw a special entrance for Santa Claus.
Today, we are going to learn How to Draw Chimney. But not just one chimney we are going to learn how to draw many types.
Grab your pencils, your erasers, and your favorite colors. Let’s get doodling.
What You Will Need
Before we start, let’s make sure we have our tools ready.
- A Pencil: Regular school pencils work great.
- An Eraser: Because mistakes are just happy accidents.
- Paper: Any white paper or sketchbook.
- Black Marker: To trace your lines later (optional).
- Colors: Crayons, colored pencils, or markers (Red, Brown, Grey, and White are best for chimneys).
Level 1: The Super Simple Box Chimney
This is the easiest way to start. If you are very small or just want a quick doodle, start here. This chimney is 2D (flat).
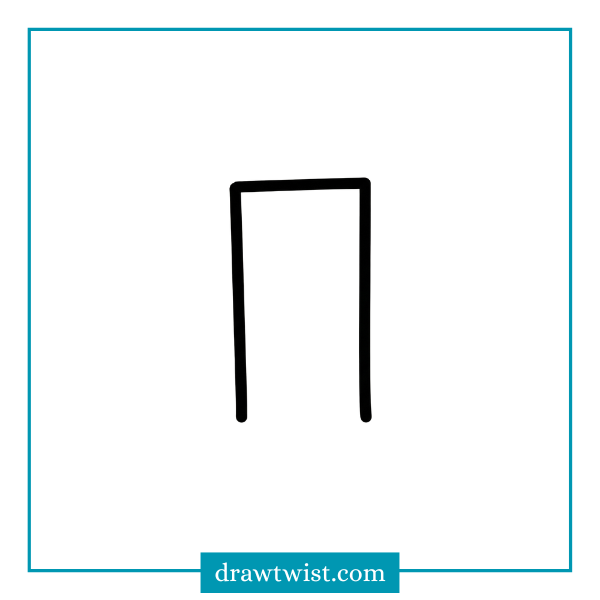
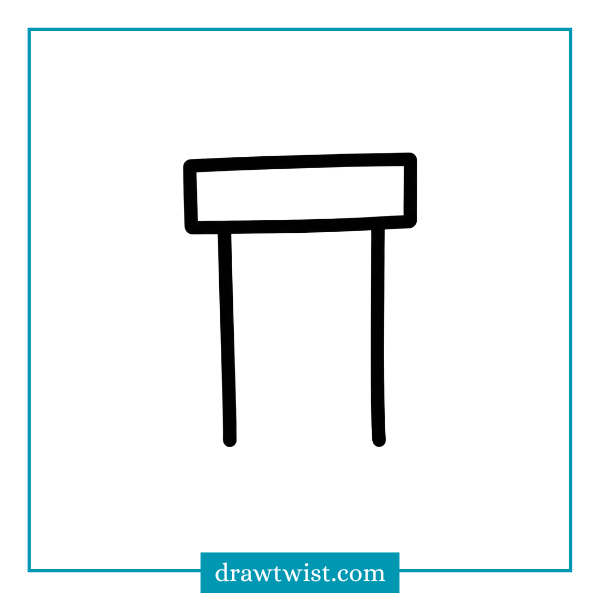
Step 1: Draw a Rectangle
Imagine a tall, skinny box standing up.
- Draw two straight lines going up and down (vertical lines).
- Connect them at the top with a flat line.
- Tip: Don’t close the bottom yet. We need to put it on a roof later.
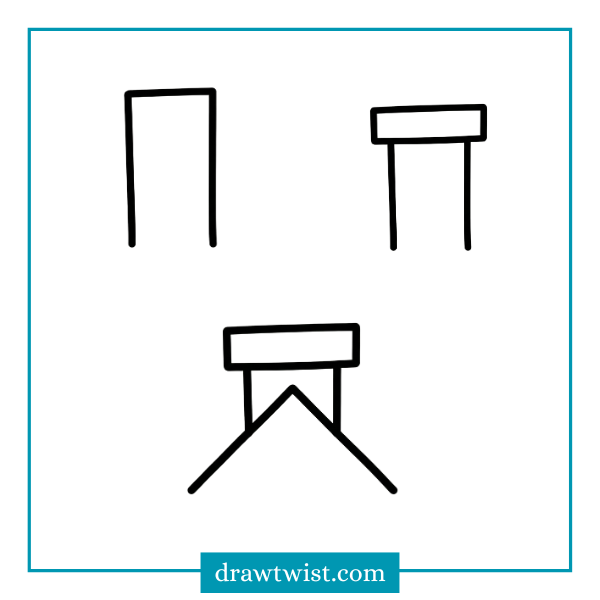
Step 2: Add the “Crown” (The Top Part)
Most chimneys have a little hat or a rim at the top. This is called the “crown.”
- Draw a slightly wider, thin rectangle right on top of your first rectangle.
- It should look like the letter ‘T’ but fat.
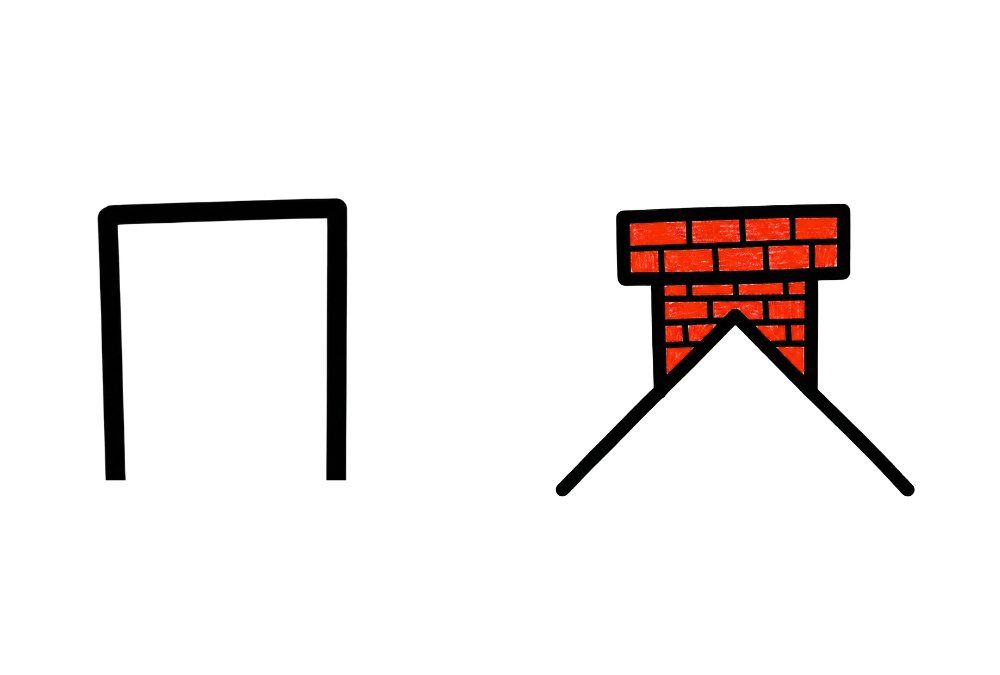
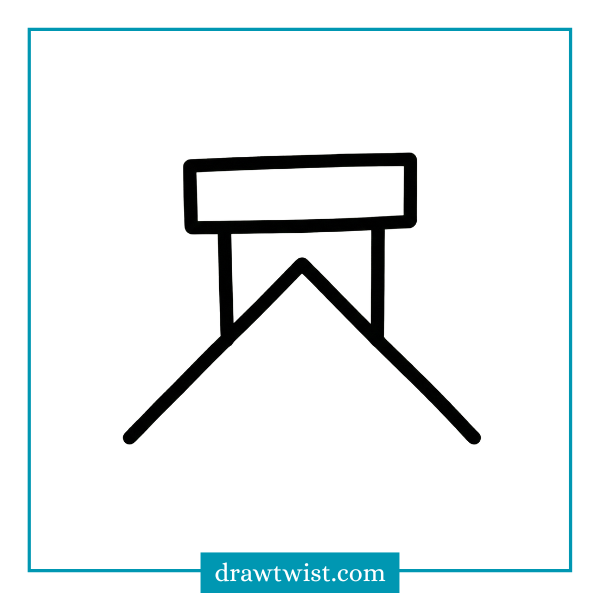
Step 3: Put it on a Roof
A chimney can’t float in the sky. Let’s put it on a house.
- Draw a triangle shape under your chimney (this is the roof).
- If the roof is slanted, draw a diagonal line connecting the bottom of your chimney sides.
Now, You have drawn a basic chimney. It was easy, right? Now, let’s make it look cooler.
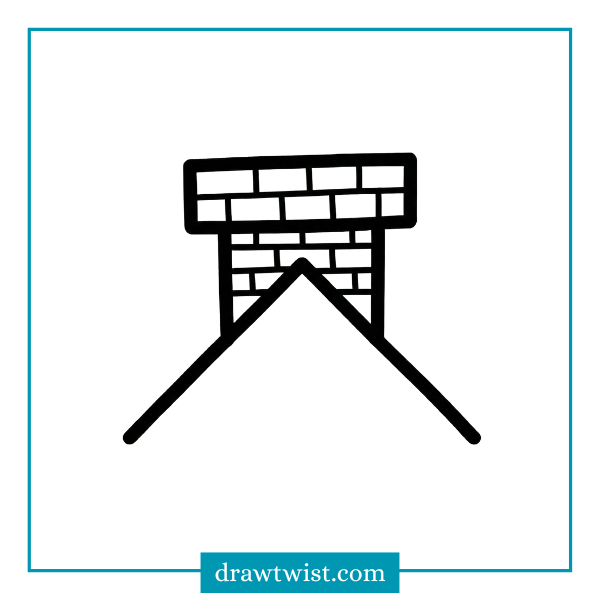
Level 2: The Brick Chimney (Adding Texture)
A plain box is okay, but real chimneys are made of heavy, strong bricks. Let’s learn how to draw a “brick pattern.” This is great for doodling textures.
Step 1: Draw your Shape
Start with the shape you made in Level 1 (The tall rectangle with the rim on top).
Step 2: Draw Horizontal Lines
- Inside the main rectangle, draw straight lines going across from left to right.
- Space them out evenly. Imagine ladder steps.
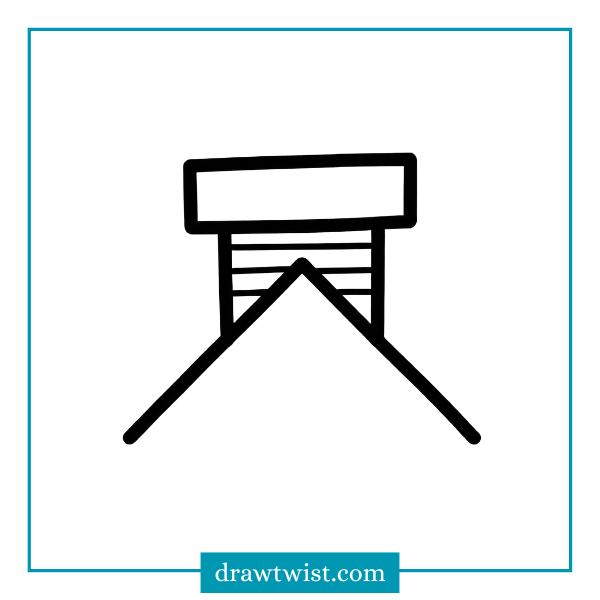
Step 3: Draw the Vertical “Brick” Lines (The Trick)
Here is the secret to making it look like real bricks. You must stagger the lines.
- Row 1: Draw small vertical lines to make squares.
- Row 2: Draw vertical lines in between the lines from the row above. Don’t line them up perfectly.
- Row 3: Copy Row 1.
Why do we do this?
If you line them up perfectly, it looks like a grid or a waffle. If you stagger them (mix them up), it looks like a strong brick wall.
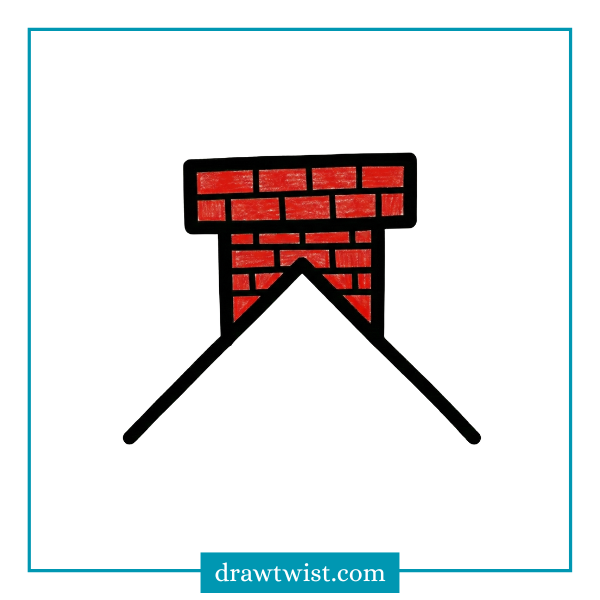
Step 4: Color it In
- Use Red or Orange for the bricks.
- Trace the lines with a Black marker to make them pop.
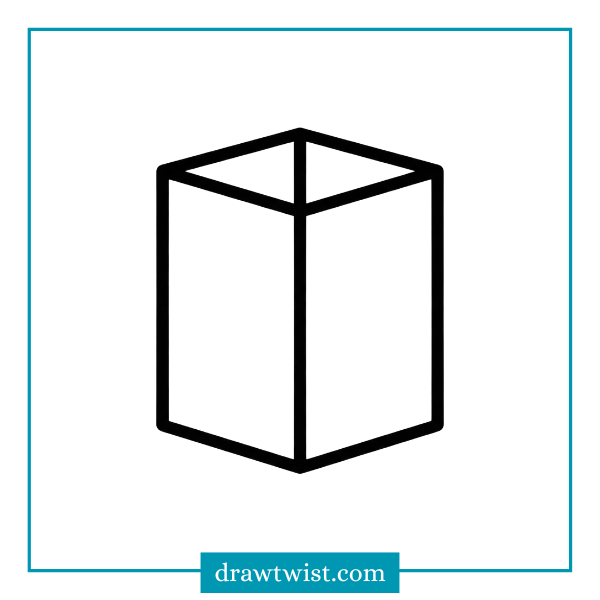
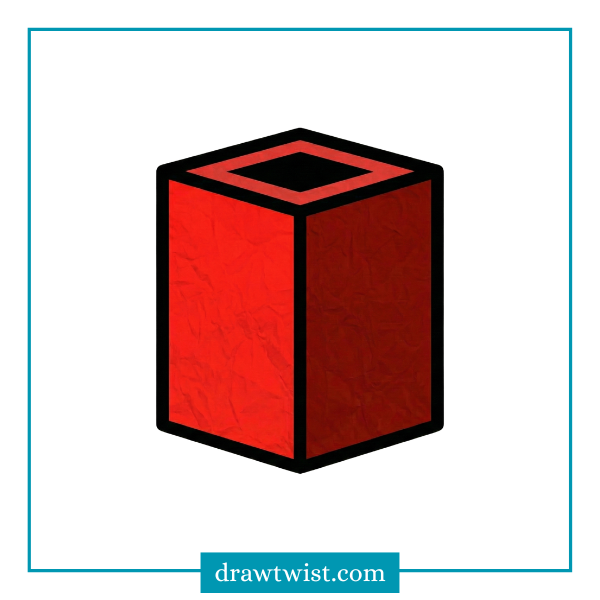
Level 3: The 3D Chimney (Making it Pop)
Now we are going to use some magic called “Perspective.” This makes your drawing look like it is popping out of the paper.
Step 1: The Cube
Instead of a flat rectangle, we want to see two sides of the chimney.
- Draw a vertical line (up and down). This is the front corner.
- Draw two lines going slightly up and to the right from the top and bottom.
- Draw two lines going slightly up and to the left from the top and bottom.
- Connect them to make a tall box corner.
(If that is too hard, just draw a normal rectangle, and add a thinner rectangle attached to the side of it to show “depth”.)
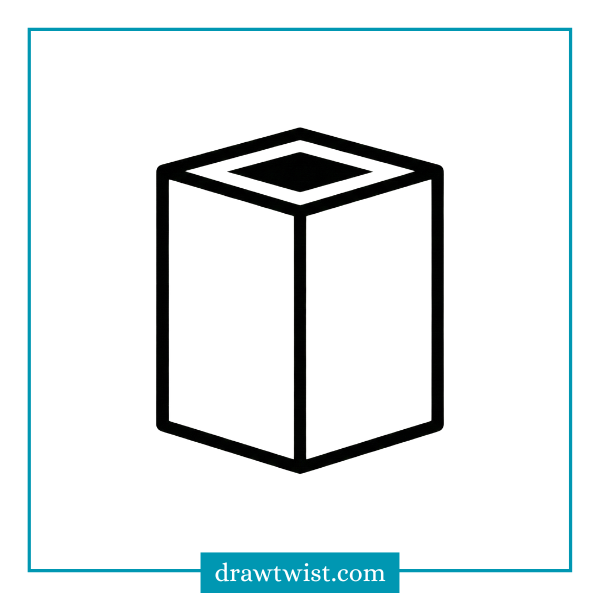
Step 2: The Top Opening
We need to see the hole where the smoke comes out.
- On the very top of your box, draw a shape that looks like a squashed square (a rhombus or diamond shape).
- Color the inside of this shape Black or Dark Grey. This shows that it is a deep, dark hole going down.
Step 3: Add Shadow
- Pick a side where the sun is hitting. That side should be bright red.
- The other side should be a darker red (shadow side).
- This makes the chimney look heavy and real.
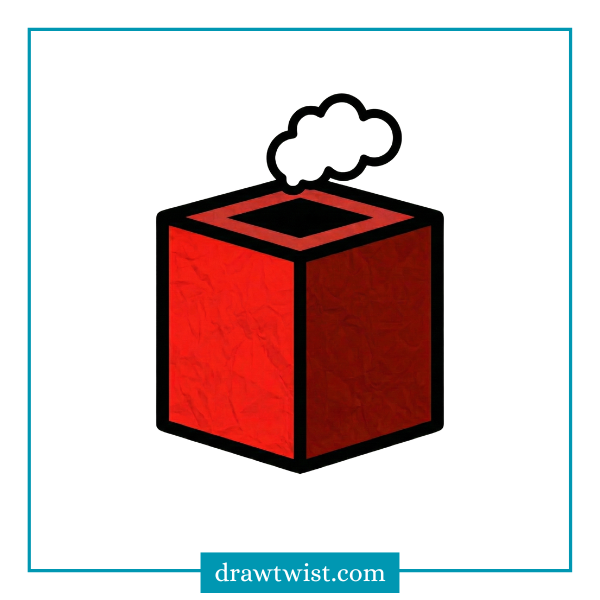
Step 4: Cozy Smoking Chimney
A chimney isn’t doing its job unless there is a fire downstairs. Let’s add some puffy smoke clouds. This makes your drawing feel “alive.”
Small Puffs First
- Draw a small curvy cloud shape right above the hole.
- Think of drawing the letter ‘C’ or ‘U’ over and over again.
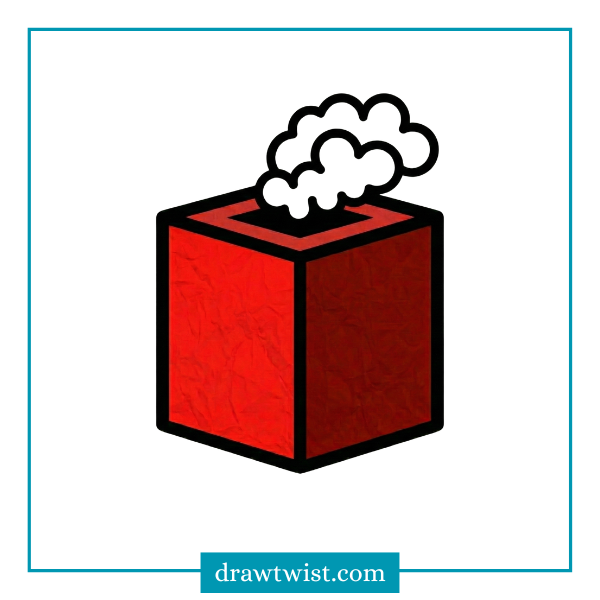
Get Bigger
- As the smoke goes up into the sky, it spreads out.
- Draw a medium cloud above the small one.
- Draw a giant cloud at the very top.
Coloring Guide: How to Make it Beautiful
Drawing is only half the fun. Coloring brings it to life. Here are some “Color Palettes” you can use:
1. The Classic Red
- Bricks: Bright Red.
- Mortar (lines between bricks): White or Light Grey.
- Smoke: Grey.
2. The Old Stone Cottage
- Bricks: Instead of squares, draw rounded blobs (stones).
- Colors: Dark Grey, Light Grey, and Brown spots.
- Vibe: Very old and spooky.
3. The Modern House
- Shape: Smooth metal pipe (cylinder) instead of bricks.
- Colors: Silver, Black, or Shiny Grey.
- Vibe: Clean and new.
Why Do We Draw Chimneys? (Fun Facts for Kids)
While you are resting your hand, here are some cool facts to know:
- The Stack Effect: Chimneys work because hot air rises. The hot smoke from the fire wants to go up, and the chimney acts like a straw sucking the smoke out of the house.
- Sweeps: A long time ago, people used to climb inside chimneys to clean them. They were called “Chimney Sweeps.” (Don’t try this at home it’s very dirty).
- Santa’s Door: In many stories, the chimney is the magical door for holiday gifts. That is why we decorate them in winter.
Troubleshooting: “My Chimney Looks Weird”
It is okay if your drawing isn’t perfect. Here is how to fix common problems:
- “It looks like it’s falling over.”
- Fix: Check your vertical lines (the up and down ones). Are they straight? Try using a ruler or the edge of a book to make them perfectly straight up.
- “The bricks look messy.”
- Fix: Slow down. Don’t rush the brick lines. Draw the horizontal lines first, then take your time adding the little vertical lines.
- “It looks flat.”
- Fix: Add a shadow. Pick one side (left or right) and color it slightly darker than the rest. Boom, Instant 3D.
Great job. You have learned how to draw a chimney from a simple box all the way to a snowy, smoking masterpiece.
Your Next Challenge:
Now that you have the chimney, can you draw the rest of the house?
- Draw a big triangle roof under your chimney.
- Draw a square house under the roof.
- Add a door and two windows.
- Add a path leading to the door.
Doodling is all about practice. The more chimneys you draw, the better they will look. Maybe draw a whole city of rooftops with different chimneys tall ones, short ones, fat ones, and skinny ones.
Keep creating, keep smiling, and keep doodling.
Read More: How to Draw Penguin, 37 Warm and Cozy Winter Doodles to Draw, How to Draw Winter Hat and Mittens, Easy Winter Animal Doodles