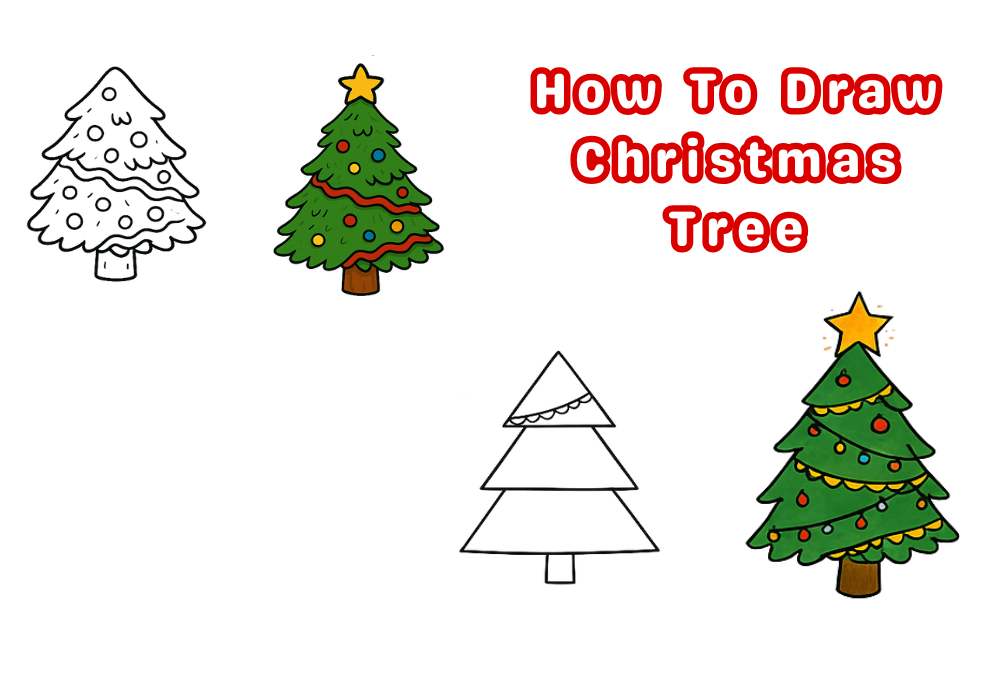
How to Draw Christmas Tree (8 Easy Step Guide For Beginners)
Drawing a Christmas tree is one of the most joyful and relaxing holiday-themed activities. Whether you’re creating festive doodles, decorating your sketchbook, making Christmas cards, or simply practicing art fundamentals, learning how to draw a Christmas tree is both fun and beginner-friendly.
In this article, we’ll walk through each step slowly from the basic trunk shape to fluffy layered branches, ornaments, lights, and shading. Inspired by the clean, easy-to-follow style, this guide keeps the instructions simple, clear, and enjoyable for all ages.
By the end, you’ll be able to draw Christmas tree styles: cute, simple, detailed, aesthetic, and even minimalist versions.
Let’s begin.
What You’ll Need
You don’t need advanced tools simple supplies work perfectly.
Basic Supplies
- Pencil
- Eraser
- Drawing paper
Optional (For outlining & coloring)
- Fineliner or black marker
- Colored pencils or markers
- White gel pen (for highlights)
Digital Tools (Optional)
- Procreate
- Sketchbook App
- IbisPaint
- Photoshop
Use whatever you prefer this tutorial works for both traditional and digital drawing.
Step-by-Step: How to Draw Christmas Tree
Learn how to draw a Christmas tree easily with simple shapes, smooth lines, and beginner-friendly techniques.
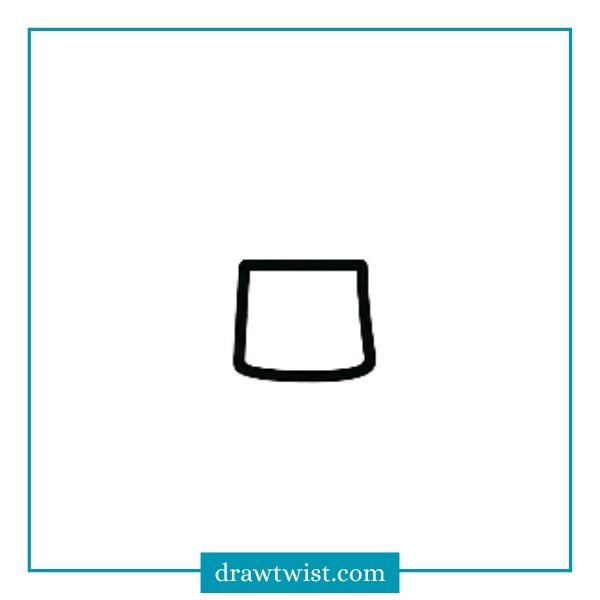
Step 1: Draw the Tree Trunk
To begin your Christmas tree drawing, start by sketching a small trunk at the bottom of your page.
Draw a simple rounded rectangle slightly wider at the bottom and narrower at the top. This will act as the sturdy base that supports your entire tree.
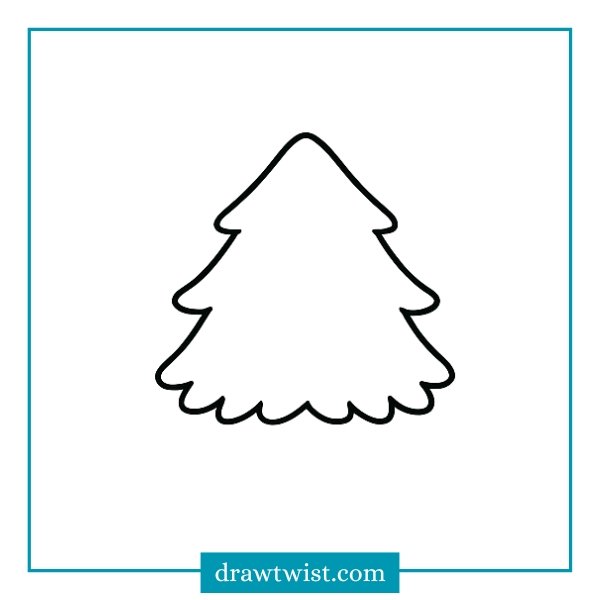
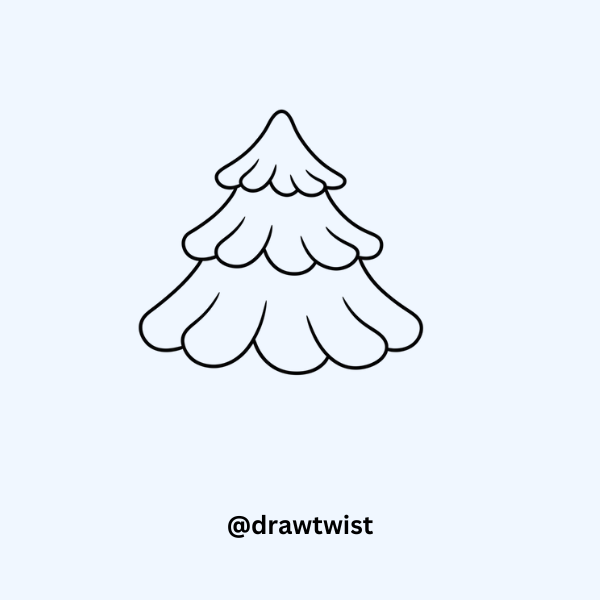
Step 2: Draw the Outline of the Tree
Now, start forming the main shape of your Christmas tree. Draw a large, three-layered outline that looks like fluffy, curved branches stacked on top of each other.
Begin with a pointed top, then widen the shape as you move down. Make sure each layer has soft, rounded edges instead of straight lines this gives your tree a cute, natural look.
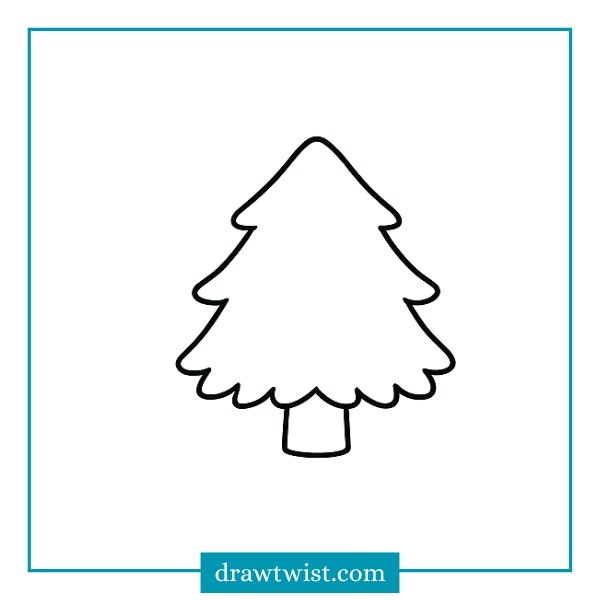
Step 3: Add the Tree Trunk
Now that the outline of your Christmas tree is complete, it’s time to draw the tree trunk. Add a small, rounded rectangle at the bottom center of the tree. This trunk should connect smoothly with the lowest layer of branches, making the tree look balanced and complete.
Keep the shape simple don’t worry about adding details yet. This step is all about giving your tree a sturdy base.
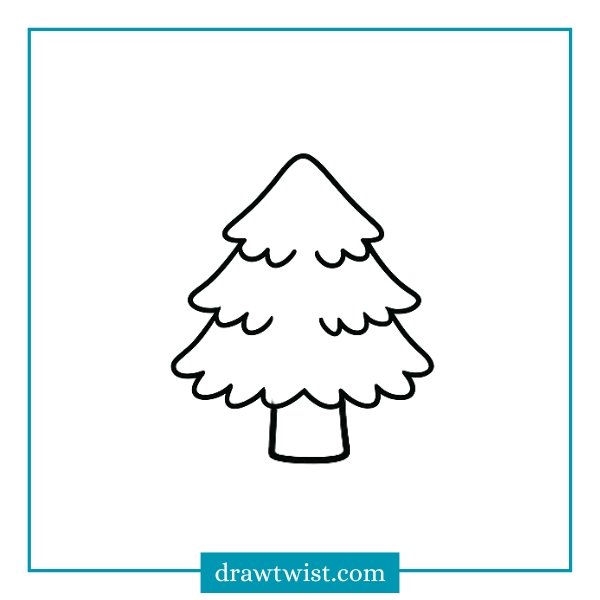
Step 4: Add Small Branch Details
In this step, begin adding small curved lines on each layer of your Christmas tree. These little curves represent the inner edges of the branches, giving your tree a fuller and more natural look.
Keep the curves short, soft, and evenly spaced. You don’t need too many just a few on each layer to show the separation between the branches.
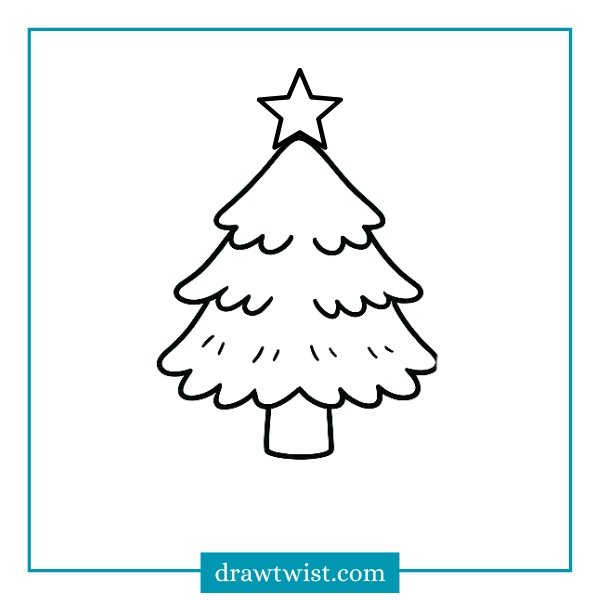
Step 5: Add a Star and More Branch Texture
Now it’s time to make your Christmas tree look festive. Start by drawing a simple five-pointed star right at the top of the tree. Keep the star neat and centered so it sits nicely above the highest branch.
Next, add a few more short curved lines to the lower layers of the tree. These small strokes help show the fluffy texture of the pine needles and make your tree look fuller and more natural.
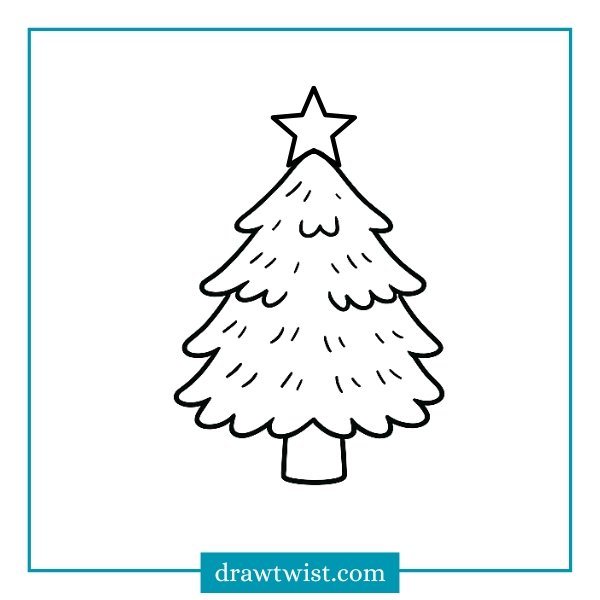
Step 6: Add More Pine Texture to the Tree
In this step, continue building the fluffy look of your Christmas tree by adding extra short strokes across all three layers.
These little lines help show the direction and texture of the pine needles, making your tree appear fuller and more realistic.
Add the strokes lightly and spread them out evenly don’t overcrowd any area. Keeping the texture balanced makes the drawing look clean and kid-friendly.
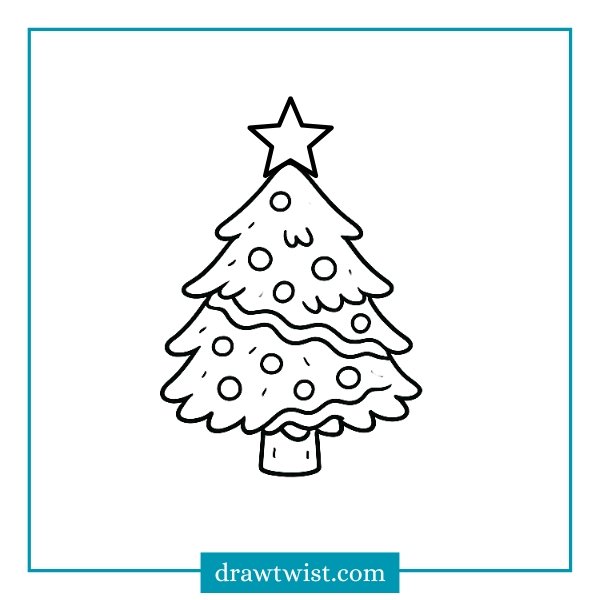
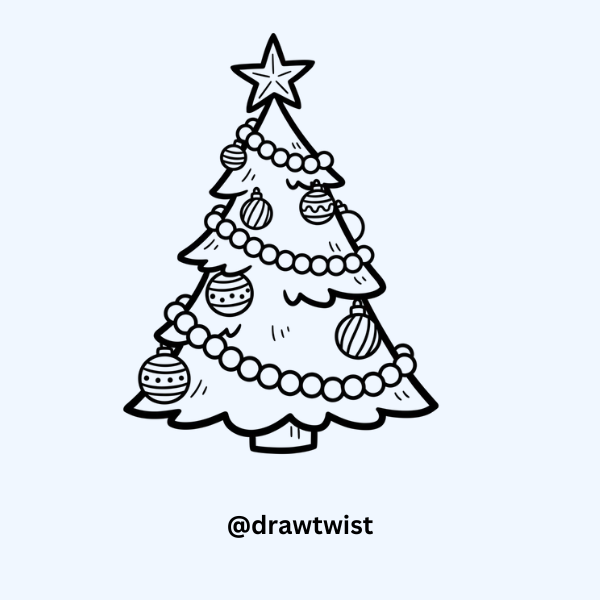
Step 7: Add Ornaments and Garland
Now it’s time to decorate your Christmas tree. Start by drawing small circles all over the branches these will become the colorful ornaments. Place them evenly across each layer so your tree looks nicely balanced.
Next, add a wavy garland that flows from one side of the tree to the other. Keep the lines smooth and curvy, letting the garland wrap naturally around the branches. You can also add a few extra short strokes for texture and detail.
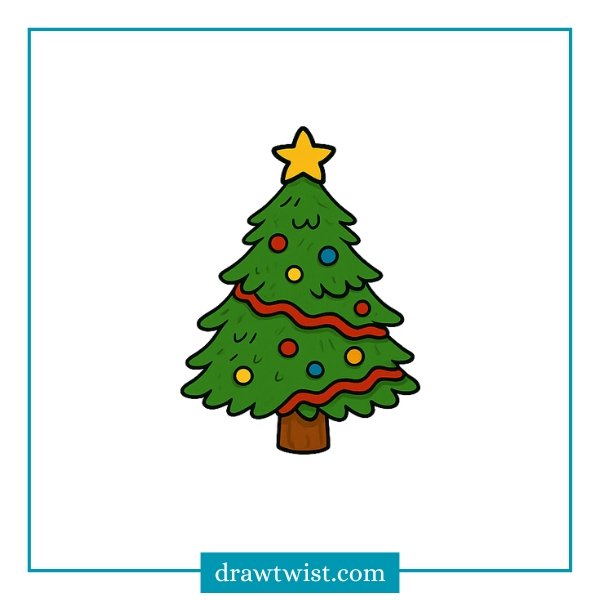
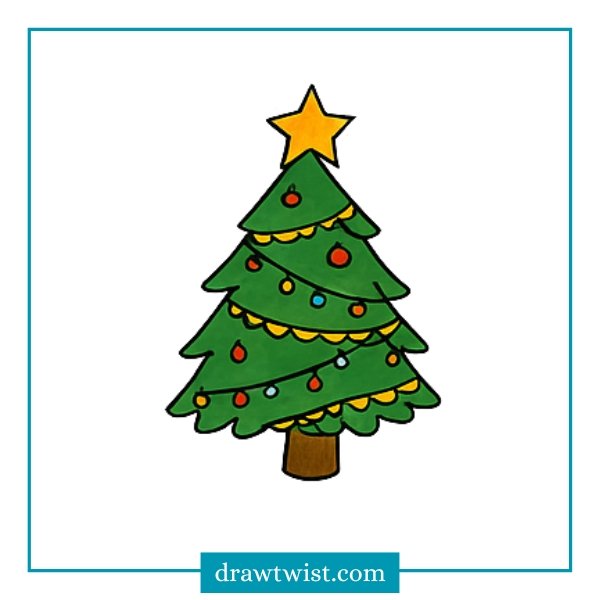
Step 8: Color Your Christmas Tree
Your drawing is now complete so it’s time to bring it to life with color. Start by filling the tree with a bright green shade. Add darker green around the edges to give the tree a soft, shaded look.
Color the ornaments using red, yellow, and blue, or any festive colors you love. Next, fill the garland with a bold red to make it stand out beautifully against the green tree.
Color the trunk with brown, and finish by giving the star on top a warm yellow glow.
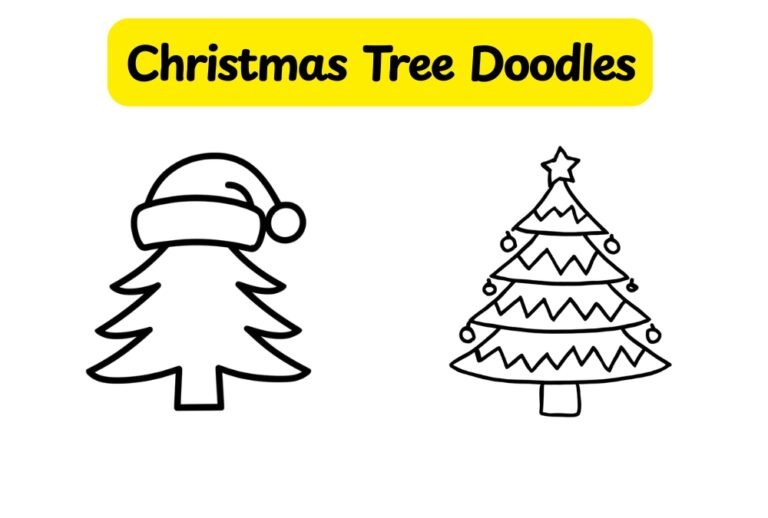
Tutorial 2: How to Draw Christmas Tree Doodle (Step-by-Step)
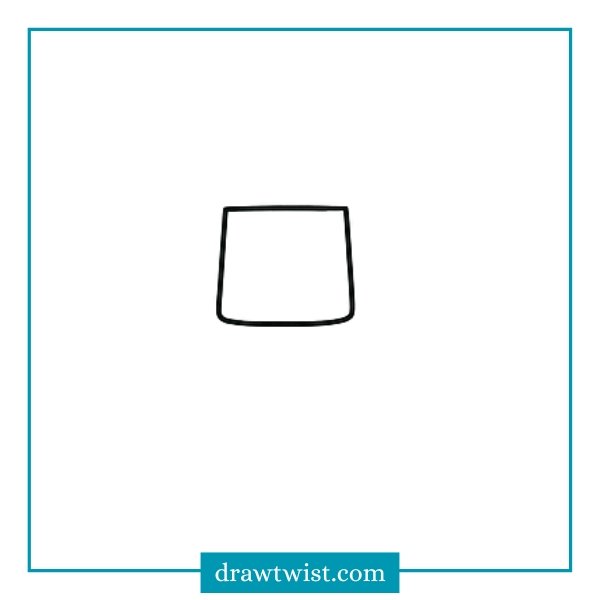
Step 1: Draw the Tree Trunk
Begin by drawing a small trunk for your Christmas tree. Sketch a short, rounded rectangle in the center of your page.
Make the edges slightly curved so the shape looks soft and natural. This tiny trunk will act as the base that supports the whole Christmas tree.
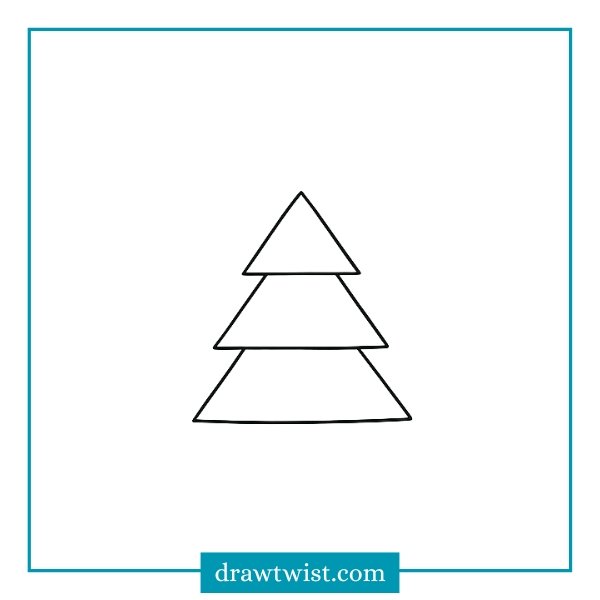
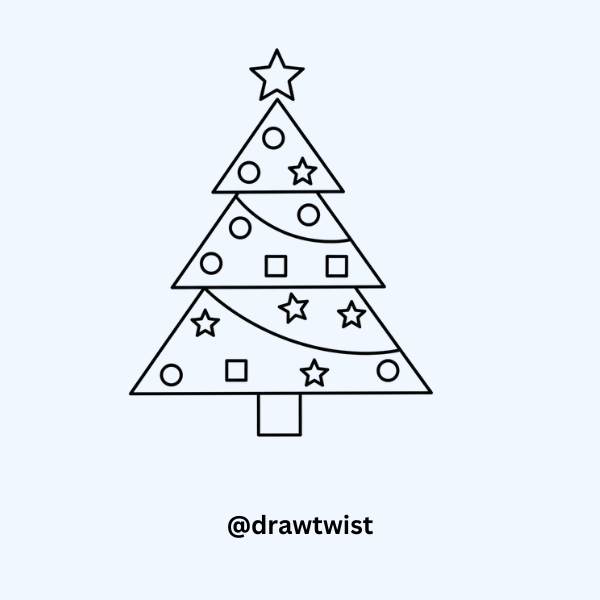
Step 2: Draw the Three Tree Layers
Now start building the basic shape of your Christmas tree. Draw three triangles, stacked one above the other. Each triangle should get smaller as you move upward. The bottom triangle is the widest, the middle one is medium, and the top triangle is the smallest. This creates the classic layered Christmas tree shape.
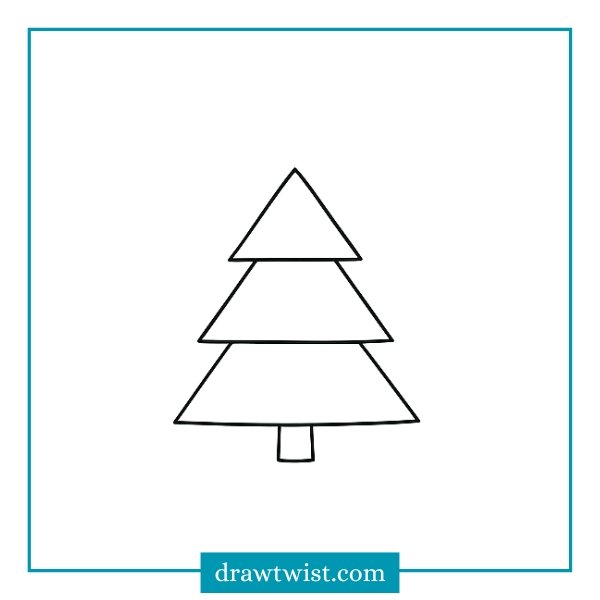
Step 3: Add the Tree Trunk
Now that the three triangle layers are ready, it’s time to add the tree trunk. Draw a small rounded rectangle just below the bottom triangle. Make sure it is centered so your tree stands evenly. This trunk gives the Christmas tree a solid base.
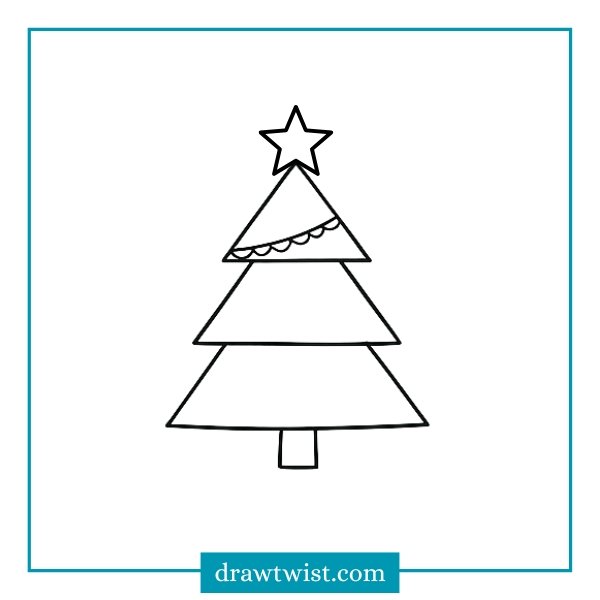
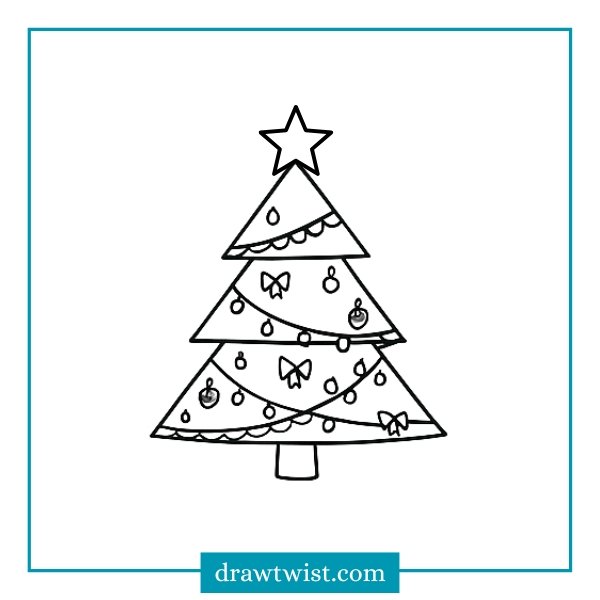
Step 4: Add the Star and First Garland
Now it’s time to decorate the top of your Christmas tree! Begin by drawing a five-pointed star right above the smallest triangle. Make sure the star is centered so it sits perfectly on top of the tree. Next, add a wavy garland across the top triangle layer. Use small curved bumps to create a simple scalloped design.
Step 5: Add Ornaments and More Decorations
Now it’s time to decorate your Christmas tree! Start adding small circles for ornaments on each layer. Mix the sizes a little to make the tree look more interesting. Next, draw bows, tiny bulbs, and extra garlands across the branches. Let the decorations follow the curved shape of the tree so everything looks natural and balanced.
Step 6: Color Your Christmas Tree
Now that your Christmas tree is fully drawn and decorated, it’s time to bring it to life with colors. Start by coloring all the tree layers with a rich green shade. Use a slightly darker green along the edges to give the branches a fuller look.
Next, color the ornaments using bright and festive colors like red, yellow, and blue. Fill the garlands with a warm golden yellow, and the tree trunk with brown. Finally, color the star on top with a bright golden yellow to make it shine.
Common Mistakes (and How to Fix Them)
Mistake 1: Tree looks flat
Fix: Add texture strokes and shading.
Mistake 2: Layers not aligned
Fix: Draw a faint center guideline.
Mistake 3: Too many ornaments
Fix: Leave spaces between decorations.
Mistake 4: Sharp triangles instead of curves
Fix: Use wavy strokes for natural branches.
Mistake 5: Star too small or too large
Fix: Match the star size to the top layer.
Different Styles of Christmas Tree Drawings
Here are style variations you can include:
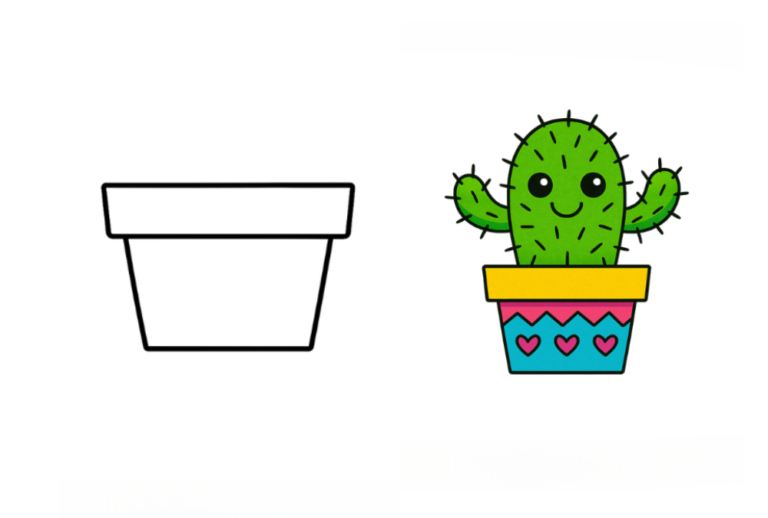
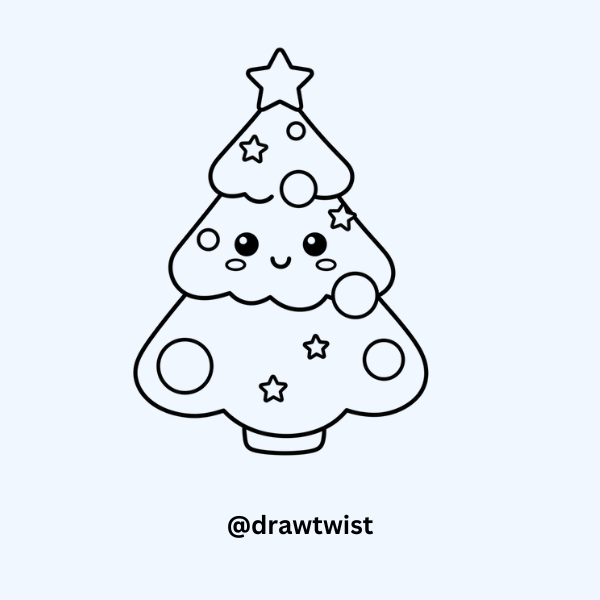
1. Cute Kawaii Christmas Tree
This style is all about soft shapes and adorable details. Start with a rounded tree shape, then add big circular ornaments, a tiny smiley face, and small blush dots on the “cheeks.” Keep the lines smooth and bubbly so the tree looks cheerful and cute, just like a character from a cartoon.
2. Minimalist Triangle Tree
This tree is perfect for simple drawing practice. Stack three basic triangles on top of each other, each one slightly smaller than the one below it. Don’t add ornaments or patterns, let the clean shapes do the work. It looks neat, modern, and super quick to draw.

3. Curvy Aesthetic Tree
Use soft, flowing lines instead of sharp edges. Let each layer curve gently outward so the tree feels dreamy and smooth. Even though kids usually color later, you can guide them to imagine pastel tones like mint, peach, or soft green to match the calm vibe of this style.
4. Cartoon Christmas Tree
Make this tree bold and lively. Draw big, playful shapes and exaggerated decorations. Add an oversized star on top and chunky ornaments that stand out. This style gives freedom to go dramatic and fun with every detail.
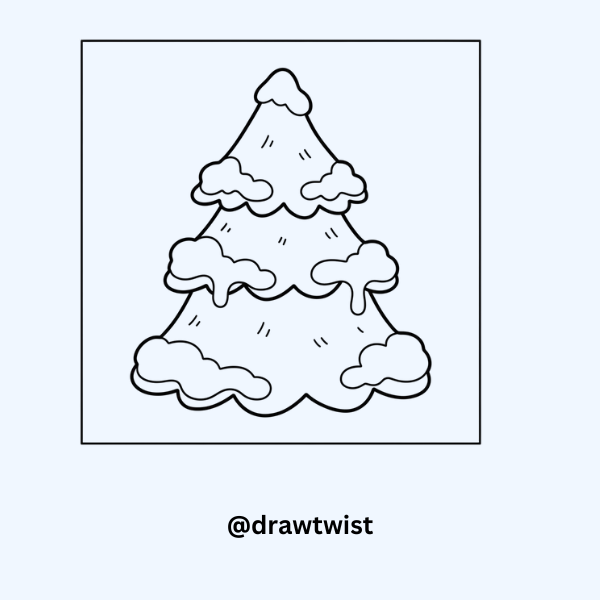
5. Snow-Covered Tree
Start with the regular Christmas tree layers, then add wavy, fluffy white lines along each section to show snow sitting on the branches. It should look soft, wintery, and cozy like fresh snow that just fell.
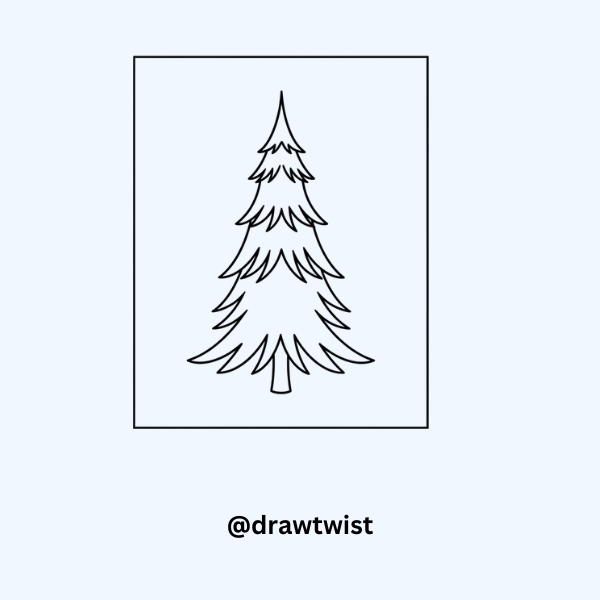
6. Thin, Tall Christmas Tree
Draw a long, narrow tree shape that stretches upward. The layers should be slim and elegant, almost like a fancy hotel Christmas tree. This style looks graceful and is great for kids learning about different shapes.
7. Doodle-Style Christmas Tree
This one is loose, playful, and full of personality. Don’t worry about perfect lines—let them wobble a little. Add fun, quick details like tiny stars, dots, or swirls. It should feel like a relaxed sketch you could draw anytime.

8. Geometric Tree
Build your tree using only simple shapes. Try stacking triangles, adding circles for ornaments, or using squares for the trunk. The clean edges make it look sharp, modern, and different from a normal Christmas tree.
9. Scribbled Tree
Let kids explore creativity with quick zig-zag lines that form the shape of a tree. The scribbles should get wider toward the bottom and narrower at the top. It’s messy in a fun way and perfect for beginners.
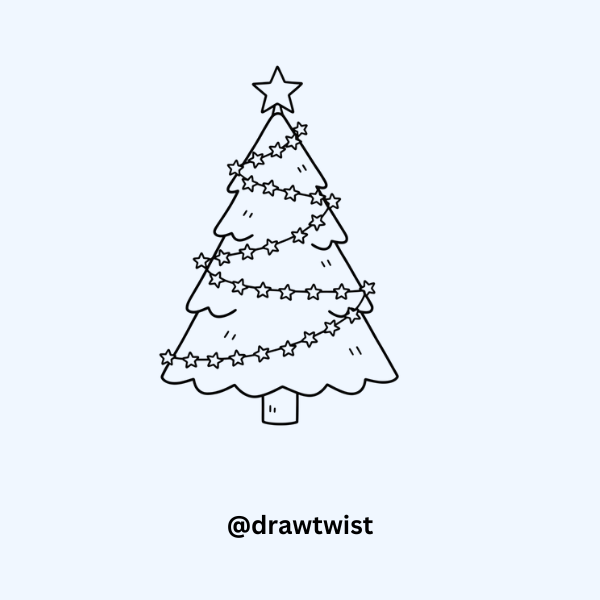
10. Star Garland Tree
Draw a regular tree outline, then add a string of stars wrapped around it like a garland. Space the stars evenly or place them randomly both look cute. This style adds sparkle and makes the tree feel magical and bright.
Beginner Tips for Drawing a Christmas Tree
Here are helpful tips especially for new artists:
Use curved lines avoid sharp angles
Curves look more natural and friendly.
Draw lightly at the beginning
Easier to fix proportions.
Reference real Christmas trees for ideas
Helps with shape and decoration placement.
Mix different greens
A single flat color looks bland.
Keep ornaments spaced
Balanced decorations = beautiful tree.
FAQs
Q1: Is drawing a Christmas tree easy for beginners?
Yes! It’s one of the simplest holiday drawings—great for kids and adults.
Q2: Which pencil is best for sketching?
Any HB pencil works unless you prefer softer lines with 2B or 4B.
Q3: How do I make the tree look 3D?
Use shading, overlap layers, and mix dark/light green tones.
Q4: Can kids follow this tutorial?
Absolutely! This is perfect for children and classroom activities.
Q5: Can I draw a Christmas tree with only shapes?
Yes, three triangles + a rectangle = a simple, elegant tree.
Read More: Christmas Wreath Doodles, Easy Christmas Tree Doodle, Santa Claus Doodle
Drawing a Christmas tree is fun, relaxing, and perfect for the holiday season. With simple shapes and easy step-by-step instructions, anyone can learn how to draw a beautiful Christmas tree whether for art practice, gift cards, Pinterest boards, journals, or decorations.
Once you master the basic structure, you can experiment with different decorations, shapes, styles, and colors to create your own unique Christmas trees.