How to Draw Wings – Easy Drawing
If you’ve ever wanted to draw a magical pair of wings, today’s your lucky day. In this fun and easy step-by-step tutorial, we’ll show you how to draw wings that look like they’re ready to lift off into the sky.
Whether you want to draw angel wings, fairy wings, or even design your own winged creatures, this tutorial is a great place to start. It’s perfect for kids, beginners, or anyone who loves doodling magical things.
We’ll walk you through 6 simple steps to draw a pair of soft, feathery wings that curve gently outward like they’re catching the wind. You don’t need any fancy tools, just your imagination and a pencil.
And guess what? You can even grab a free printable version of this tutorial at the bottom of the page to follow along anytime, anywhere.
What You’ll Need
Before we get started, let’s gather our art supplies! Don’t worry, it’s a super short list:
- Paper
- Pencil or black marker
- Printable step-by-step guide (you can grab it at the end!)
- Eraser (optional, in case you want to fix anything)
- Crayons, markers, or colored pencils for decorating
Step-by-Step Instructions
Let’s get started! Remember, it’s okay if your wings don’t look exactly like mine. Everyone draws a little differently, and that’s what makes your art special!
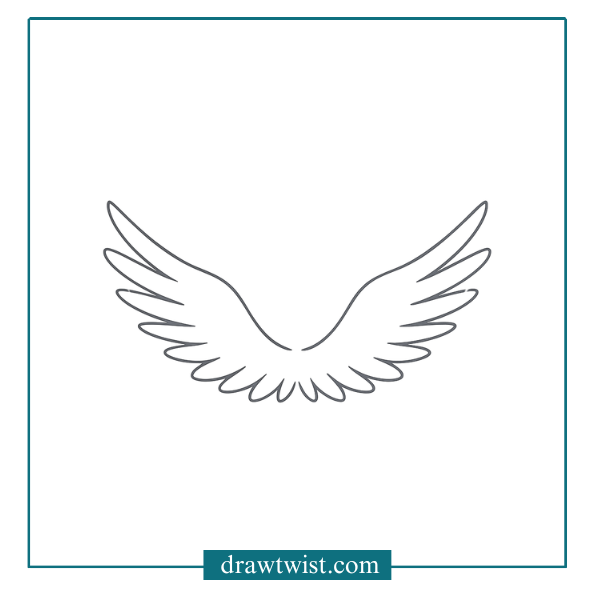
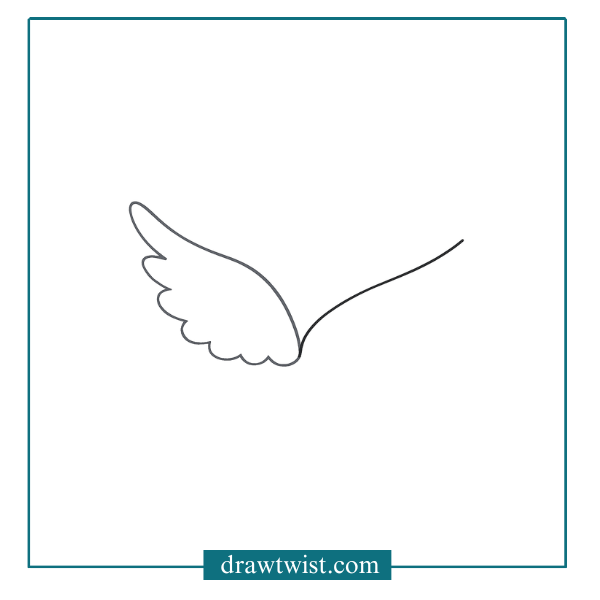
Step 1: Draw the Wing Base
Start by drawing a wide “V” shape with curved ends. This will be the base that holds both wings together.

Step 2: Add the First Set of Feathers (Left Wing)
On the left side, draw long, curved feathers extending upward and outward. Then add a row of smaller feathers curving underneath.

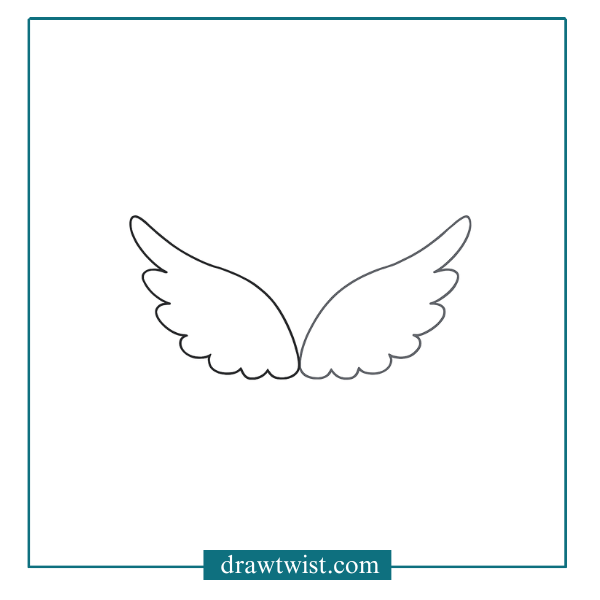
Step 3: Add the First Set of Feathers (Right Wing)
Repeat the same feather pattern on the right side, making sure it mirrors the left wing. Keep your strokes smooth and curved.
Step 4: Add Middle Feathers
Now add a layer of slightly shorter feathers in the middle of both wings. These should sit just above the lower feathers.
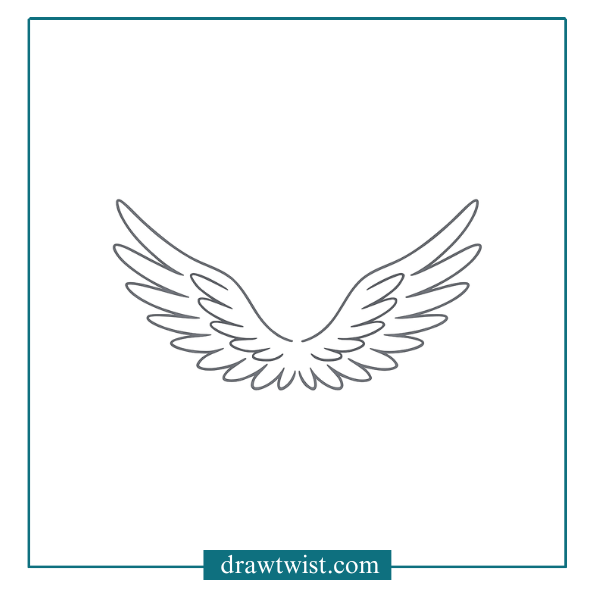
Step 5: Draw Upper Inner Feathers
Add even smaller feathers closer to the center of the wing structure. These give the wings a more full and realistic look.
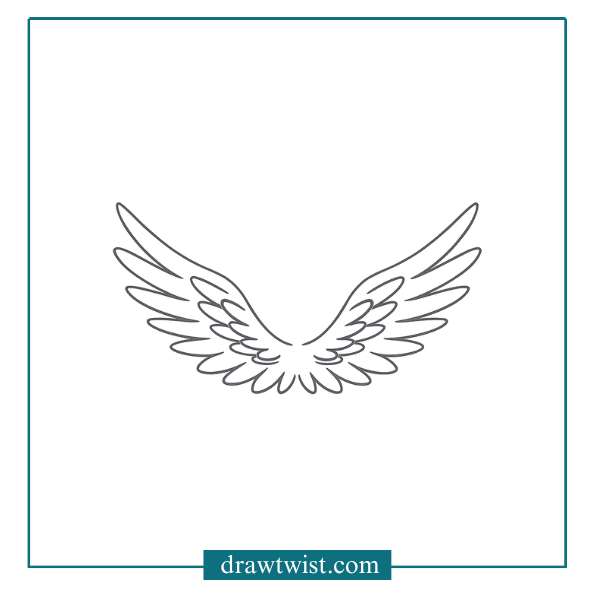
Step 6: Final Detail Feathers
Draw a few tiny feathers right near the center where both wings meet. These details make your drawing more dynamic.
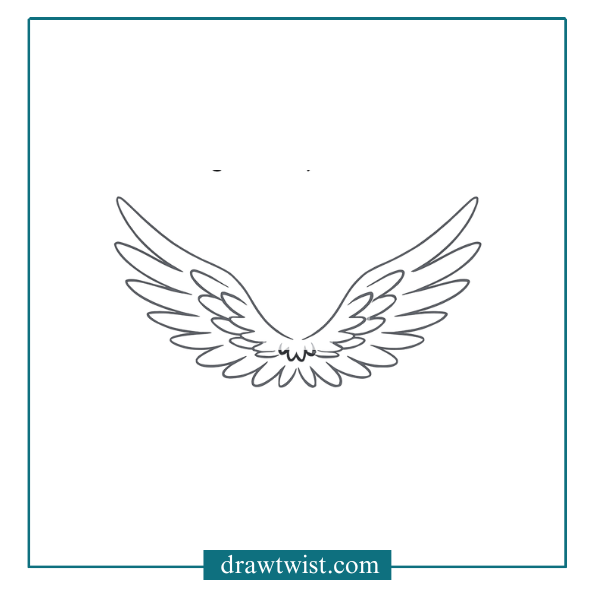
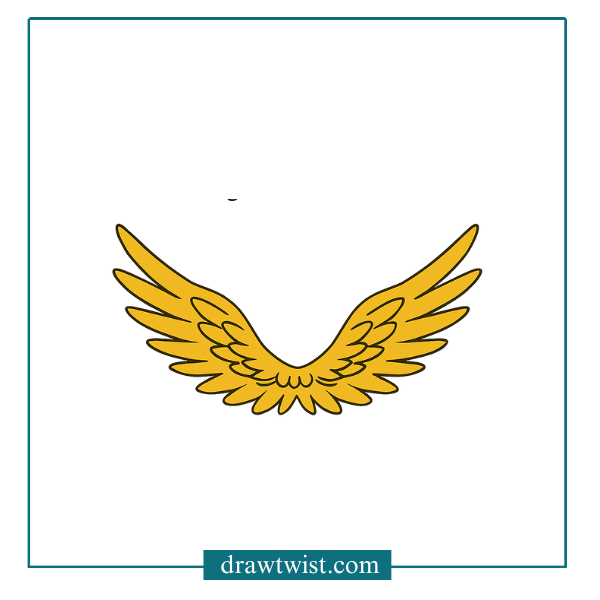
Color Your Wings
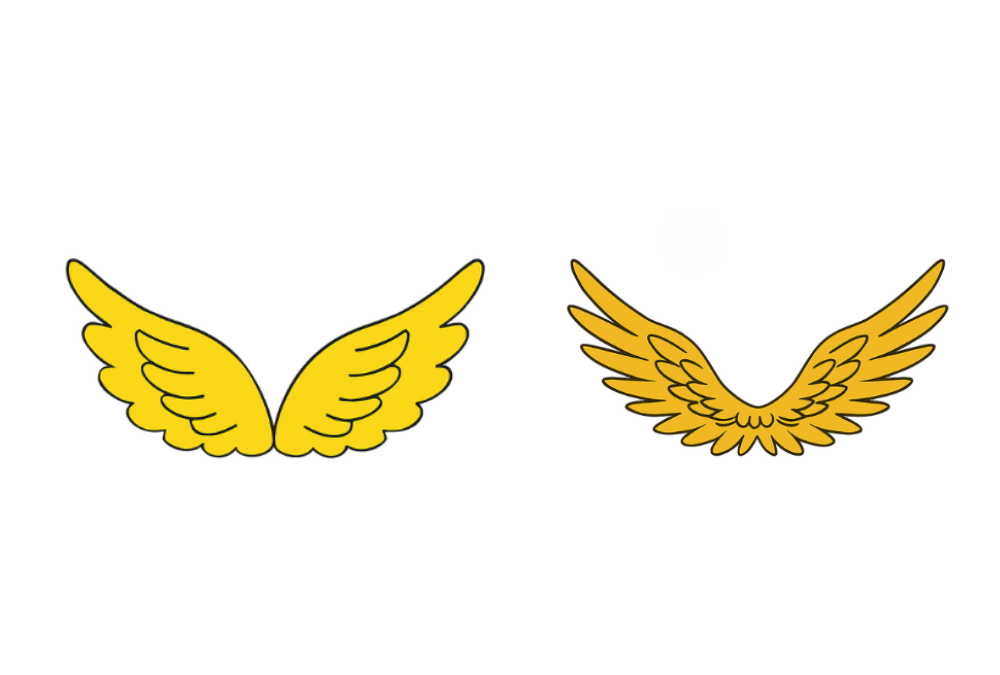
Your feathered wings are complete. You can now go over your drawing with a black pen or add soft colors like light gray, blue, or even gold for a magical effect.
Grab Your Free Wings Drawing Printable
Want to keep practicing or bring this tutorial on the go? Download our free step-by-step wings drawing guide below. You can print it out, trace over it, or color it your own way.
How to Draw Wings – Step by Step for Kids
Want to learn how to draw a cute pair of simple wings? Follow this easy 6-step tutorial made just for beginners!
Step 1: Draw the Wing Base
Start by drawing a curved “V” shape. This is the base that connects both wings in the middle.

Step 2: Add the Left Wing
On the left side of the base, draw a wing that curves outward. Make five round bumps along the bottom edge to form the feathers.
Step 3: Draw the Right Wing
Now do the same on the right side. Mirror the shape of the left wing to keep it balanced and even.
Step 4: Add Inner Feathers (Left Wing)
Inside the left wing, draw a few curved lines to represent layered feathers. These help your wing look fuller and more detailed.

Step 5: Add Inner Feathers (Right Wing)
Repeat the same curved feather lines inside the right wing. Keep your curves soft and flowing.

Step 6: Outline or Color Your Wings
Now that your wings are complete, you can outline them with a black pen or color them softly. Try light blue or white to give them a dreamy, cloud-like feel.

Wings Fun Facts
Did you know wings come in all shapes, sizes, and styles? Whether they belong to a bird, butterfly, angel, or dragon, wings are one of the coolest parts of nature and imagination. Here are some fun facts to wow your brain while your hands take a break from drawing:
- 🦋 Butterflies have scales on their wings that give them their bright, shiny colors. They’re not actually painted, they reflect light like magic.
- 🕊️ Birds have different feathers for different jobs. Some feathers help them fly, some keep them warm, and some are just for show (hello, peacocks!).
- 🧚 Fairy wings are often inspired by insects, like dragonflies or moths. That’s why they’re so delicate and sparkly.
- 🐉 Dragon wings are usually shaped like bats’ wings, with strong bones inside. Even though dragons aren’t real (maybe!), artists use real animals as inspiration.
So the next time you see a wing real or imagined take a closer look. There’s always something amazing hidden in the details!
Gallery Time: Share Your Wings Drawing
We’d love to see your amazing wing artwork. Whether you colored it like a fairy’s wings, made it bold and black like a raven’s, or added sparkles and stars, your drawing is one-of-a-kind.
🖼️ Ask a parent, teacher, or grown-up helper to share your art by tagging us on Instagram at @drawtwist or by sending it to us by email.
Your wings might just fly into our DrawTwist Gallery, where we feature the incredible work of young artists like you!
Your drawing could inspire someone else and brighten their whole day. So don’t be shy, show us your wings and let your creativity soar.
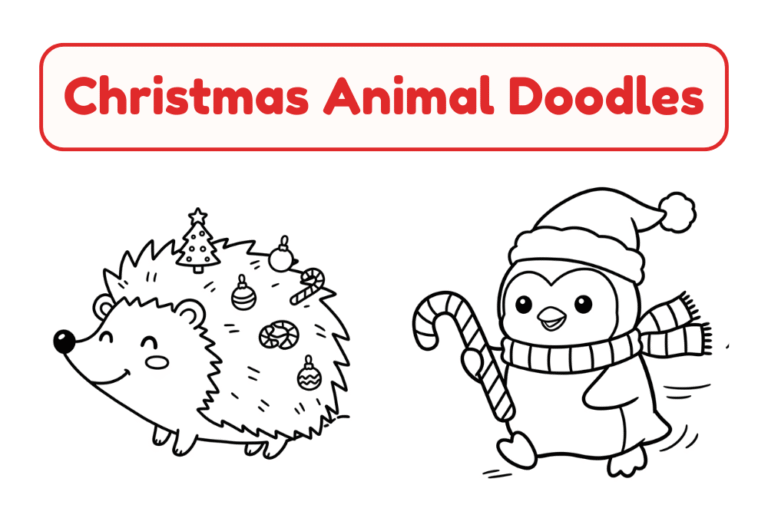
Find more easy drawing ideas:
How to Draw a Butterfly, How to Draw a Turtle, How to Draw a Cat, Easy Octopus Doodle Ideas to Try, Simple Whale Doodle Drawing Ideas