61 Fun Simple Doodles to Sketch in Your Free Time
Ahh, you’ve finally found some free time and just want to relax. Doodling is the perfect way to do it!
Ugh, don’t worry if you think you’re not an artist.
These 61 fun and simple doodles are great for anyone. Whether you’re bored, stressed, or just want to let your creativity flow, these doodles will bring a little joy to your day.
So chill out and let your creative juices flow!
61 Fun Simple Doodles to Sketch
Before you start, get some basic tools: a pen or pencil and some paper.
P.S. If you are a beginner, it’s best to start with simple shapes and not worry about making everything perfect. You can find inspiration for doodles in everyday objects or patterns around you.
Here are 37 fun and simple doodles for you to sketch:
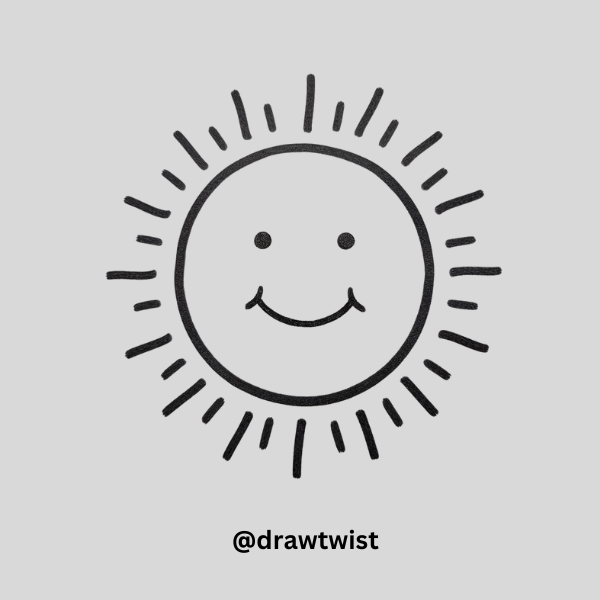
1. Smiling Sun Doodle:
Start by drawing a large circle in the center of your paper.
Around the circle, draw short, straight lines radiating outwards to represent the sun’s rays. Inside the circle, draw two small dots for eyes, and below them, add a curved line for a smile.
You can make the smile bigger or add small lines on the sides for extra cuteness.
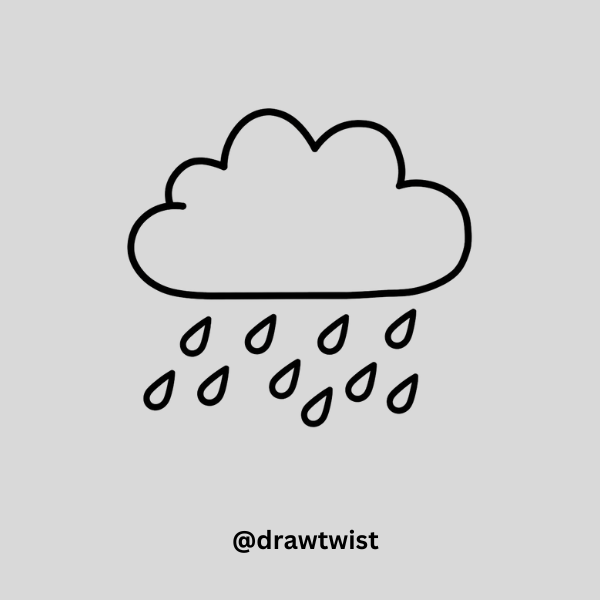
2. Cute Cloud with Raindrops:
Start by drawing a fluffy, bumpy line in an oval shape to make the outline of the cloud. The bumps can be different sizes to make it look more natural.
Below the cloud, draw a few small teardrop shapes for raindrops.
You can spread them out to show rain falling or keep them close together for a light drizzle.
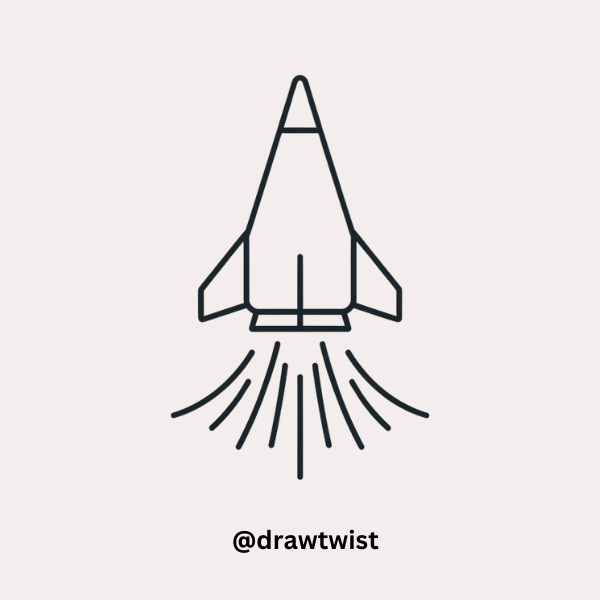
3. Tiny Rocket Ship:
Start with a tall, narrow triangle pointing upwards to form the rocket’s main body.
Draw a smaller triangle at the top for the rocket’s nose. On each side of the rocket, add a curved line that extends outwards and then curves back in to create the fins.
At the bottom, draw several short lines that spread out like a fan to represent the flames shooting out of the rocket.
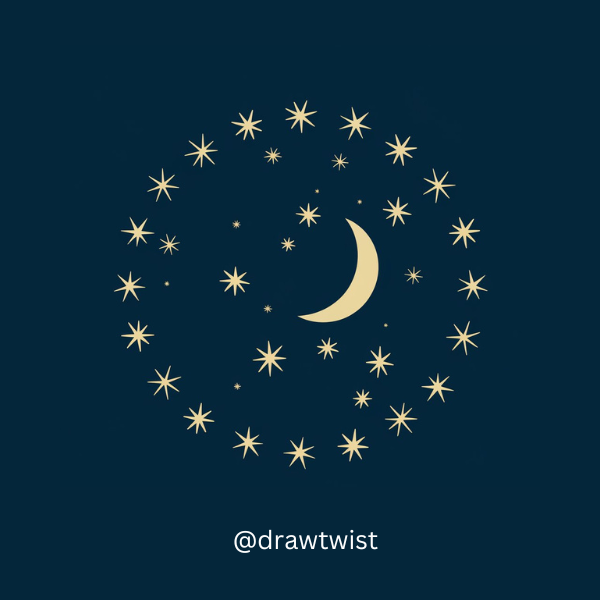
4. Starry Night Sky:
To draw a simple star, start with a small cross (+), then add a diagonal line (×) through the center to create a star shape.
Repeat this process to add more stars around the page, varying their sizes to create a starry sky.
You can also add a moon or other celestial objects for more detail.
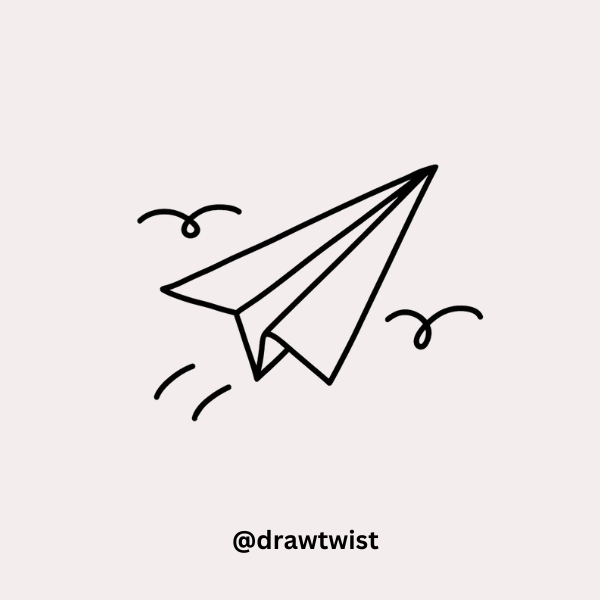
5. Flying Paper Airplane:
Start by drawing a long, narrow triangle with the point facing up.
From the top point, draw a line down the middle of the triangle to show the fold in the paper. Next, draw a smaller triangle on one side of the main triangle, just below the top point, to represent the wing.
Finally, add a few dashed or curved lines behind the airplane to show it’s flying.
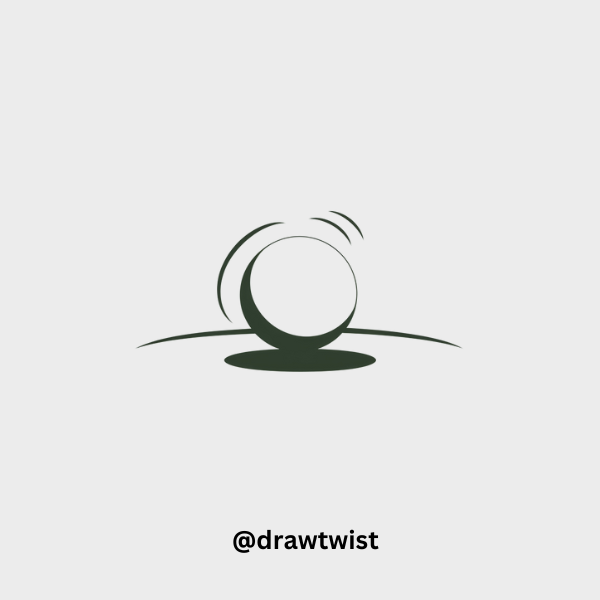
6. Bouncing Ball Doodle:
Draw a simple circle in the middle of your page to represent the ball.
Below the circle, add a curved line to show where the ball is bouncing off the ground.
To indicate movement, add a few small motion lines just above the ball, curving in the direction of the bounce.
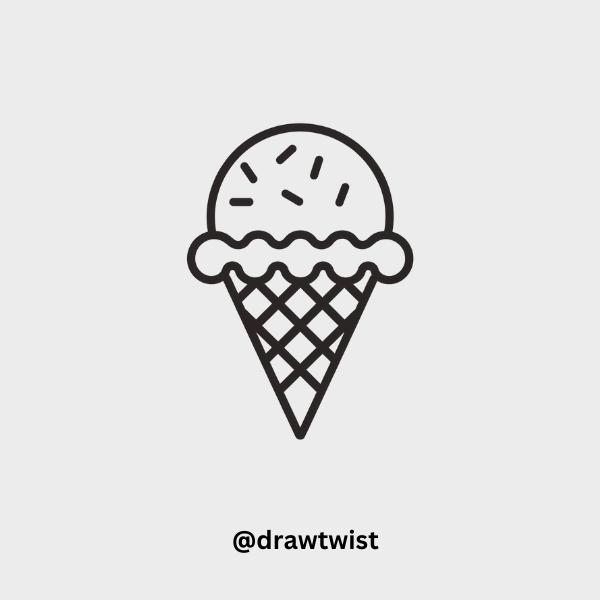
7. Mini Ice Cream Cone:
Draw an upside-down triangle to form the cone of the ice cream. Make sure the bottom point is sharp, and the top is wide.
On top of the triangle, draw a large circle to represent the ice cream scoop. You can add wavy lines at the edge of the circle to make it look like the ice cream is melting.
Add some small dots or short lines on the scoop for sprinkles.
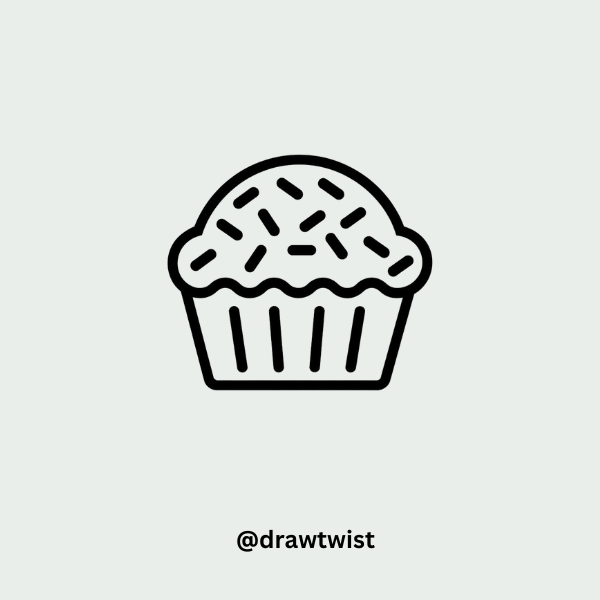
8. Tiny Cupcake With Sprinkles:
Start by drawing a rectangle with rounded corners for the base of the cupcake. At the top of the rectangle, draw a dome shape to represent the frosting.
You can make the top of the dome wavy or add small swirls for extra detail. Finally, draw small dots or short lines on the frosting for sprinkles.
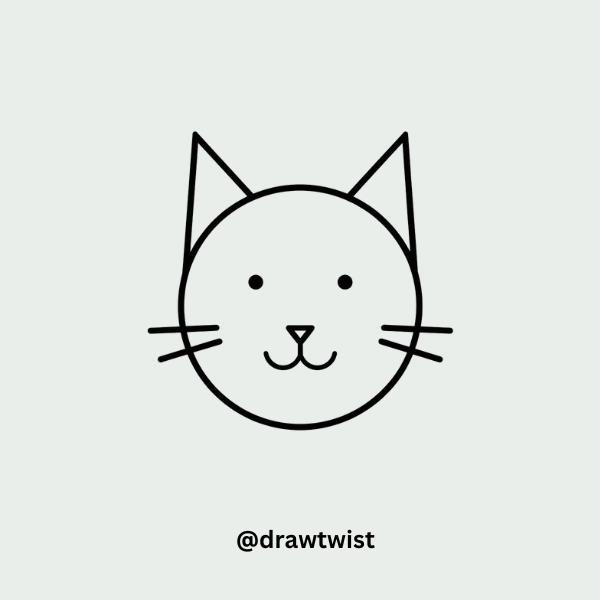
9. Cute Cat Face:
Draw a large circle for the cat’s head.
On top of the circle, draw two small triangles pointing upwards for the ears. Inside the circle, draw two small dots for the eyes and a tiny upside-down triangle for the nose.
Add a small, curved line under the nose for the mouth, and draw a few whiskers on each side of the face.
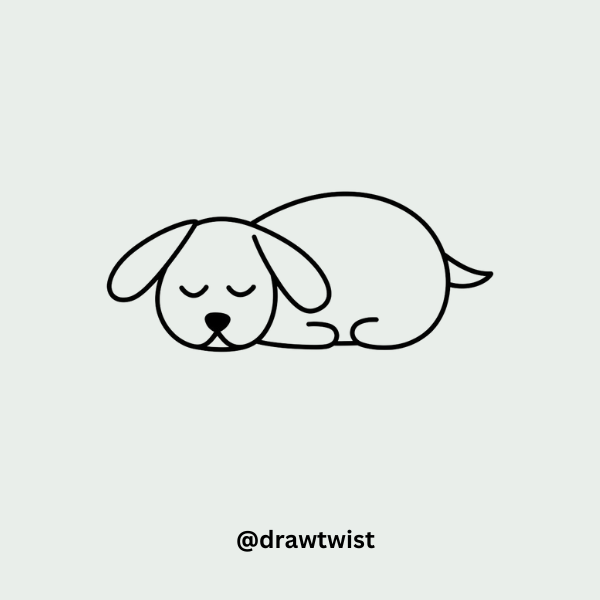
10. Sleeping Dog:
Draw a large oval for the dog’s body, and a smaller circle on top for the head.
Add two floppy ears on the sides of the head, and draw a small dot for the nose at the center of the face. Draw two curved lines for closed eyes to show that the dog is sleeping.
You can also add a small tail at the back of the body.
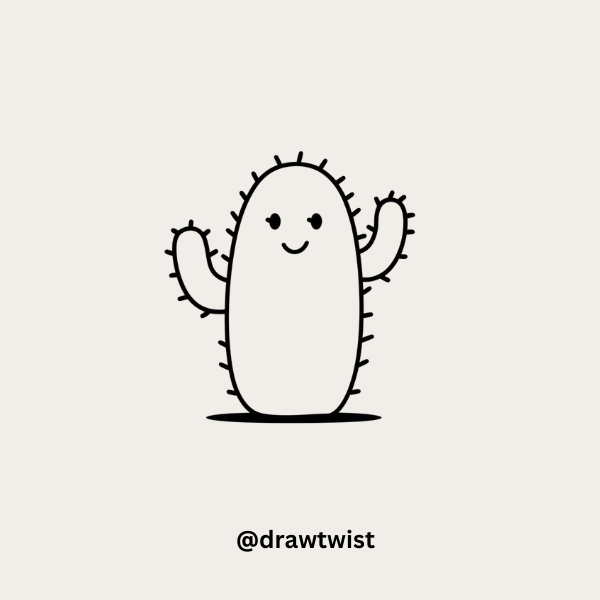
11. Happy Cactus:
Start by drawing a tall oval shape for the cactus’s main body. On each side of the oval, draw two smaller curved arms pointing upwards.
Add small, straight lines across the body and arms to represent the cactus’s spikes.
Finish by drawing a smiling face in the middle of the main body, with two dots for eyes and a curved line for the mouth.
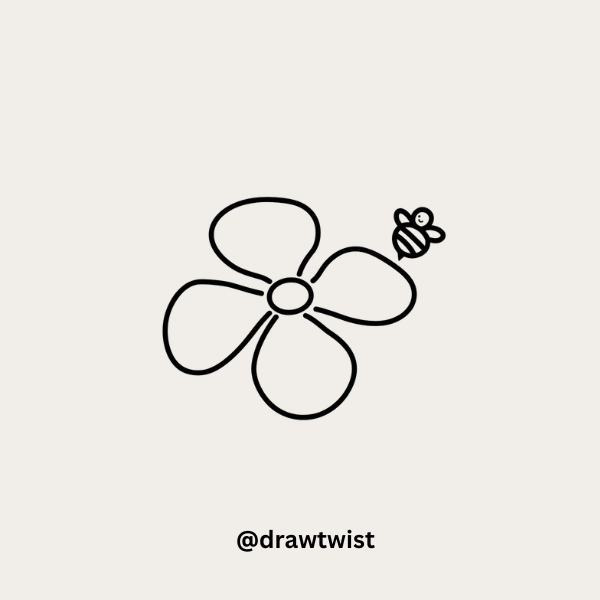
12. Simple Flower with a Bee:
Draw a small circle in the center for the flower’s middle. Around the circle, draw five or six large, rounded petal shapes.
Each petal should connect back to the circle in the center. Next to the flower, draw a tiny bee by sketching a small oval for the body.
Add two wings on top and a few stripes across the body.
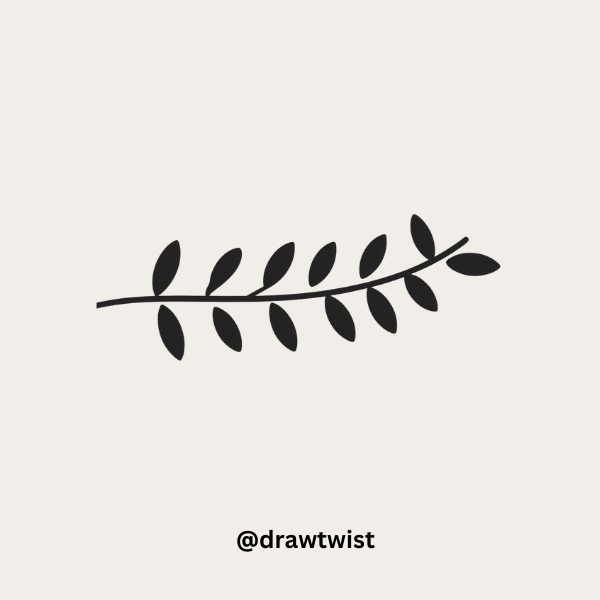
13. Leafy Branch:
Start by drawing a long, curved line to represent the branch. Along the branch, draw several small teardrop shapes to represent leaves.
The leaves should alternate sides along the branch. You can make the leaves all the same size or vary them slightly for a more natural look.
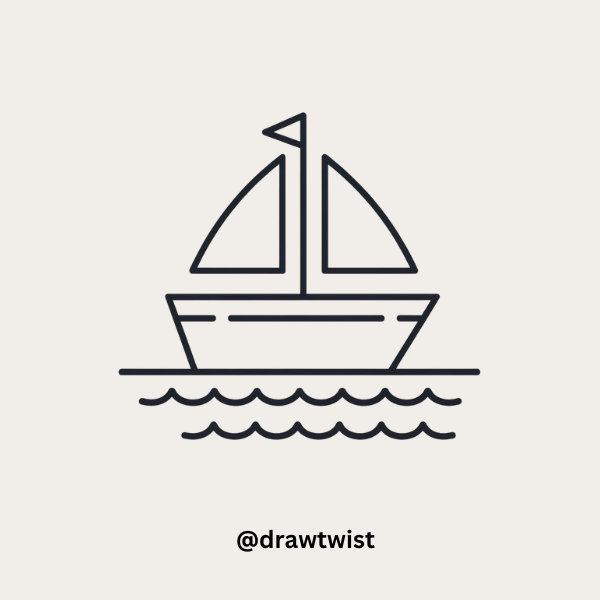
14. A Sailboat on Waves:
Begin by drawing a small triangle pointing upwards to represent the sail.
Below the triangle, draw a horizontal line to represent the boat’s deck. Add another smaller triangle on the opposite side of the first one to represent a second sail.
Draw a few wavy lines below the boat to represent water.
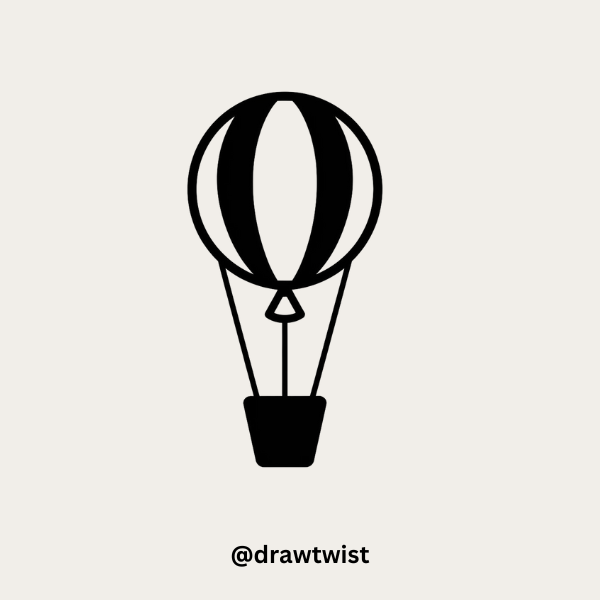
15. Hot Air Balloon:
Start by drawing a large oval shape for the balloon.
At the bottom of the oval, draw a small rectangle to represent the basket. Connect the basket to the balloon with two vertical lines on each side.
You can add stripes or patterns on the balloon to make it more interesting.
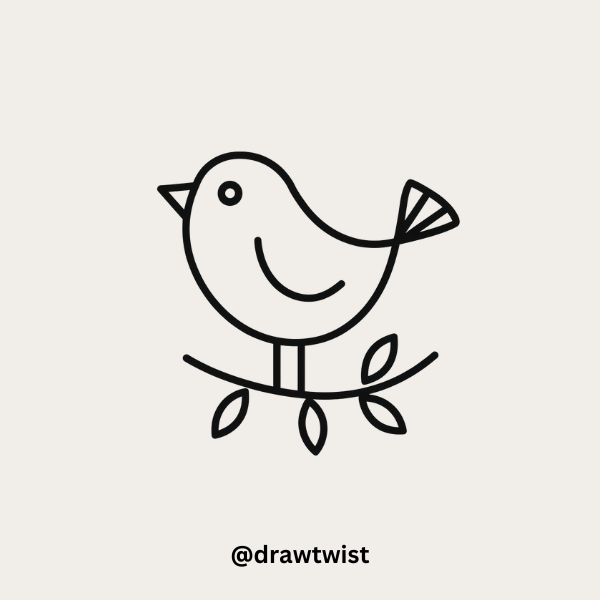
16. Small Bird on a Branch:
Draw a small oval shape for the bird’s body and a smaller circle on top for the head.
Add a small triangle on the head for the beak, and draw a short line on the back of the oval for the tail.
Below the bird, draw a curved line to represent the branch, and add small teardrop shapes on the branch for leaves.
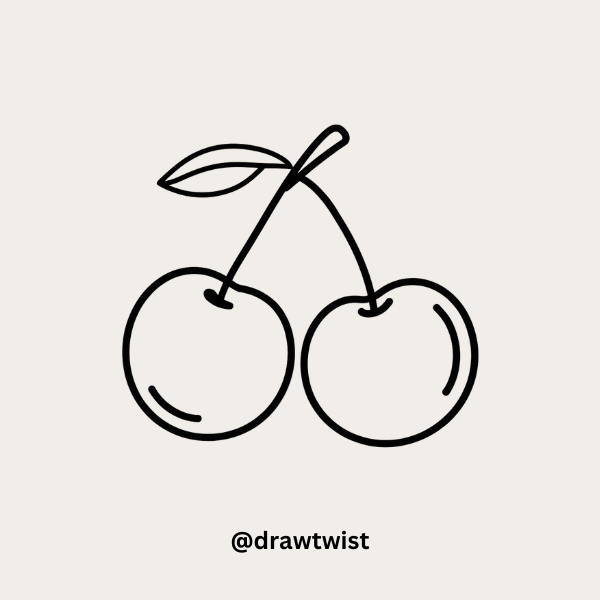
17. Pair of Cherries:
Draw two circles close to each other to represent the cherries. Draw short, curved lines coming out of the top of each cherry for the stems.
Connect the stems at the top with a small curved line, and add a tiny leaf on one side.
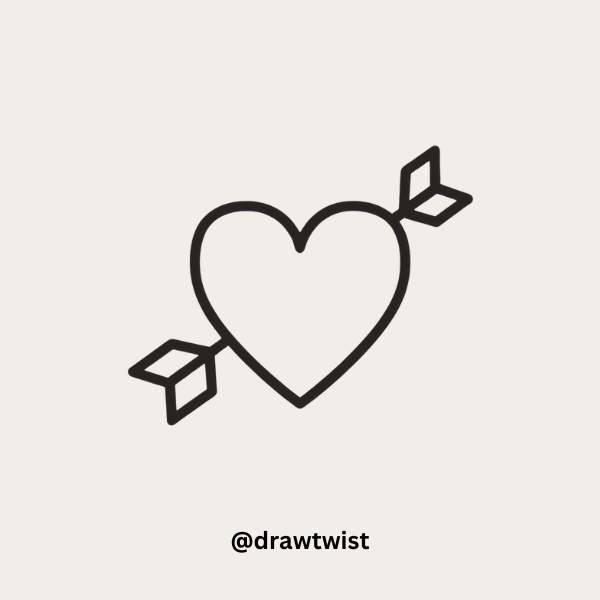
18. Heart with an Arrow:
Start by drawing a simple heart shape. To add the arrow, draw a straight line through the heart at an angle.
On one end of the line, draw a triangle for the arrowhead, and on the other end, draw two or three short lines for the feathers.
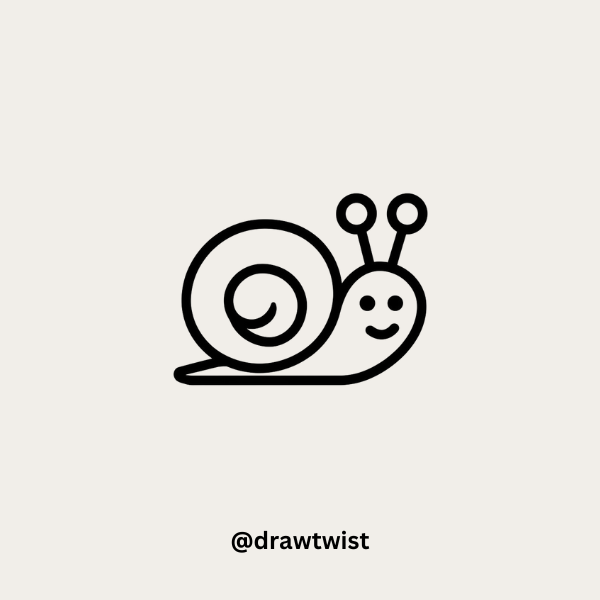
19. Tiny Snail Doodle:
Draw a small spiral shape for the snail’s shell. Next, draw a curved line coming out from the bottom of the spiral for the snail’s body. Add two short lines on top of the body for the antennae, and draw small dots on the ends for the eyes.
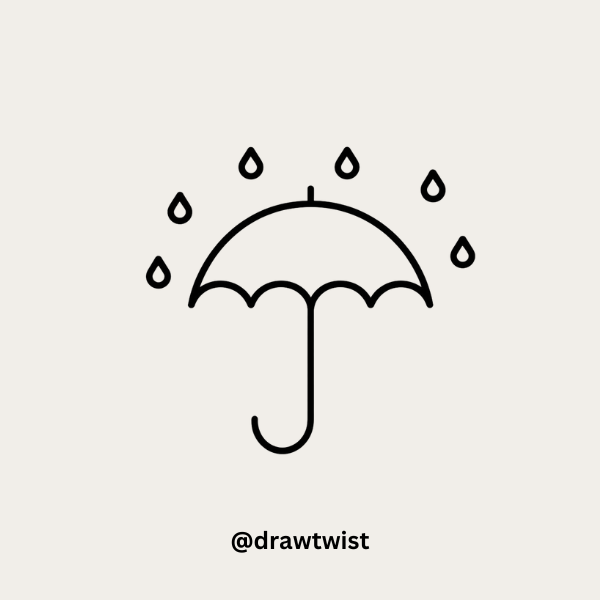
20. Umbrella with Raindrops:
Draw a half-circle to represent the top of the umbrella. Underneath the half-circle, draw a straight line down for the handle.
Add several small teardrop shapes around the umbrella to represent raindrops. You can also add a curved line at the bottom of the umbrella top for extra detail.
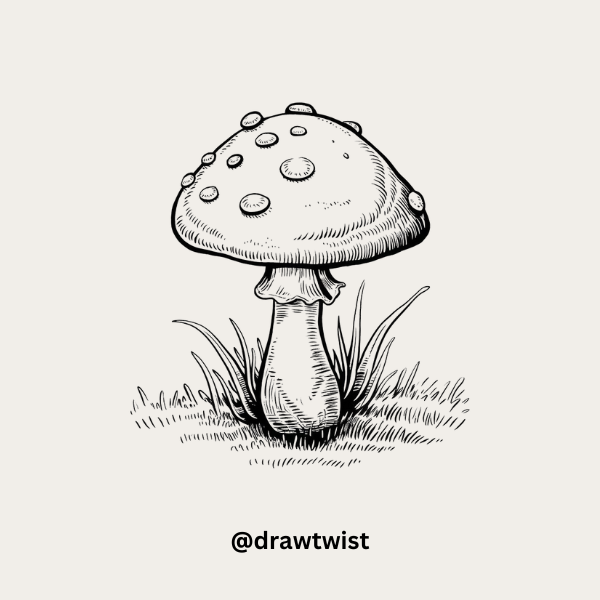
21. Little Mushroom:
Draw a dome shape for the mushroom’s cap.
Under the dome, draw a small rectangle or cylinder shape for the stem. On top of the cap, draw several small circles or dots for decoration.
You can also add some grass at the base to make it look like the mushroom is growing on the ground.
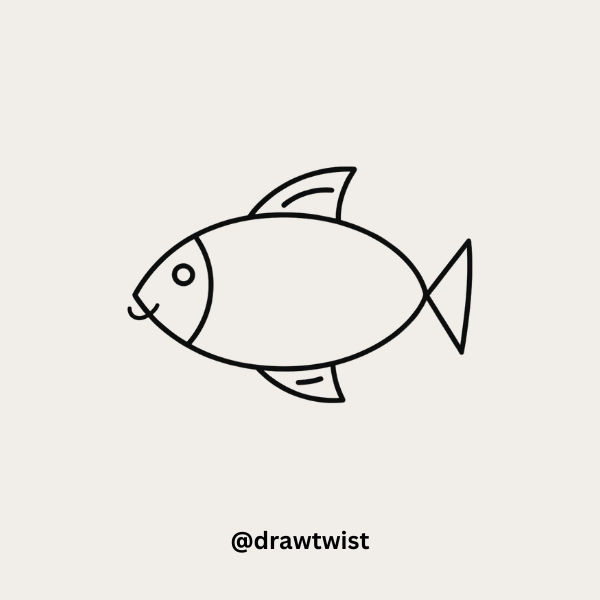
22. Cartoonish Fish:
Start by drawing an oval shape for the fish’s body.
On one side of the oval, draw a triangle pointing outwards to represent the tail. Add a small circle near the front of the oval for the eye, and draw a curved line below the eye for the mouth.
You can add small fins on the top and bottom of the body as well.
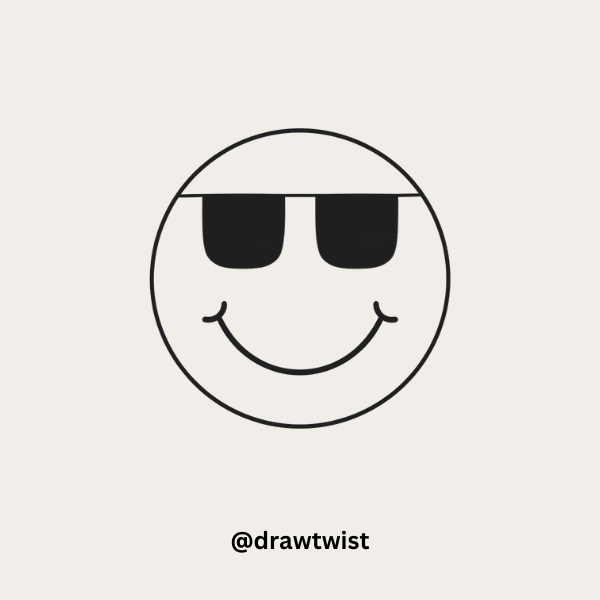
23. Smiley Face in Sunglasses:
Draw a large circle to represent the face.
Inside the circle, draw two small rectangles for the sunglasses, and fill them in. Below the sunglasses, draw a large curved line for the smile. You can add small lines on each side of the smile for dimples.
If you’re just getting started, this simple cat drawing guide is a great place to begin.
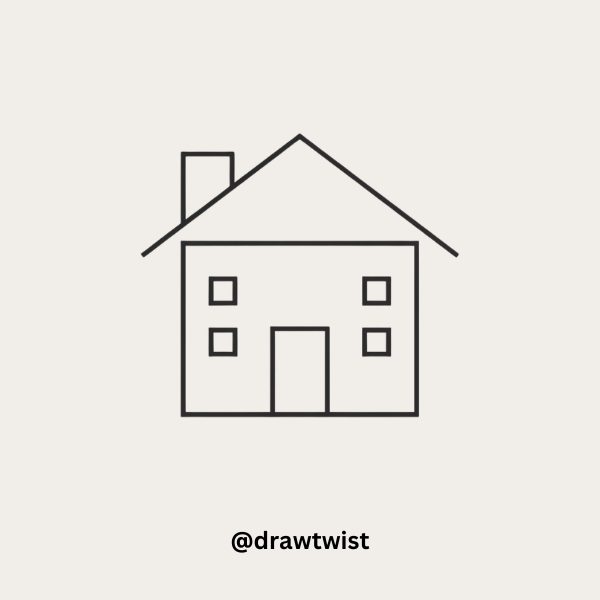
24. Tiny House with a Chimney:
Draw a square for the house’s main structure. On top of the square, draw a triangle for the roof.
On one side of the roof, draw a small rectangle to represent the chimney.
Add a rectangle in the center of the square for the door, and draw small squares on either side for windows.
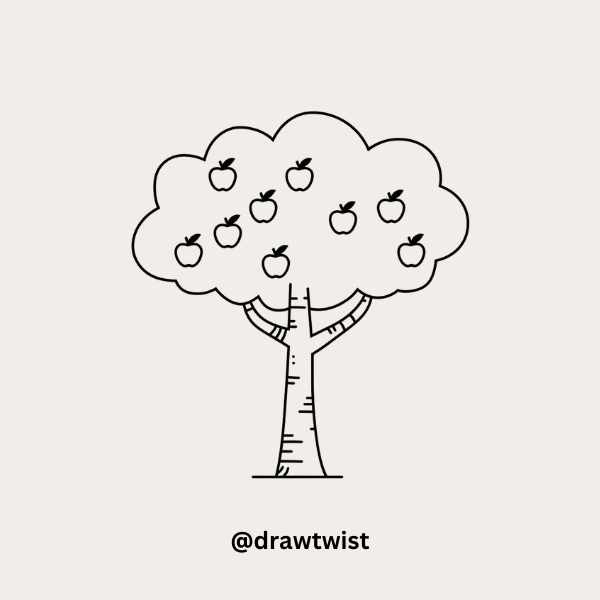
25. Simple Tree with Apples:
Draw a straight line for the trunk of the tree.
On top of the trunk, draw a large cloud-like shape to represent the tree’s leaves. Inside the cloud shape, draw several small circles to represent apples.
You can add more details to the trunk by drawing small lines or patterns.
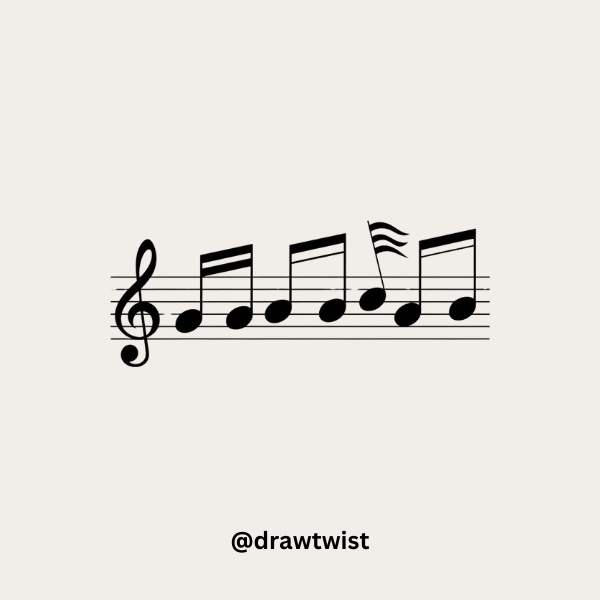
26. Music Notes:
Start by drawing a small circle to represent the note head. From the circle, draw a straight line upwards to form the stem.
At the top of the stem, draw a small curved line to represent the flag. You can draw multiple notes in a row to create a musical tune.
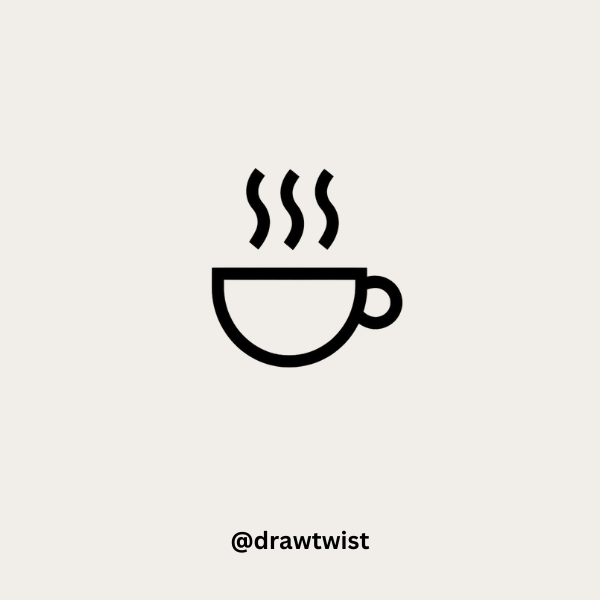
27. A Cup of Coffee:
Draw a large oval at the top of your page to represent the opening of the cup.
Below the oval, draw two straight lines coming down to create the sides of the cup. Add a small curved line on one side for the handle.
Inside the oval, draw a few wavy lines to represent steam rising from the cup.
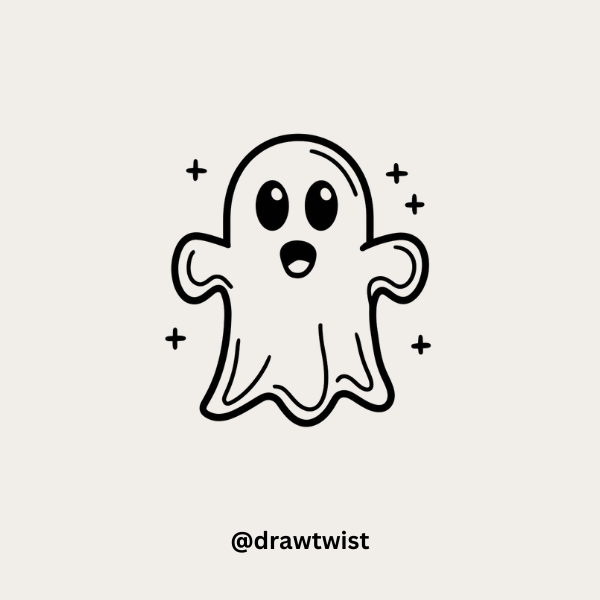
28. Little Ghost:
Start by drawing an upside-down U-shape to form the ghost’s body.
At the bottom of the U-shape, draw a wavy line to represent the bottom of the ghost. Inside the U-shape, draw two small circles for eyes and a small oval for the mouth.
You can add small lines around the ghost to make it look like it’s floating.
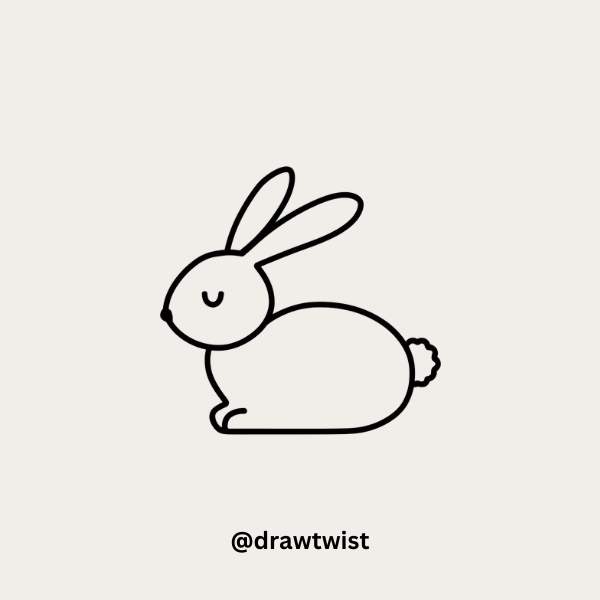
29. Bunny with Long Ears:
Draw a large oval for the bunny’s body and a smaller circle on top for the head.
On top of the head, draw two long, narrow ovals pointing upwards to represent the ears. Add a small dot for the nose, and draw two curved lines for the eyes.
You can also draw a small, fluffy tail on the back of the body.
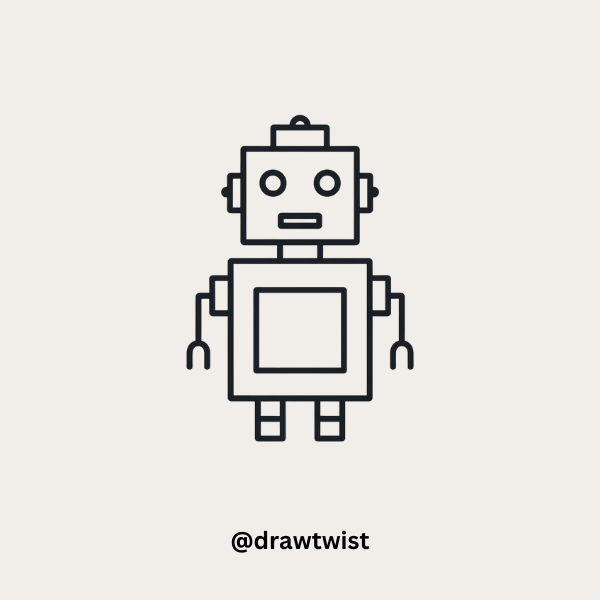
30. Tiny Robot:
Start by drawing a square for the robot’s head and a rectangle underneath for the body.
On each side of the body, draw a small rectangle for the arms. Below the body, draw two small rectangles for the legs.
Add two circles on the head for eyes, and a small rectangle below them for the mouth.
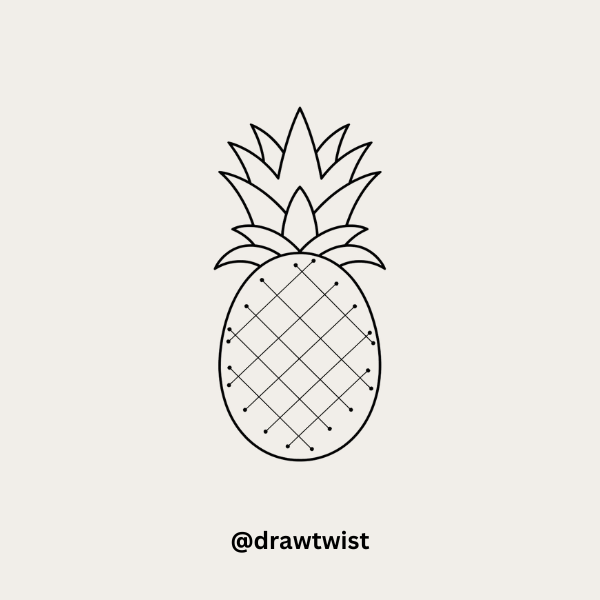
31. Pineapple Doodle:
Start by drawing an oval shape for the body of the pineapple.
On top of the oval, draw several spiky leaves by making pointed, zigzag lines. Inside the oval, draw crisscrossing diagonal lines to create the pineapple’s texture.
You can add small dots at the intersections of the lines to make it look more realistic.
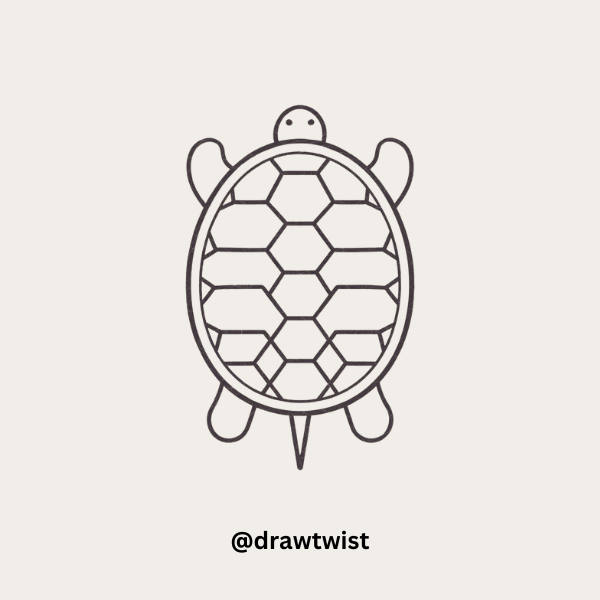
32. Turtle Doodle:
Draw a large oval for the turtle’s shell. Under the oval, draw a smaller circle for the head and add four small ovals for the legs. You can draw the shell’s pattern by making crisscrossing lines or small hexagons inside the large oval.
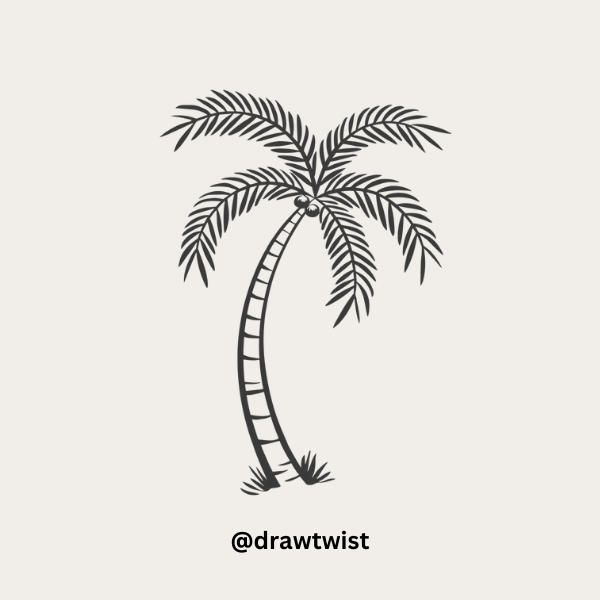
33. Palm Tree:
Draw two long, curved lines parallel to each other for the trunk of the palm tree.
At the top of the trunk, draw several long, curved lines extending outwards for the leaves. The leaves should have small, pointed lines coming off them to create a feathery look.
Add small coconuts at the base of the leaves for extra detail.
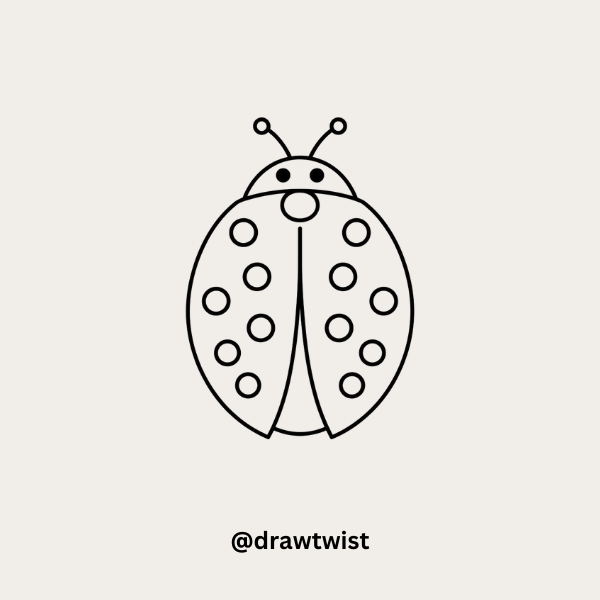
34. Ladybug:
Start by drawing a small oval for the ladybug’s body. At the top of the oval, draw a small circle for the head.
Draw a line down the middle of the oval to divide the wings. Add small circles on each side of the wings for the spots.
Finally, draw two short lines with dots at the ends on the head for the antennae.
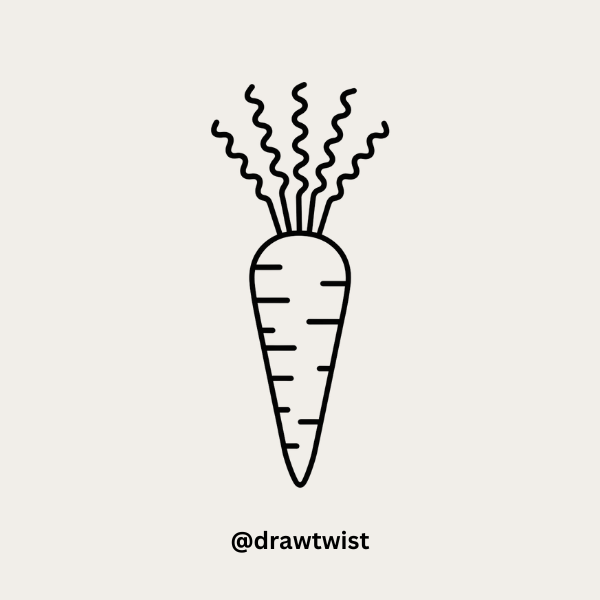
35. Carrot:
Begin by drawing a long, narrow triangle with the point facing downwards for the carrot’s body.
At the top of the triangle, draw several small, wavy lines extending upwards for the carrot’s leaves. You can add small lines on the carrot to represent its texture.
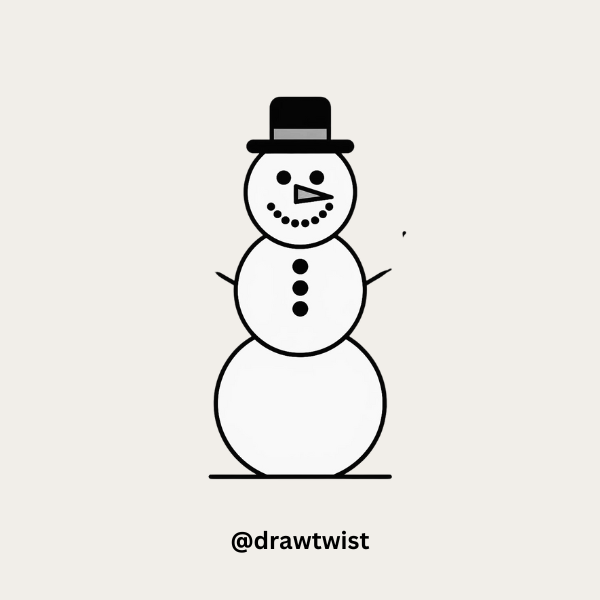
36. Simple Snowman:
Draw three circles stacked on top of each other, with the largest at the bottom and the smallest at the top, to form the snowman’s body.
Add two dots in the top circle for eyes, a small triangle for the nose, and a curved line for the mouth. Draw two small circles in the middle circle for buttons.
Add two straight lines on the sides for the arms, and you can draw a small hat or scarf for extra detail.
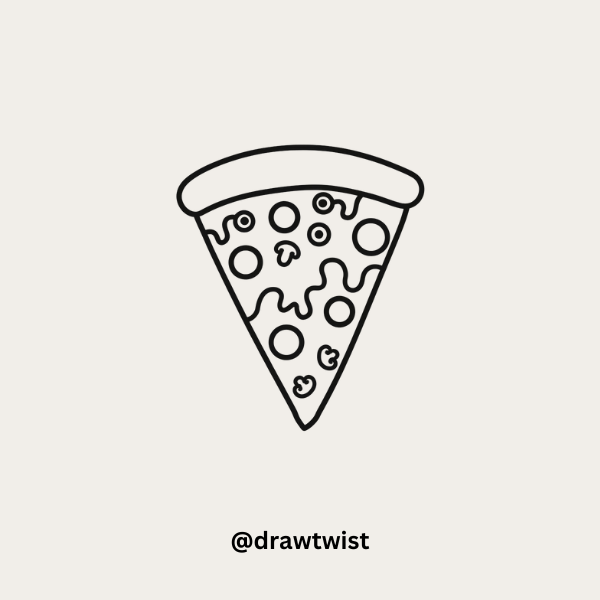
37. Pizza Slice:
Start by drawing a triangle to represent the pizza slice. At the top of the triangle, draw a curved line for the crust.
Inside the triangle, draw small circles for pepperoni, and add wavy lines for melted cheese. You can also add other toppings like small mushrooms or olives.
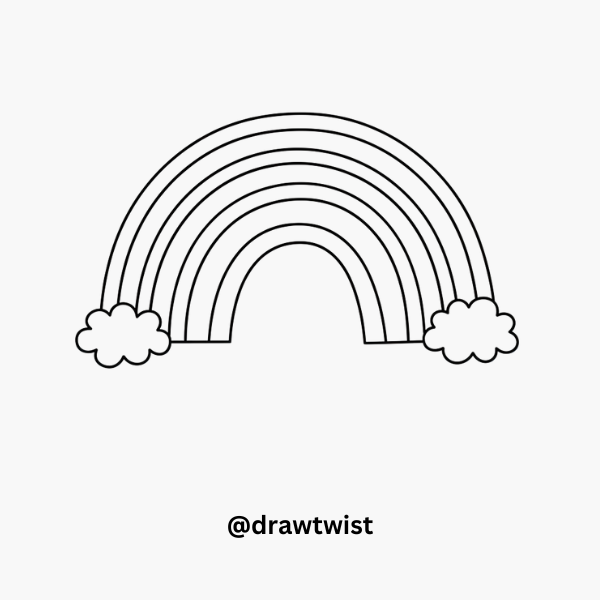
38. Rainbow Doodle
Draw a series of curved lines stacked on top of each other to make a rainbow. You can color each stripe with a different color. Add small clouds at each end for a cute touch.
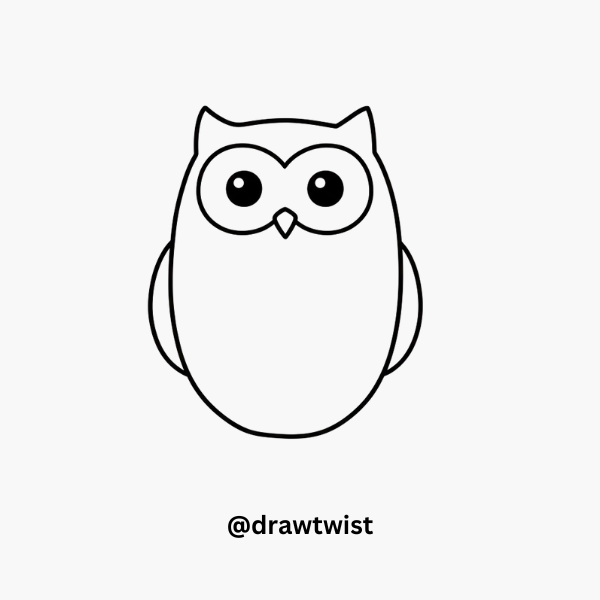
39. Simple Owl
Draw a large oval for the body and a smaller circle on top for the head. Add two big circles for eyes, a small triangle for the beak, and two little wings on each side.
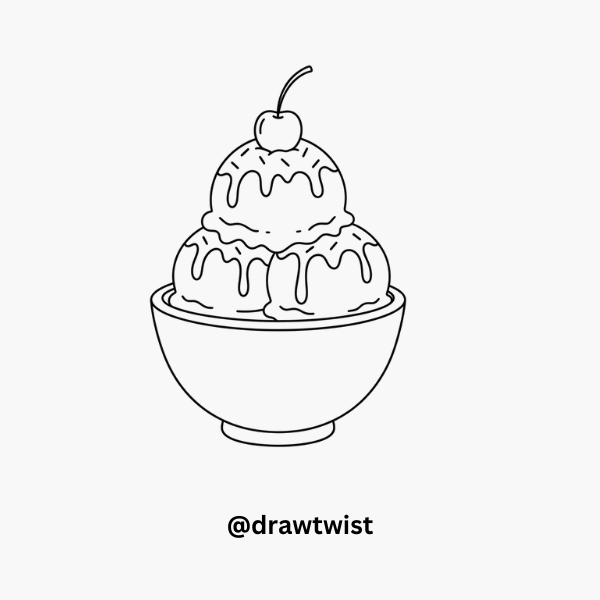
40. Ice Cream Sundae
Draw a bowl shape first. On top, draw two or three scoops of ice cream with wavy edges. Add a cherry or small sprinkles on top, and some curved lines for syrup.
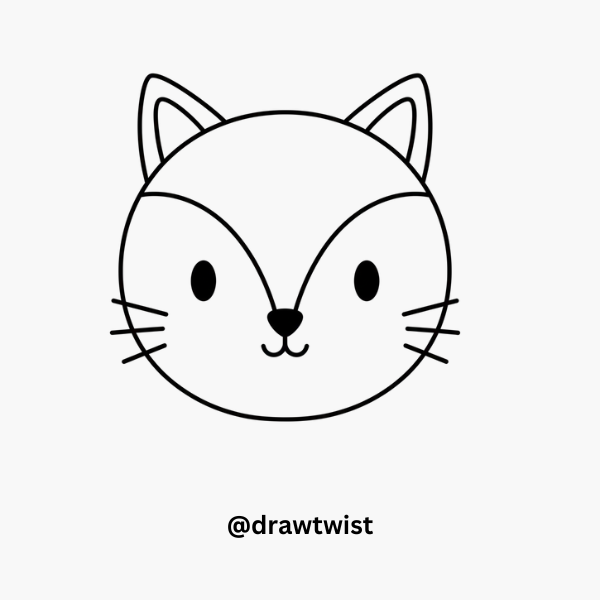
41. Cute Fox Face
Draw a circle for the face. Add two triangles for ears. Inside the face, draw two small ovals for eyes, a small nose, and a curved mouth. Add little lines on cheeks for whiskers.
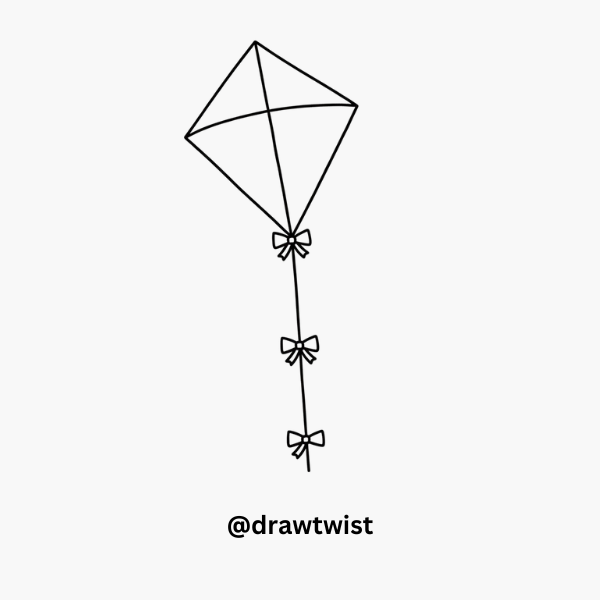
42. Simple Kite
Draw a diamond shape. Add a small triangle at the bottom for the tail. Draw a straight line from top to bottom and attach a few small bows along the tail.
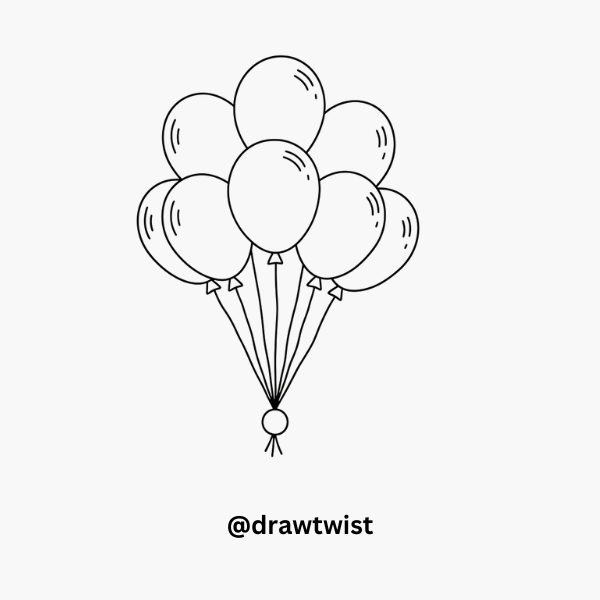
43. Balloon Bunch
Draw several oval-shaped balloons grouped together. Draw a small line under each balloon for strings, and connect all strings at the bottom to a hand or weight.
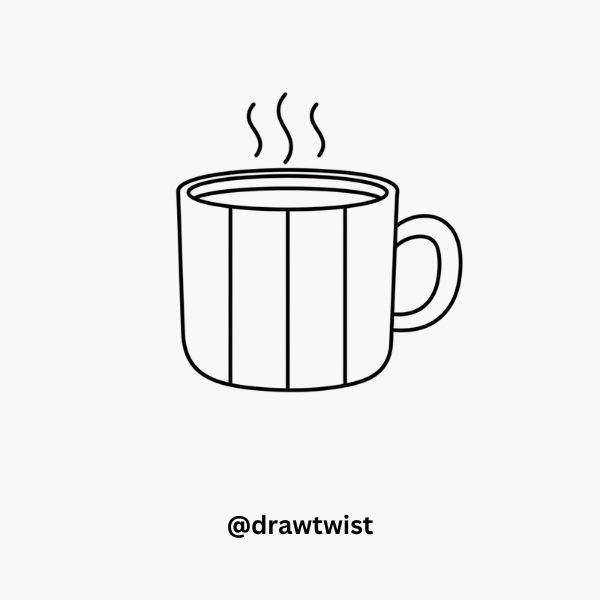
44. Cup of Tea
Draw a small oval for the cup opening. Add two vertical lines for the sides and a curved handle. Draw a few wavy lines rising from the cup to show steam.
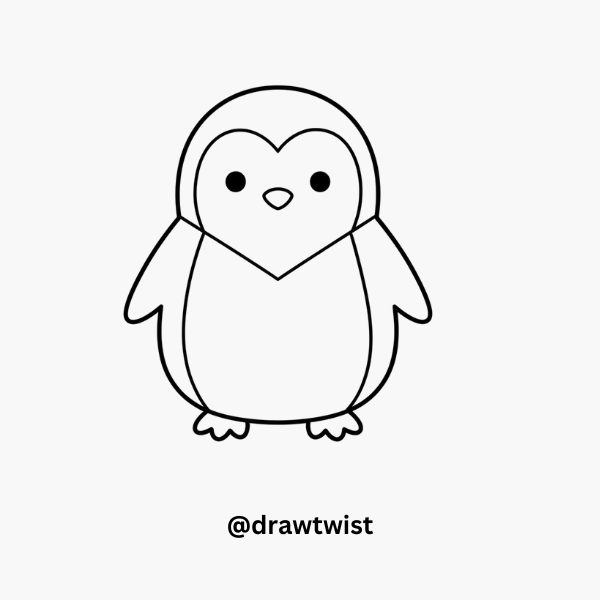
45. Cute Penguin
Draw an oval for the body. Add a smaller oval for the face. Draw tiny wings on the sides, small oval feet at the bottom, and a tiny triangle for the beak.
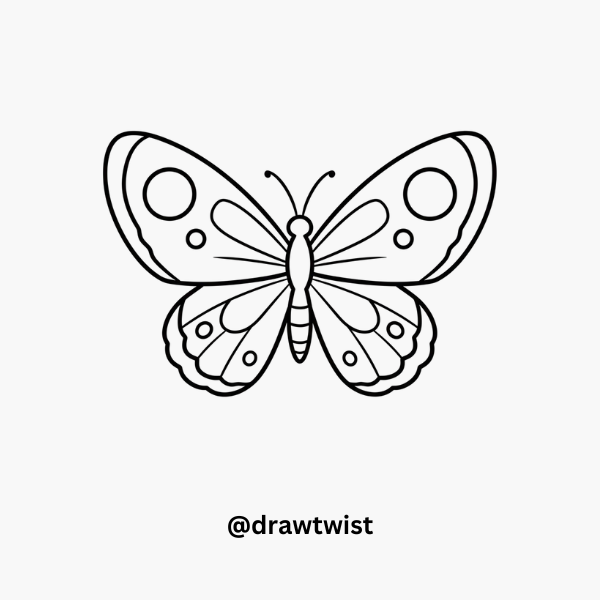
46. Simple Butterfly
Draw a small oval for the body. Add two large wings on each side, with the top wings bigger than the bottom ones. Decorate the wings with circles or lines.
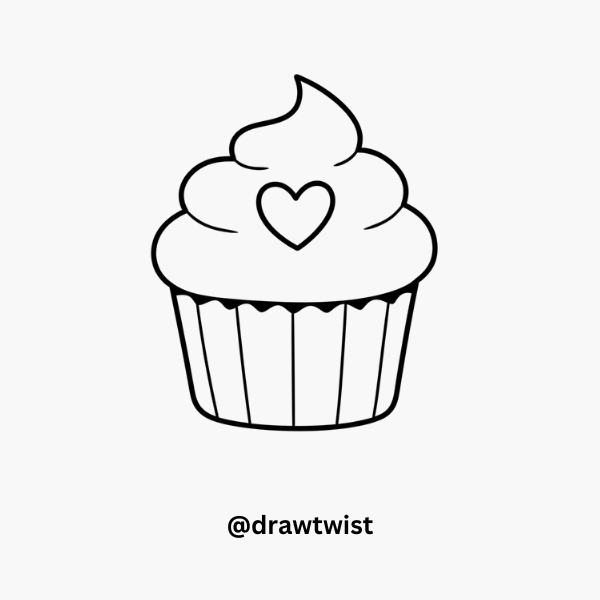
47. Cupcake with a Heart
Draw the cupcake base as a rectangle with rounded edges. Draw a dome of frosting on top, and add a small heart in the middle of the frosting.
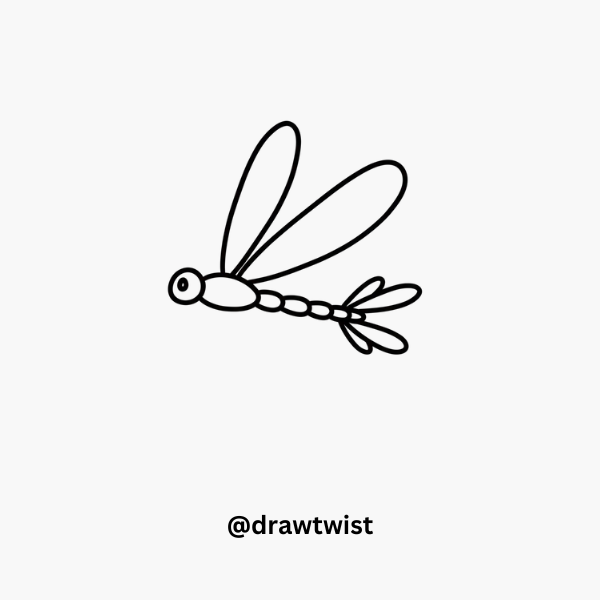
48. Simple Dragonfly
Draw a small elongated oval for the body. Add a tiny circle for the head. Draw two pairs of long wings on top and one small pair near the tail.
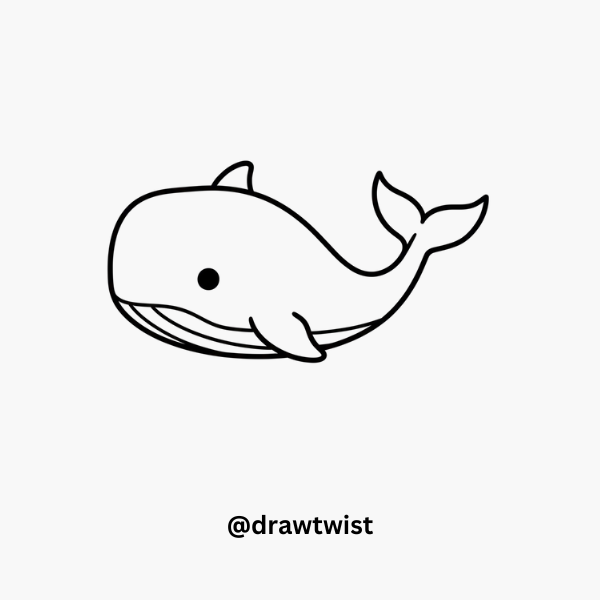
49. Cute Whale
Draw a large curved shape for the body, add a small fin on top and a tail at the back. Draw a small circle for the eye and a curved line for a smile.
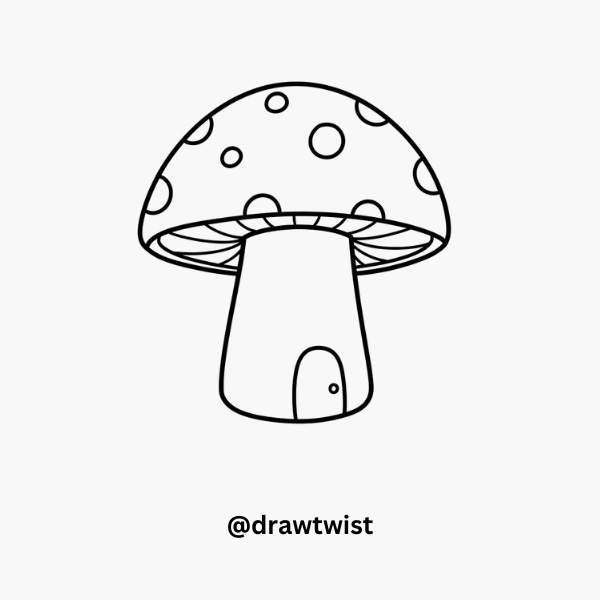
50. Mushroom with a Door
Draw a dome-shaped mushroom top. Draw a small rectangle at the bottom for a door. Add small circles on the mushroom cap for decoration.
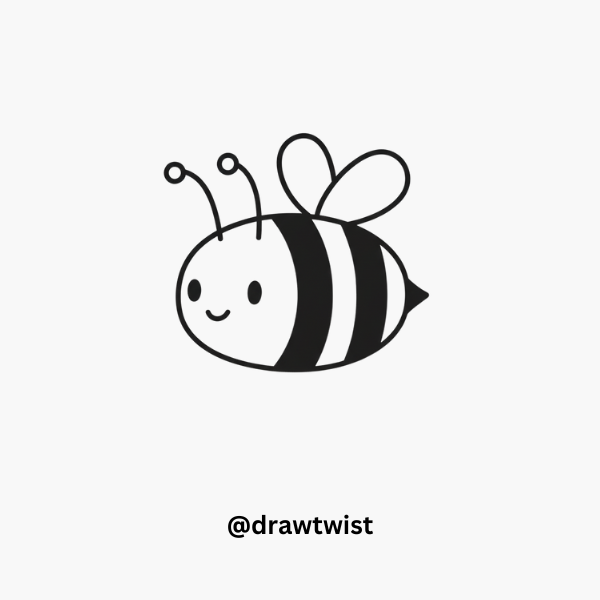
51. Tiny Bee
Draw a small oval for the body. Add two wings on top, stripes across the body, two tiny antennae, and a smiling face.
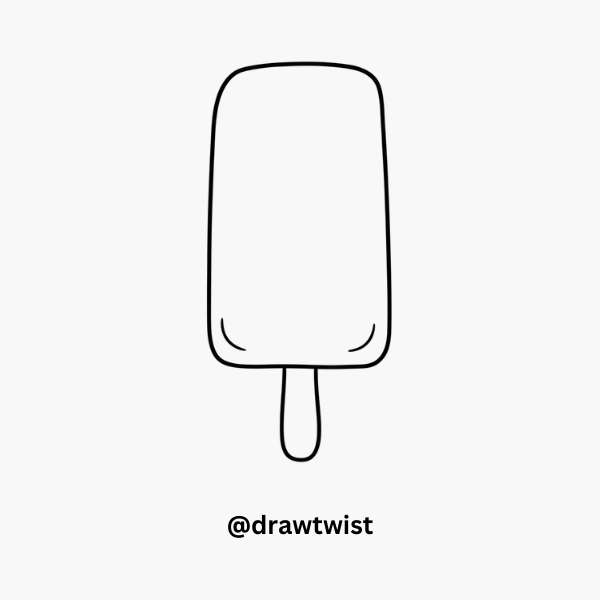
52. Ice Pop
Draw a rectangle with rounded edges for the ice pop. Draw a small stick at the bottom. Add a wavy line or two for melted ice effect.
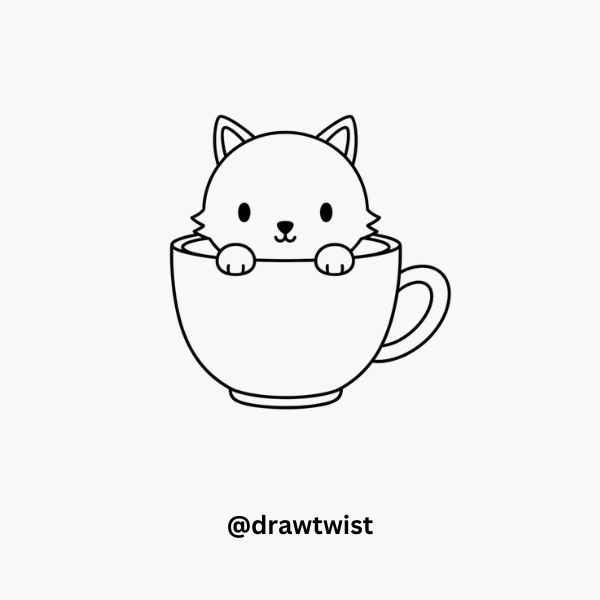
53. Simple Cat in a Cup
Draw a small cup first. Draw a cat’s head poking out with ears, eyes, nose, and whiskers. Add little paws on the cup rim.
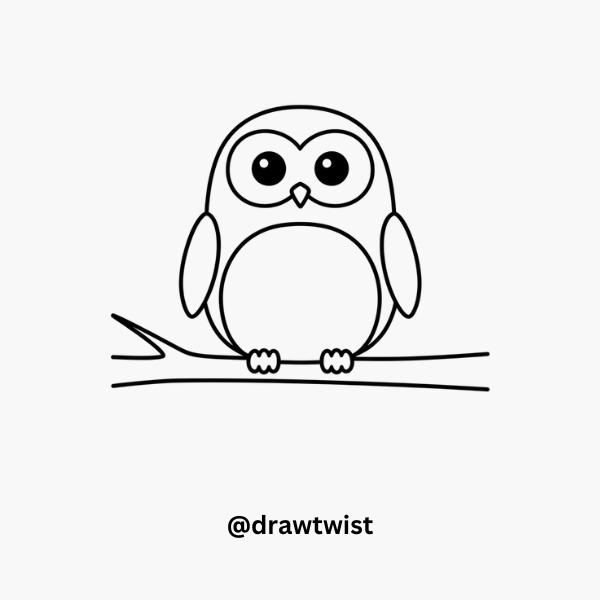
54. Simple Owl on a Branch
Draw a branch first. Draw an oval on top for the owl’s body, a small circle for the face. Add big eyes, a triangle beak, and tiny wings.
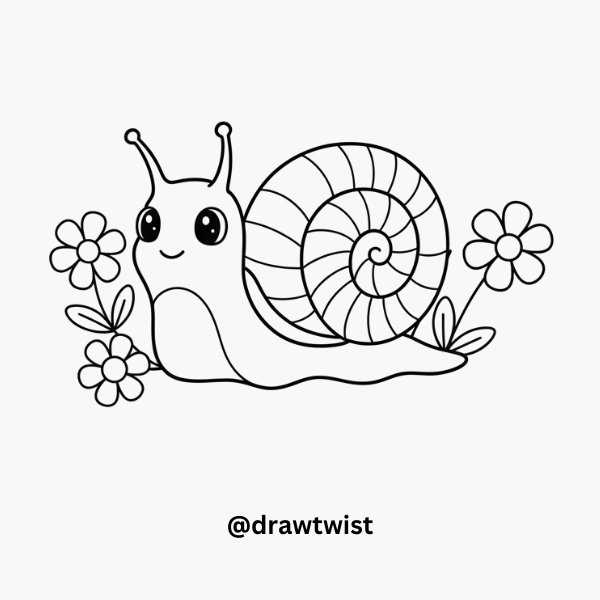
55. Cute Snail with Flowers
Draw a spiral shell for the snail. Add a curved line for the body. Around the snail, draw a few simple flowers with circles for the center and rounded petals.
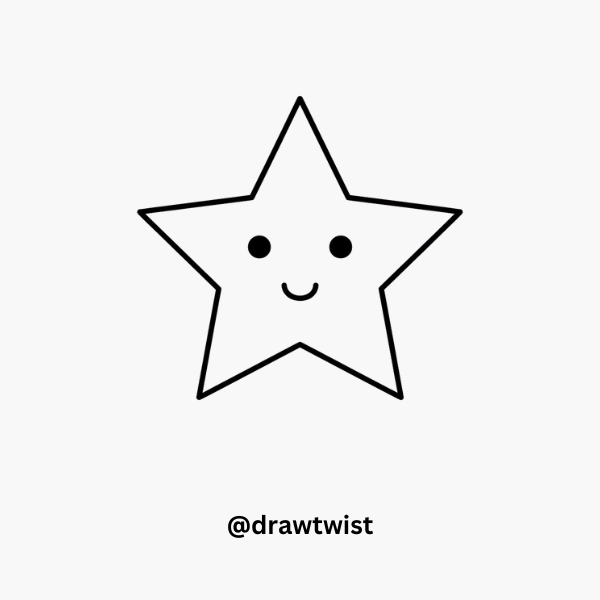
56. Star with a Smile
Draw a simple five-pointed star. Inside the star, add two dots for eyes and a small curve for a smiling mouth.
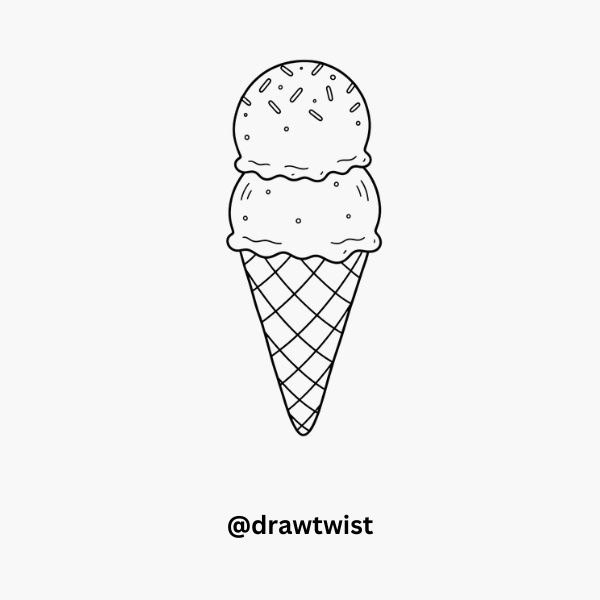
57. Ice Cream Cone with Two Scoops
Draw a triangle for the cone. On top, draw two circles stacked for scoops. Add small sprinkles or lines to make it fun and textured.
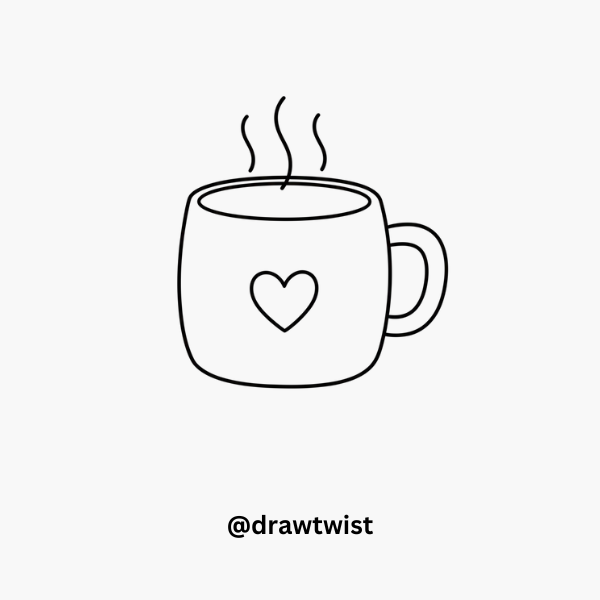
58. Simple Hot Chocolate Mug
Draw a mug shape, add a small handle on the side. Draw steam lines rising and a tiny heart on the front of the mug.
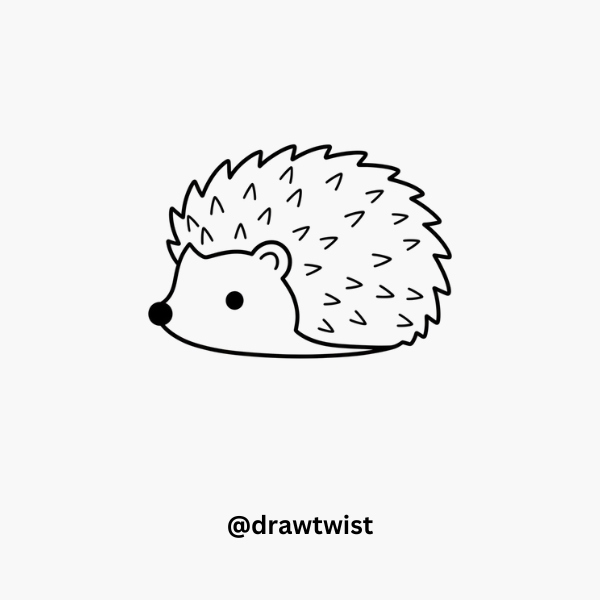
59. Cute Hedgehog
Draw a small oval for the body. Add tiny triangles along the top and sides for the spines. Draw a small circle at the front for the face, with two dots for eyes and a tiny nose.
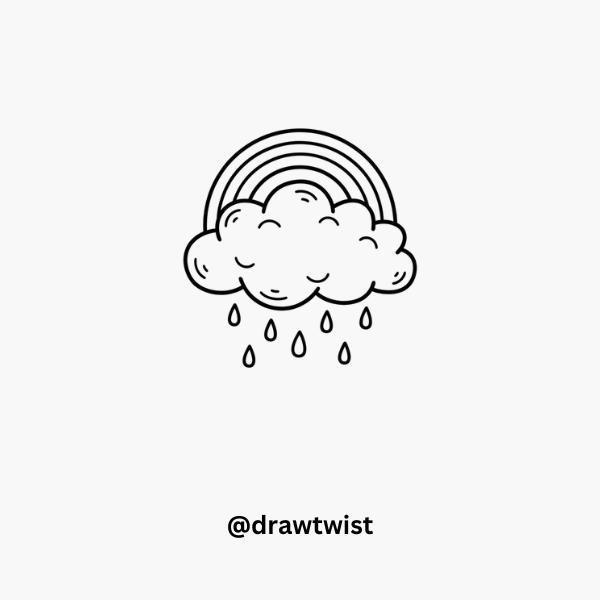
60. Little Rainbow Cloud
Draw a small fluffy cloud. From behind it, draw three or four curved lines for a rainbow. You can add small raindrops falling from the cloud for extra cuteness.
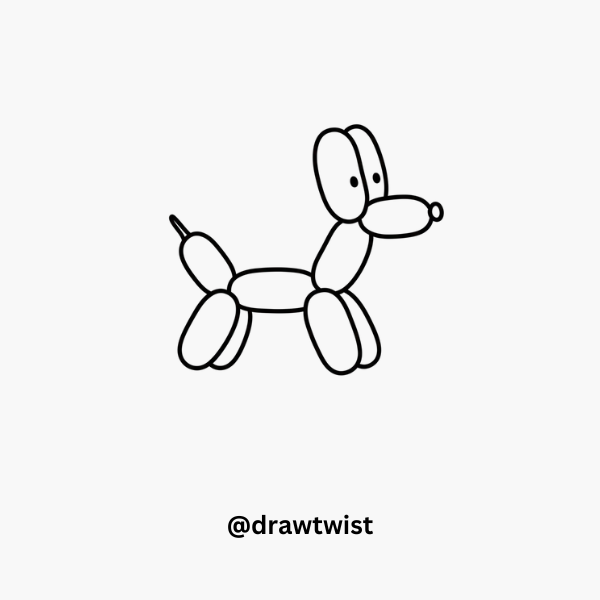
61. Simple Balloon Animal Dog
Draw a long, curved shape for the body. Add small oval shapes for legs and a tail. Draw a rounded shape for the head with two small ears and a dot for the nose.
How to Develop Your Doodling Style
Experiment with different lines, shapes, and patterns to find what you enjoy most. Combine simple doodles into more complex designs as you get more comfortable.
Remember, practice is key make doodling a regular part of your routine to see improvement and discover your unique style.
Find more cute and easy drawing ideas:
https://drawtwist.com/panda-doodles-drawing-ideas/
https://drawtwist.com/sheep-doodles-drawing-ideas/
https://drawtwist.com/frog-doodles-drawing-ideas/



2 Comments